Hello beautiful peoples!
Welcome to the third part of an exciting GIMP adventure!
Today I am going to download and install export-layers-to-pdf.py python plug-in.
What is export-layers-to-pdf.py?
export-layers-to-pdf.py is a Python script for GIMP. It allows you to export layers of images as separate pages in a PDF file. This can be especially useful when you have a multi-layered image in GIMP, and you want to export each layer as an individual page in a PDF document. You need GIMP and ImageMagick working together for this to work. Make sure that You followed GIMP 101 parts 1 and 2 before proceeding.
First things first, let’s grab export-layers-to-pdf.py from its digital home:
Download Link: export-layers-to-pdf.py Official Website
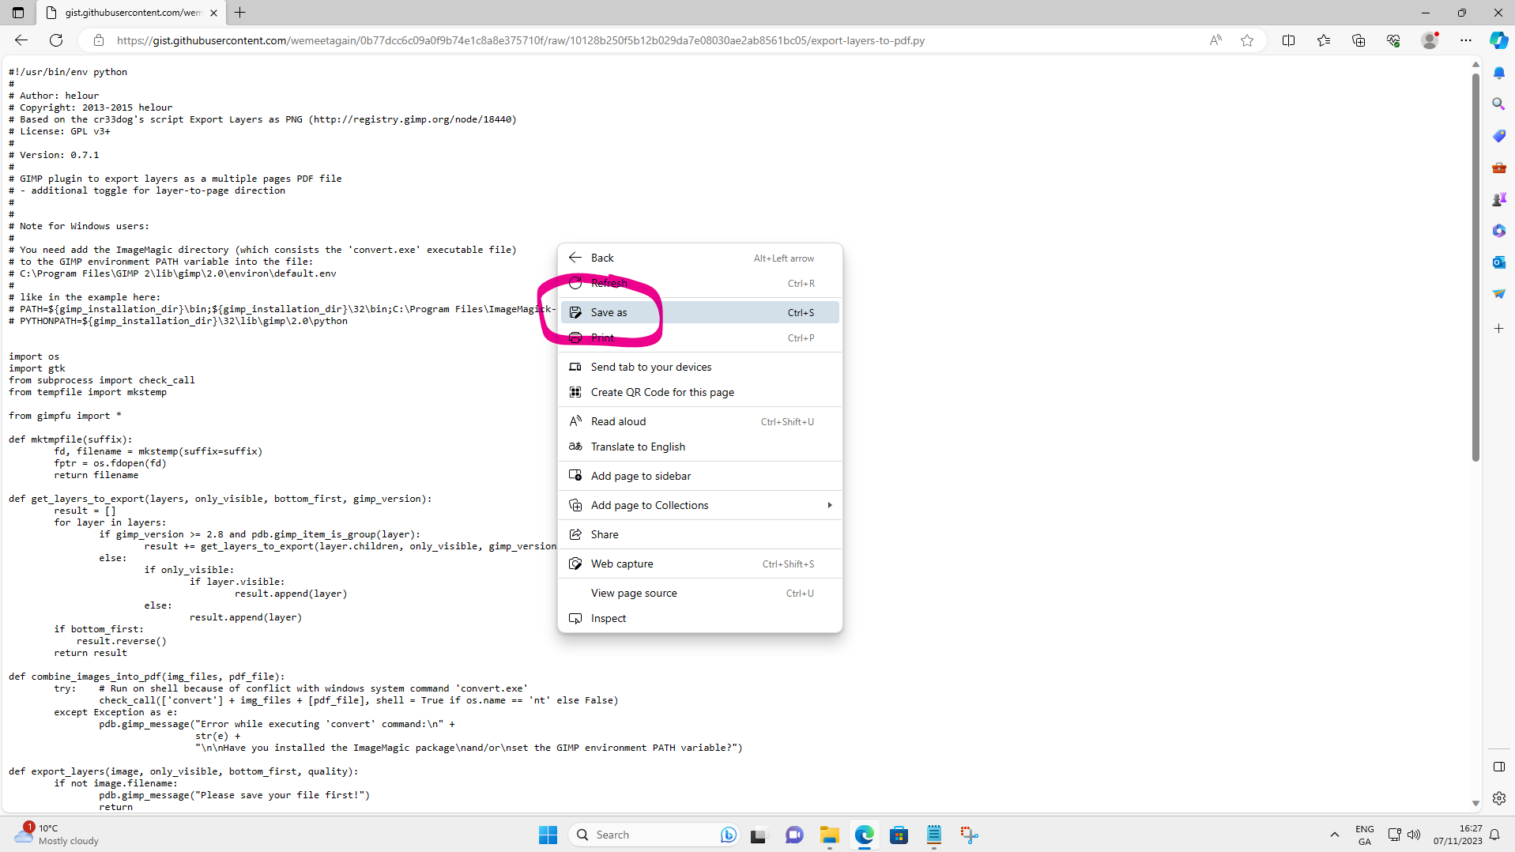
Click on the link and right click on the page. Chose “Save as”
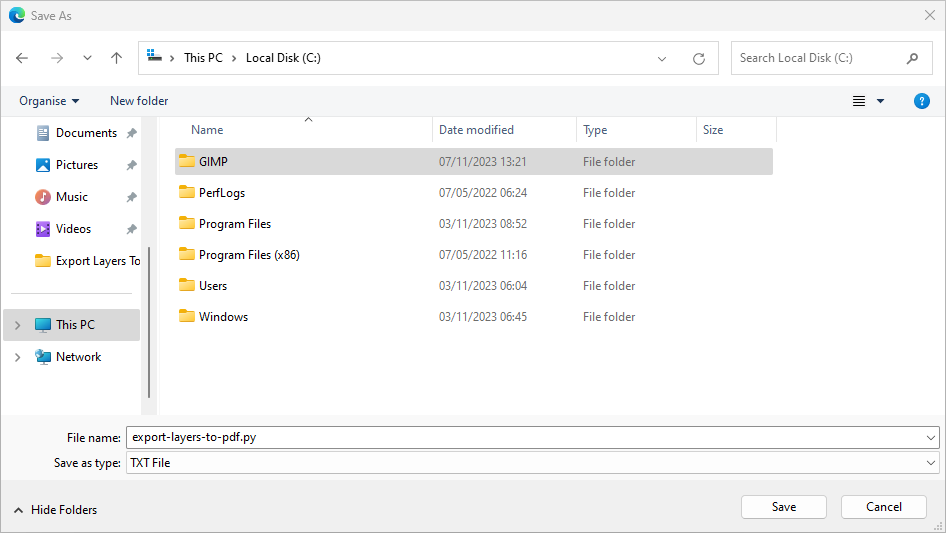
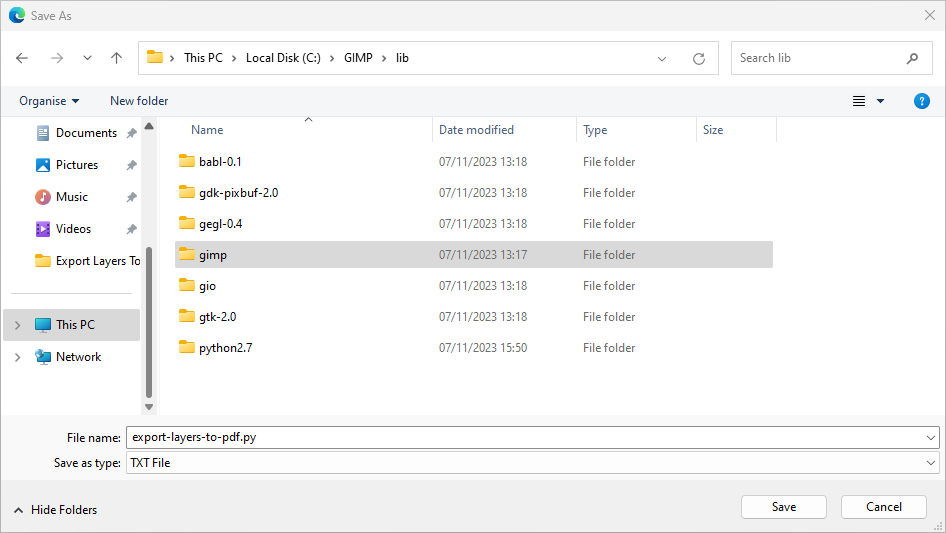
Chose “This PC” in the pane on the left and then double click on “Local Disk (C:)” in the pane on the right.

Double click on “GIMP”
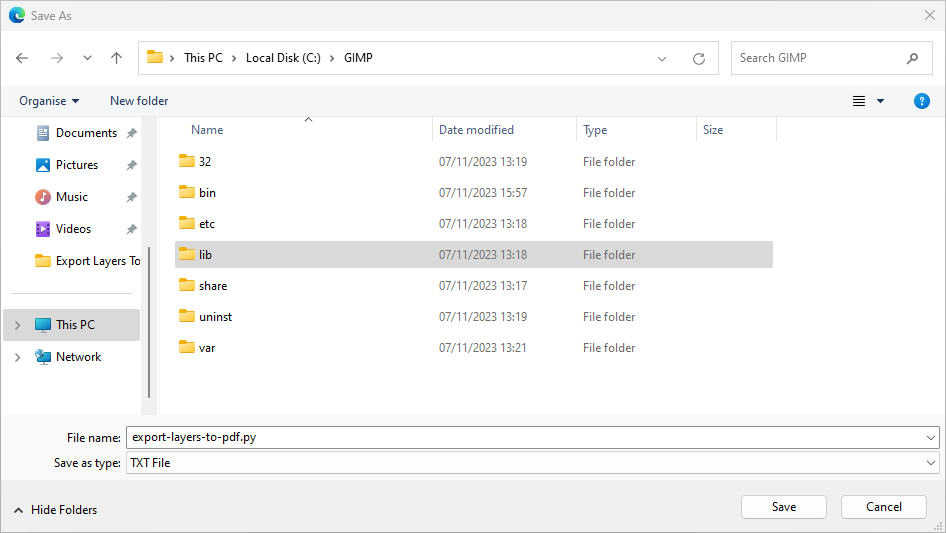
Double click on “lib”
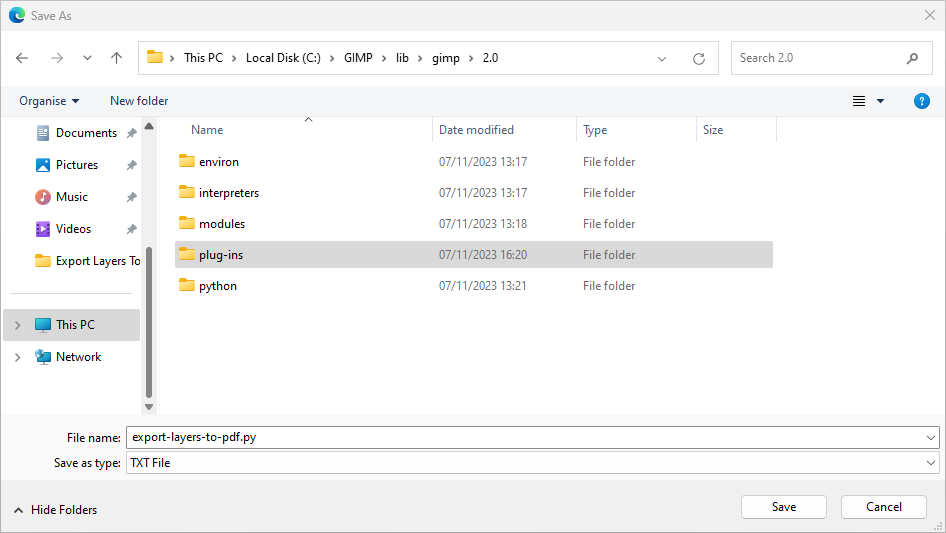
Double click on “gimp”
Double click on “2.0”

Double click on “plug-ins”
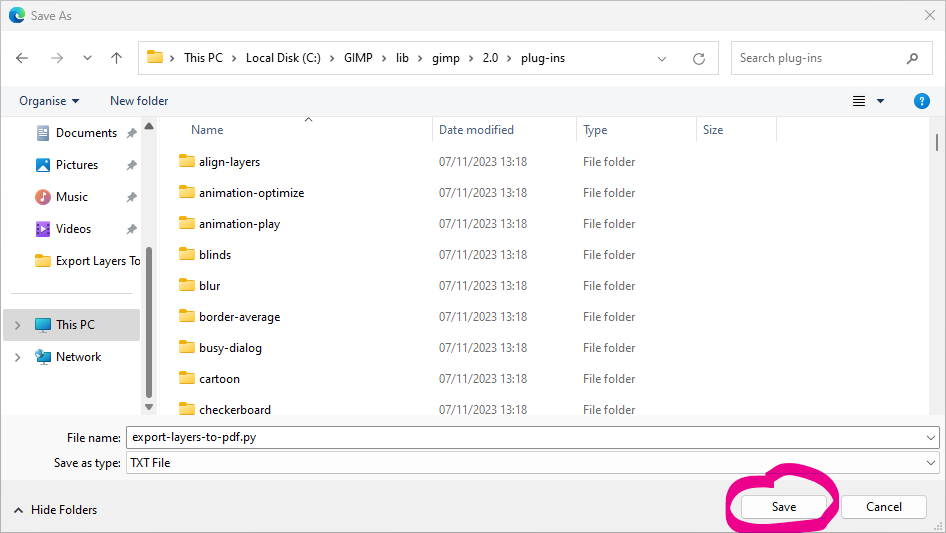
Click “Save”
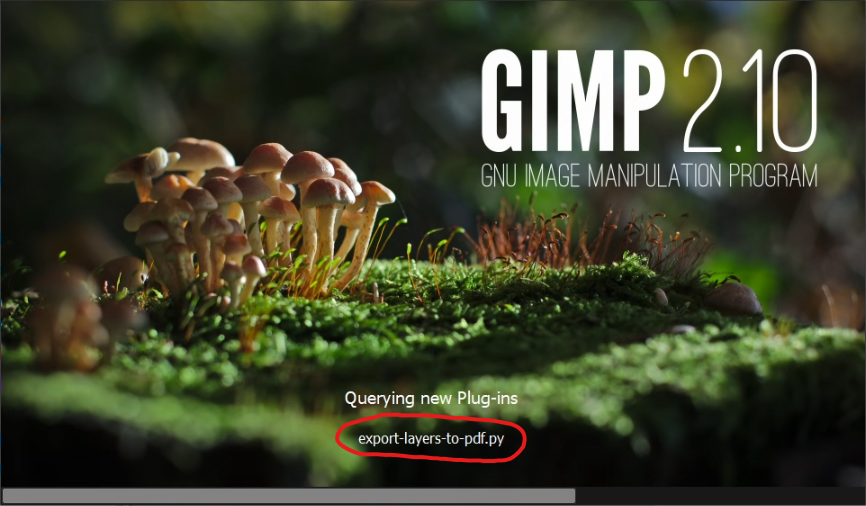
Re-open GIMP and notice “Querying new Plug-ins: export-layers-to-pdf.py”
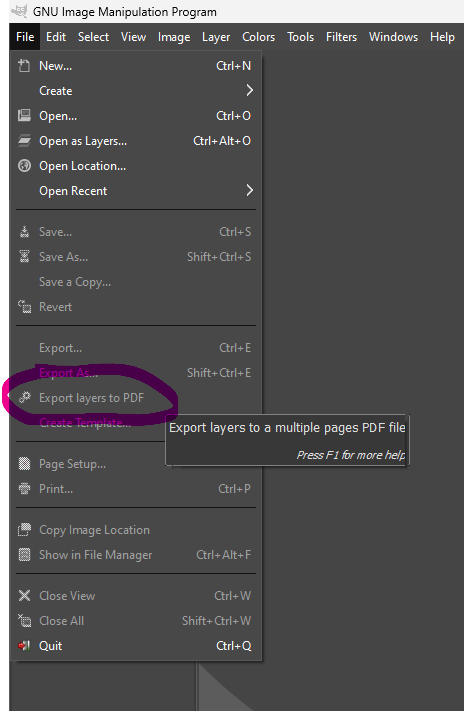
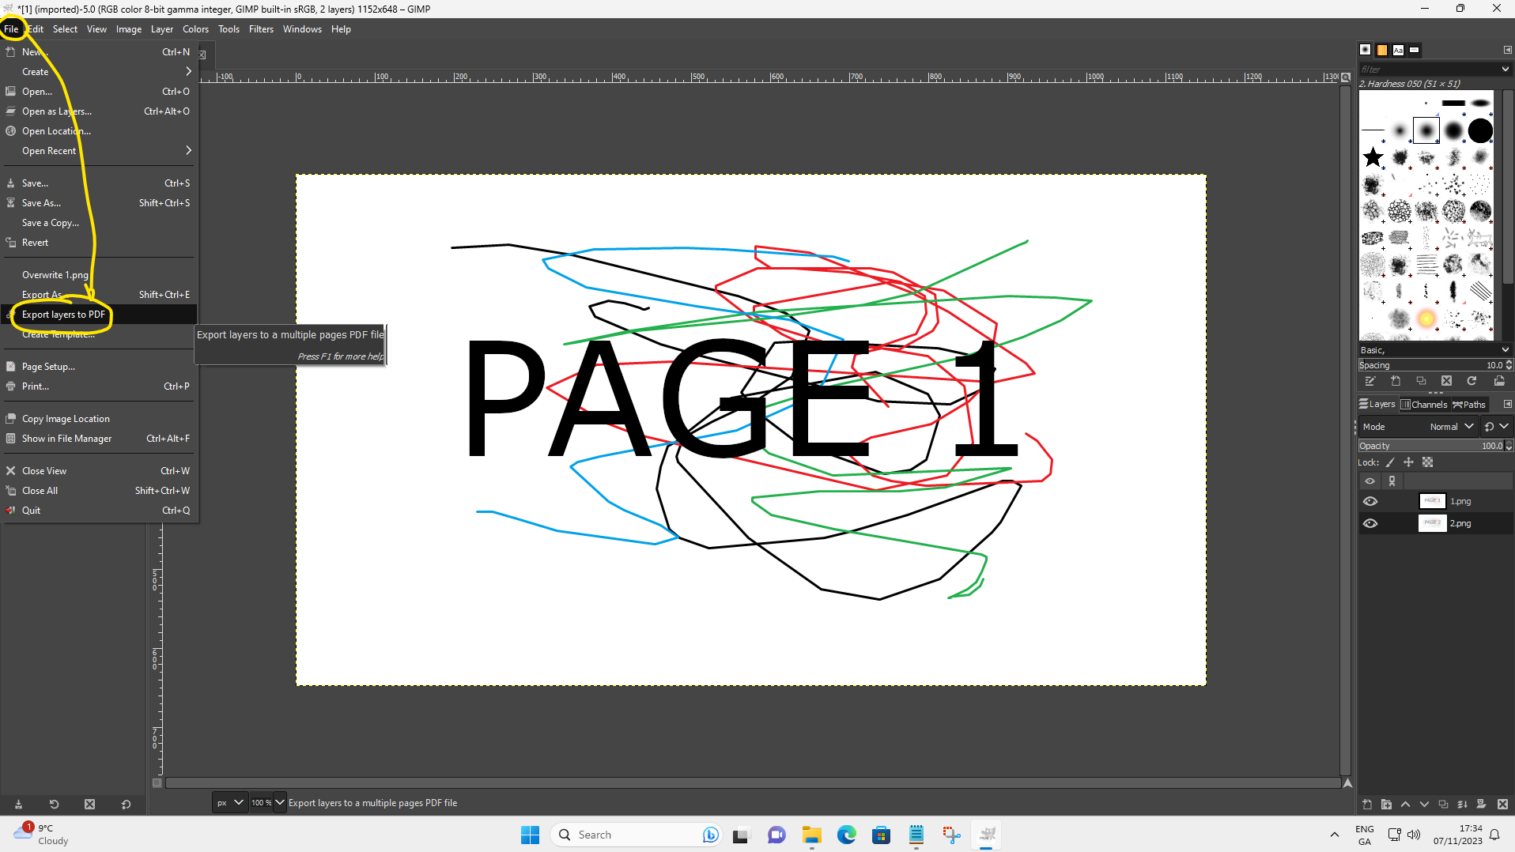
And then when it launches – notice new item in the “File” menu. The item is called “Export layers to PDF”
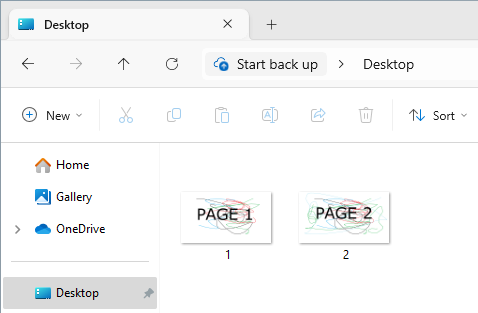
Now imagine You wanted to create a magazine for your website. Standard PDF document. Perhaps its a leaflet or a zine kind of thingy. 2 pages (or more). You stored the images on the Desktop and you want to export them (as separate pages) to a PDF file that can be uploaded to Your website or e-mail to someone.
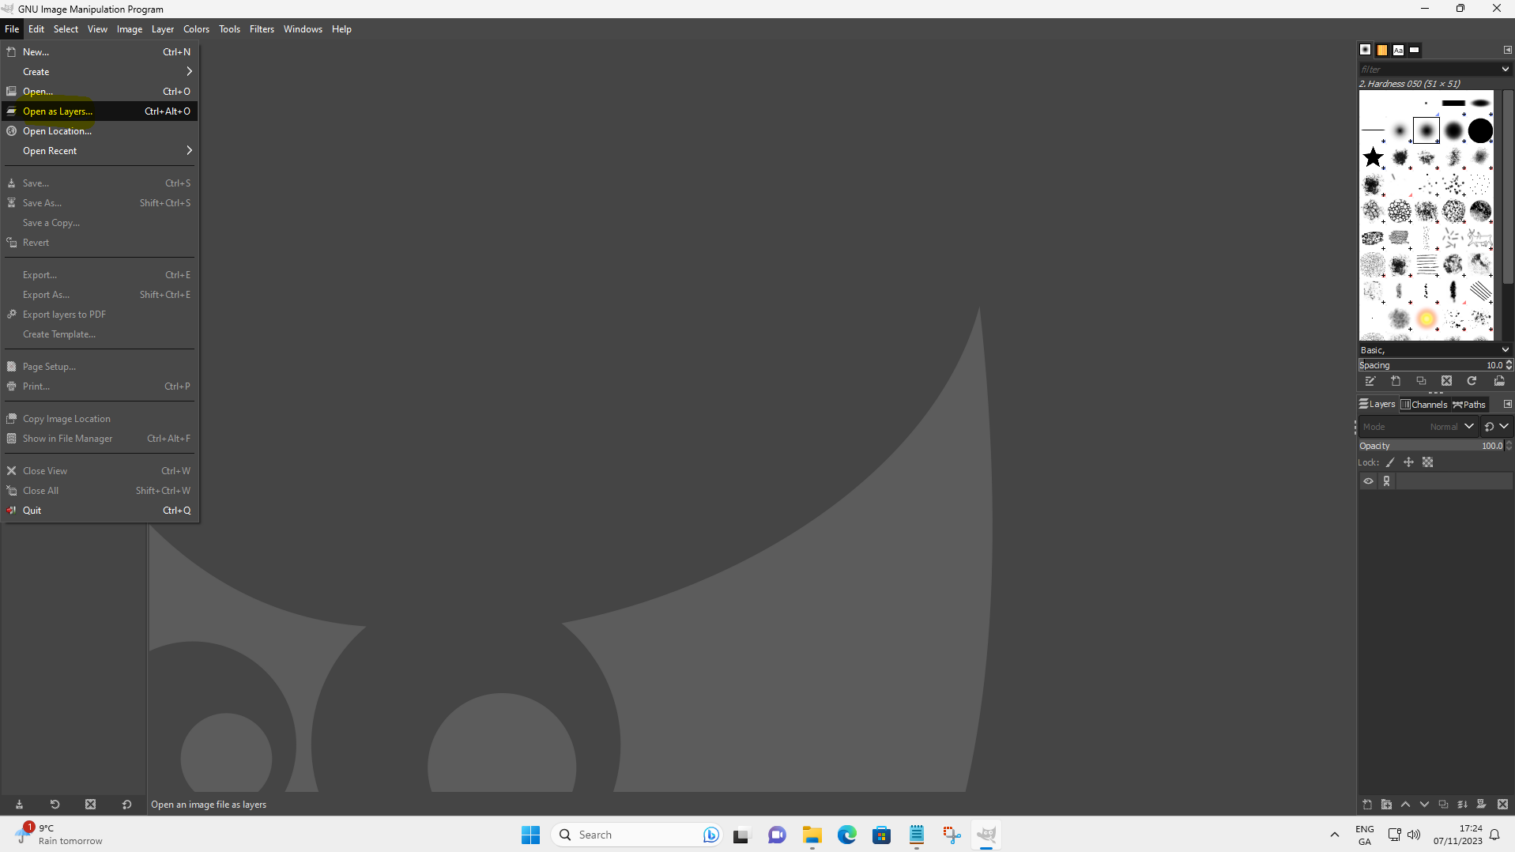
Open GIMP and click on “File” and the “Open as Layers”
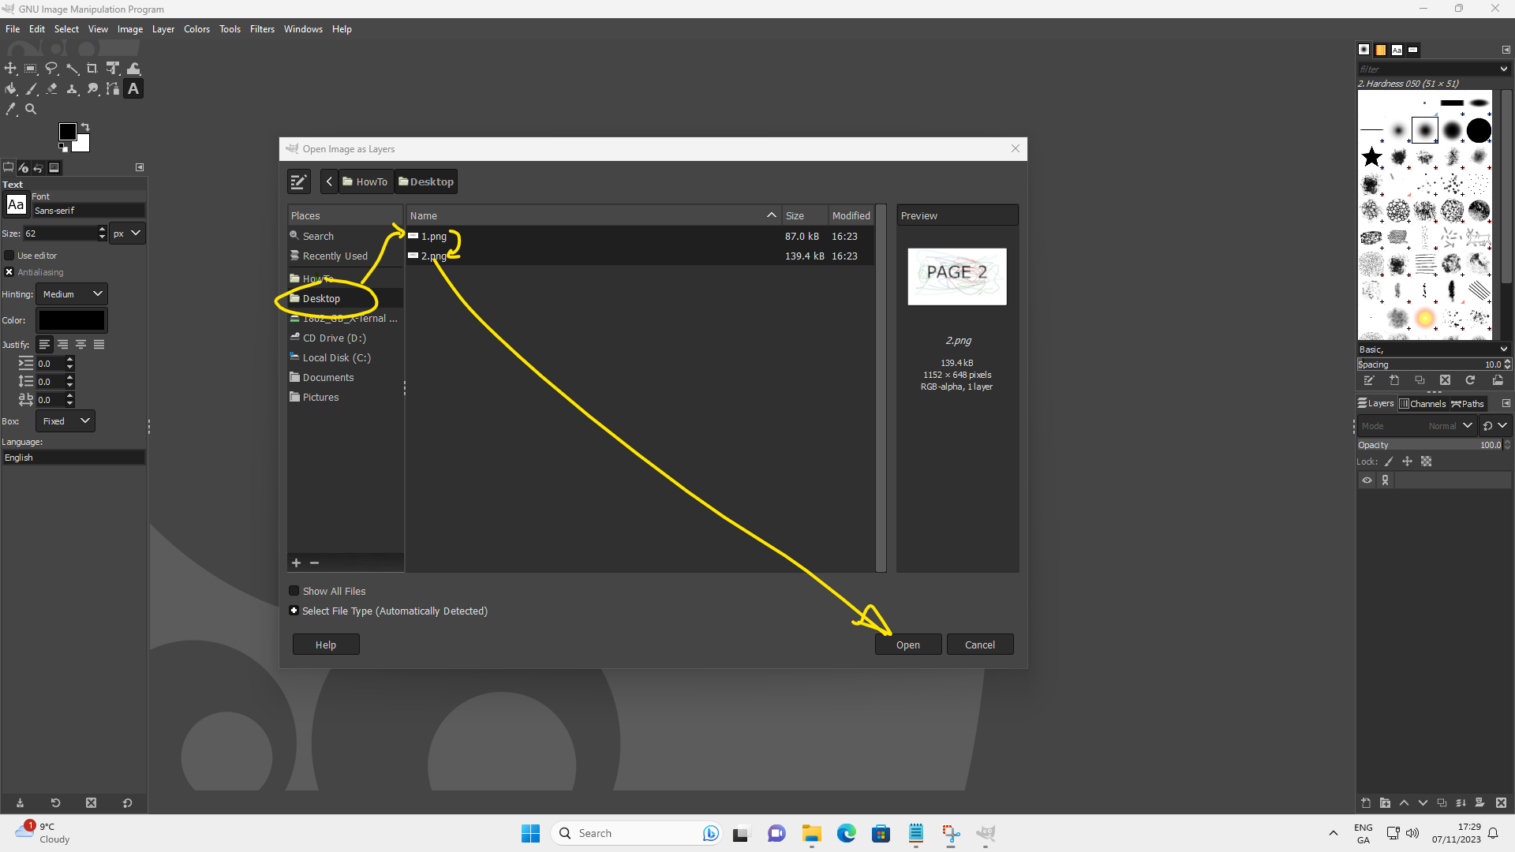
“Open Image as Layers” window will pop-up. In the pane on the left click on “Desktop”. Then select the files that will become part of the leaflet (use CTRL or SHIFT keys on your keyboard to select multiple files) and click “Open”.
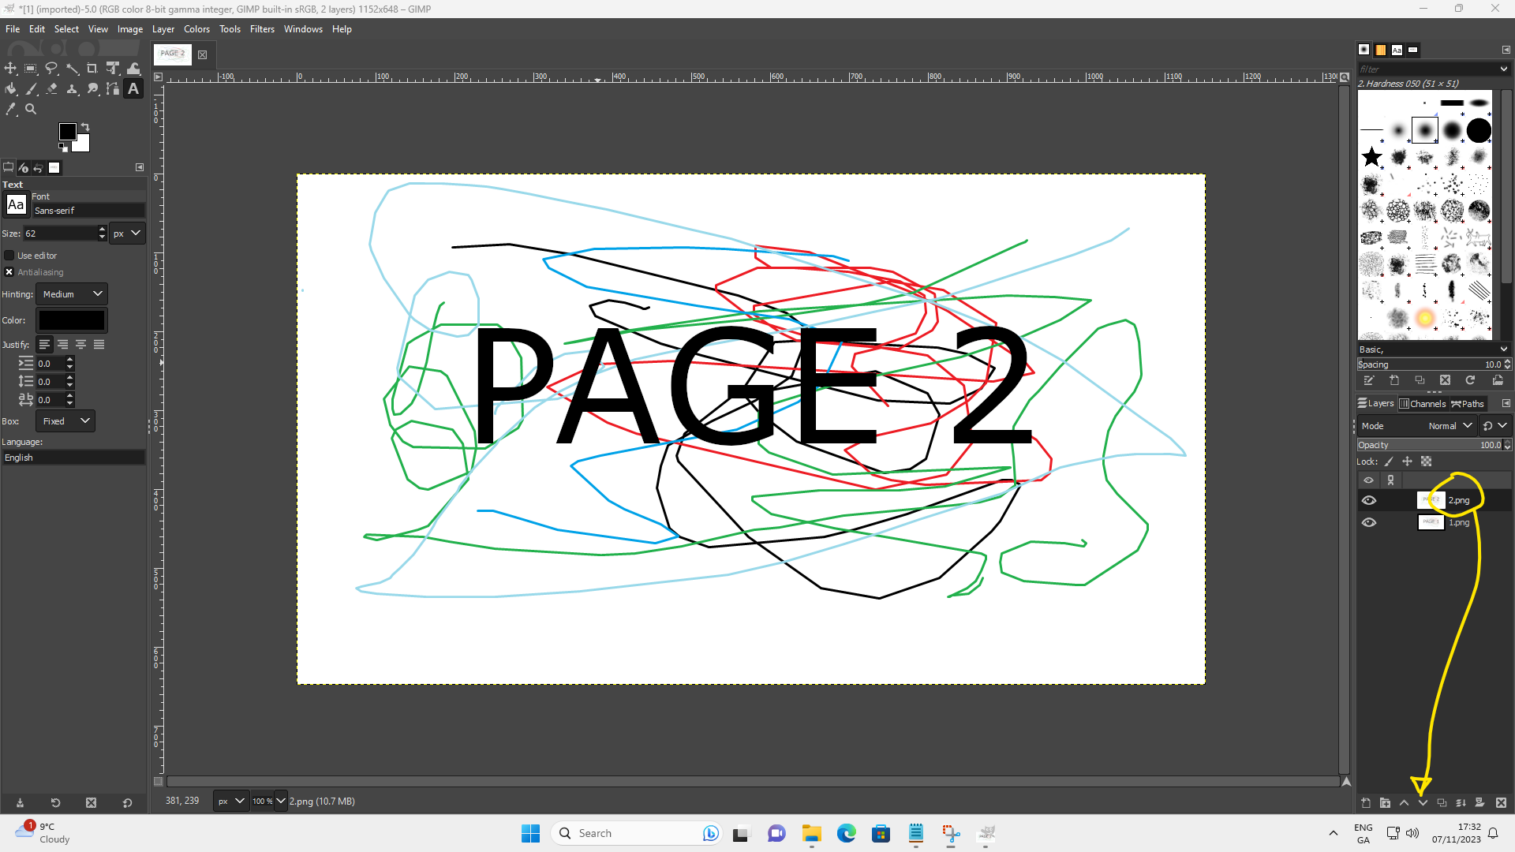
Check placement of the pages in Your document by looking at the list of layers and move them up and down if needed.
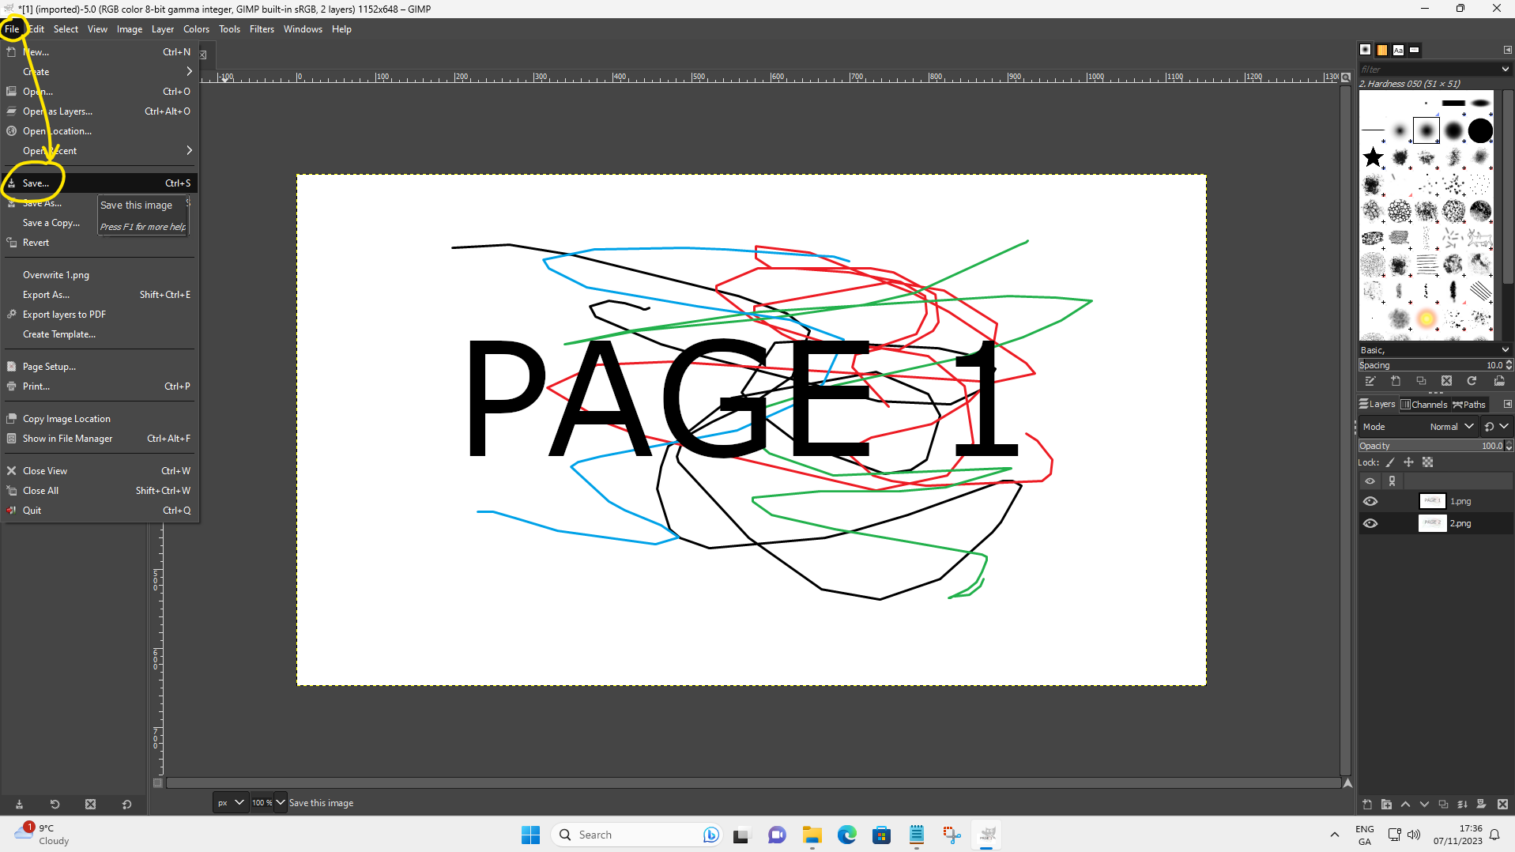
When done sorting the layers click “File” and then “Save”
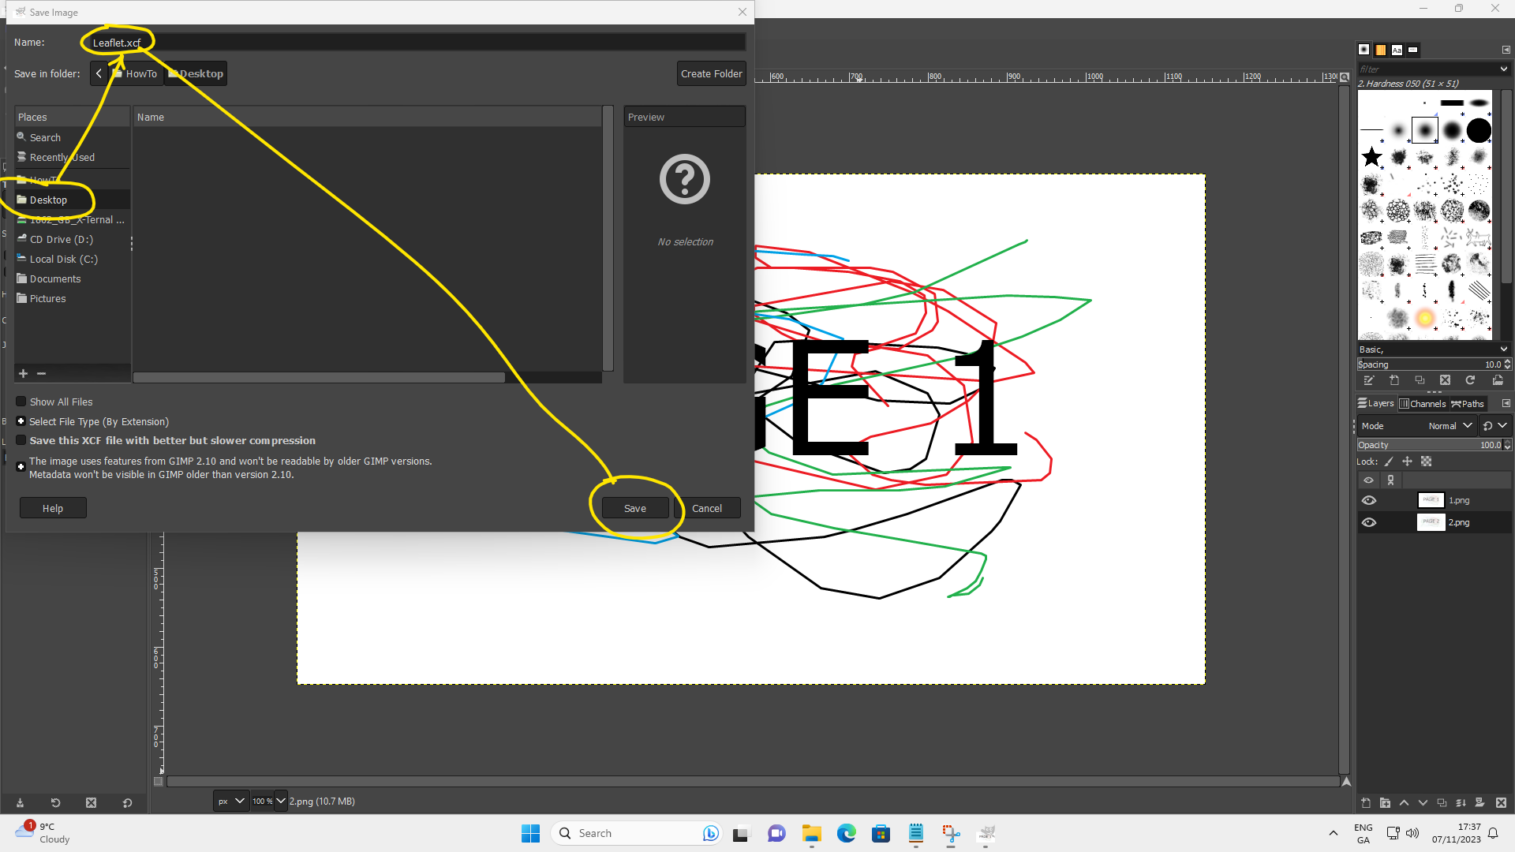
In the “Save Image” window click on “Desktop” in the pane on the left, then type in name of the file (your PDF will have exactly the same name) in the “Name” field and click “Save.
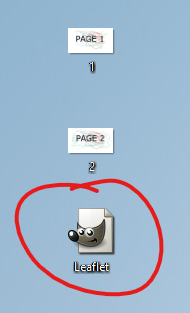
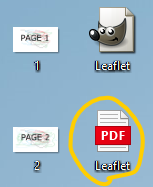
Now close GIMP. This step is necessary for a proper PDF generating. Look at Your desktop. You now have Leaflet file with Wilbur’s face for icon. Good. Double click on that file.
When GIMP reopens click “File” and then “Export layers to PDF”
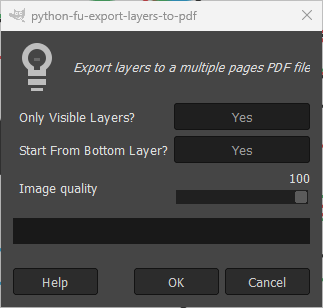
A small window will pop-up. Usually the only thing that You will change in here is “Image quality”. The lower the quality – the smaller the PDF file. Its very useful but make sure You do not decrease quality to the point that the whole PDF becomes a blurry mess. Click “OK”
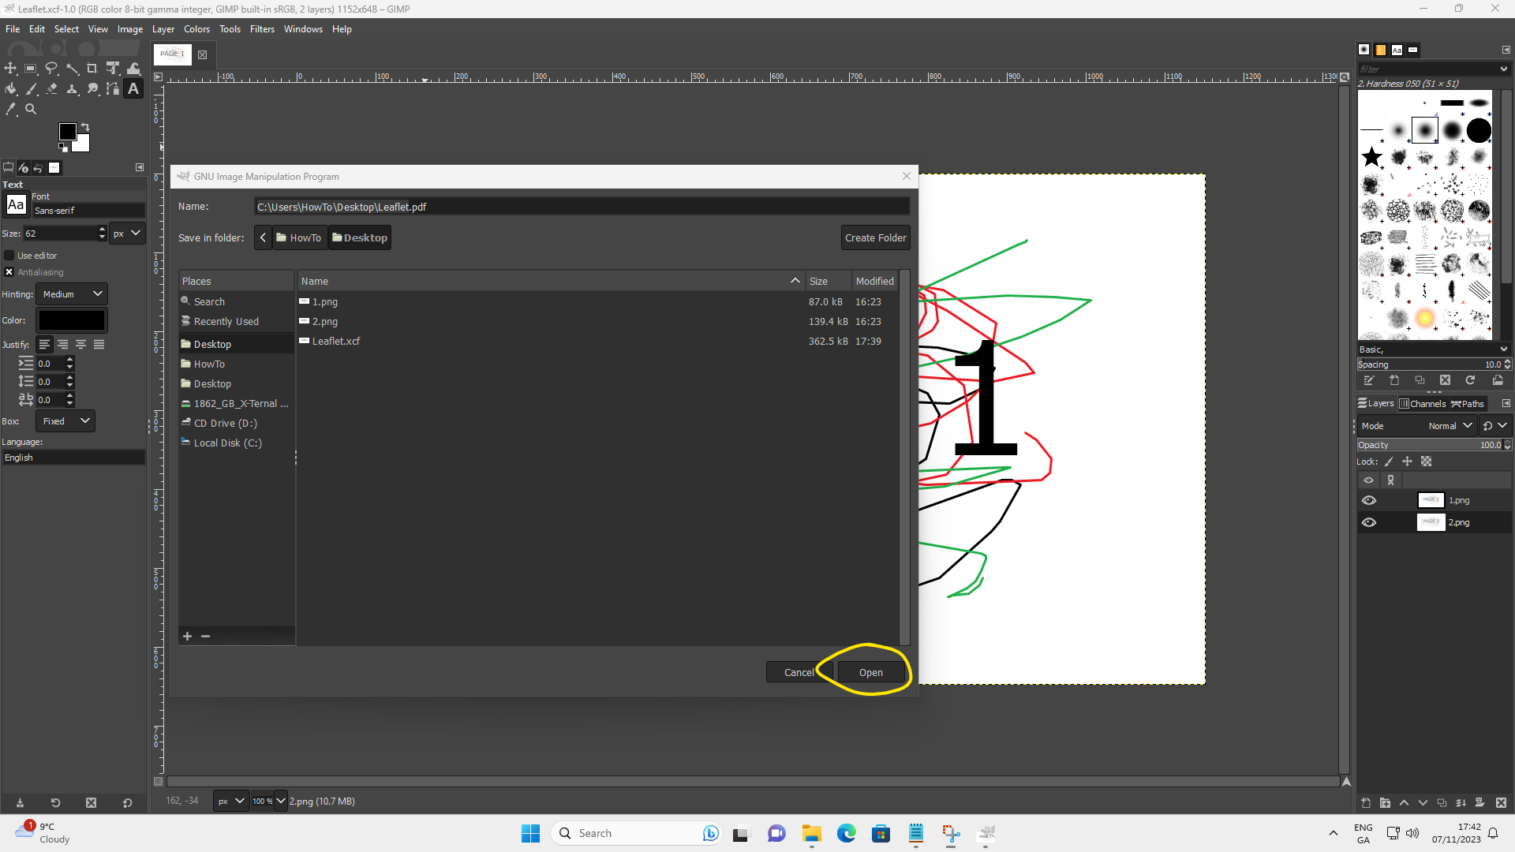
Click “Open”
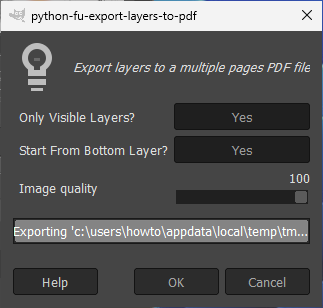
GIMP will proceed with the PDF generating. Depending on the amount of pages and the quality You chose this MAY take a long time. The window will disappear when program finishes generating the file.
Close GIMP and look at Your Desktop. Your Leaflet.pdf file will be waiting for You there. Double click on it.
The file will open.
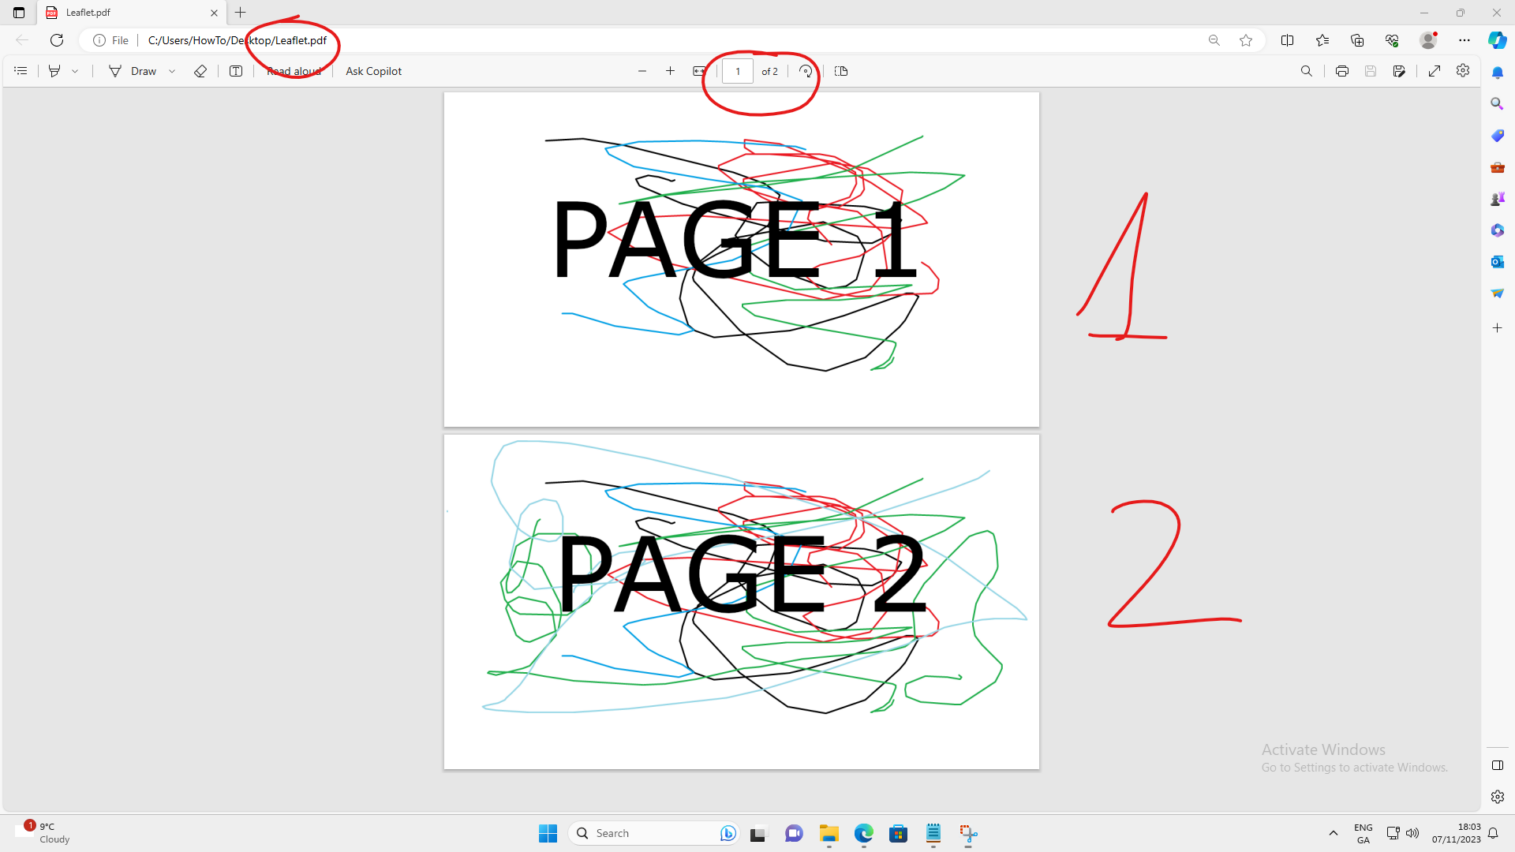
Voila! You have just generated a PDF file.
Stay tuned for the GIMP 101 part 4.
Happy photo retouching!
Catch you on the flip side,
AndrzejL