Hello beautiful peoples!
Welcome to the first part of an exciting Inkscape adventure!
What is Inkscape?
Inkscape is a free and open-source vector graphics editor that allows you to create and edit vector graphics. Vector graphics are images that are made up of lines, curves, and shapes, which can be scaled up or down without losing quality. Inkscape is a powerful tool that can be used for a variety of purposes, such as creating logos, illustrations, diagrams, and more.
Some of the features of Inkscape include:
- Flexible drawing tools: Inkscape provides a variety of drawing tools that allow you to create complex shapes and designs.
- Broad file format compatibility: Inkscape can import and export a wide range of file formats, including SVG, PDF, EPS, and AI.
- Powerful text tool: Inkscape’s text tool allows you to create and edit text in a variety of fonts and styles.
- Bezier and spiro curves: Inkscape’s curve tools allow you to create smooth, flowing lines and curves.
- If you’re interested in creating vector graphics, Inkscape is a great tool to have in your toolkit. It’s free, easy to use, and provides a wide range of features that can help you create professional-quality designs. You can download Inkscape from their official website 12.
The Inkscape logo is a mountain with a snowy cap. It was created by Andrew Michael Fitzsimon.

Today, we’re kicking things off with a very basic task: downloading and installing Inkscape under Windows.
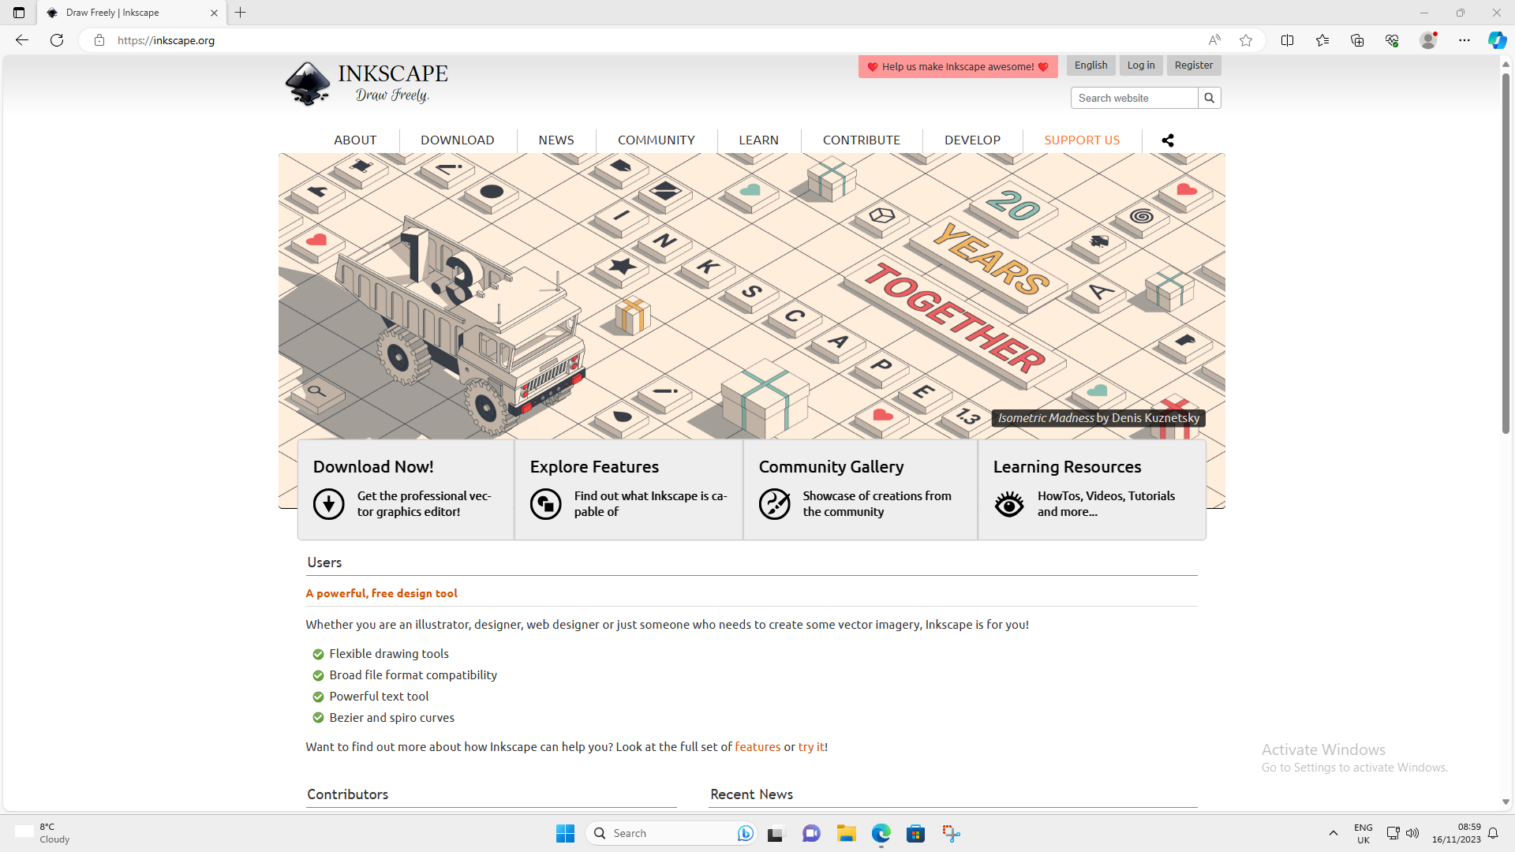
First things first, let’s grab Inkscape from its digital home:
Download Link: Inscape Official Website
Move Your mouse over the “DOWNLOAD” in the sites menu, when it drops down move Your mouse over “Current Stable Version” and click on it.
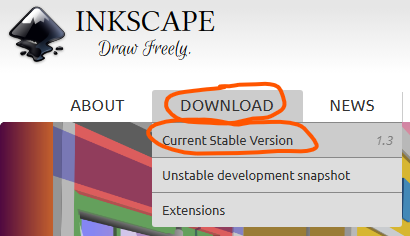
Click on “Windows Installer Package”
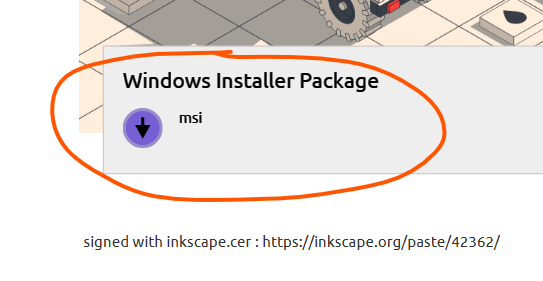
Download should start momentarily. Wait till its finished.
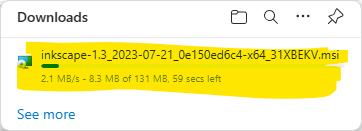
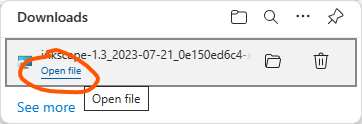
Once your download is complete, double-click the file to start the installation.
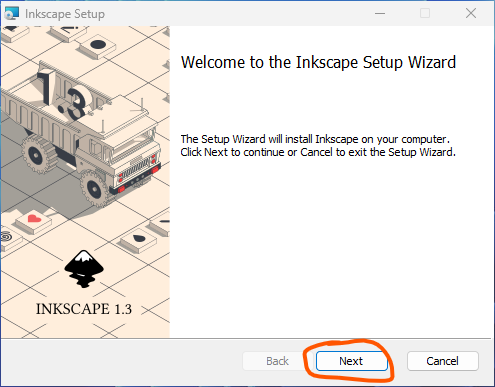
Click “Next” when presented with “Welcome to the Inkscape Setup Wizard” step
Click “Next” when presented with “Custom Setup” step

Click “Install” when presented with “Ready to install Inkscape” step

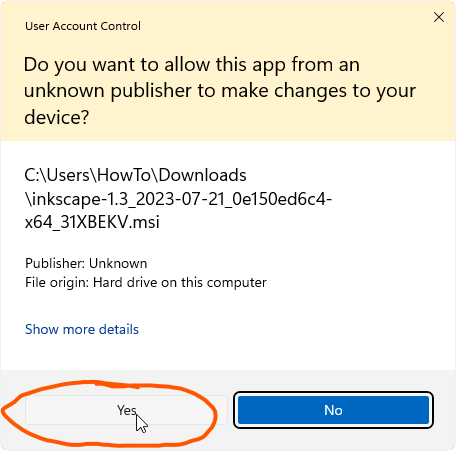
Next click “Yes” when asked “Do You want to allow this app from an unknown publisher to make changes to your device?”.
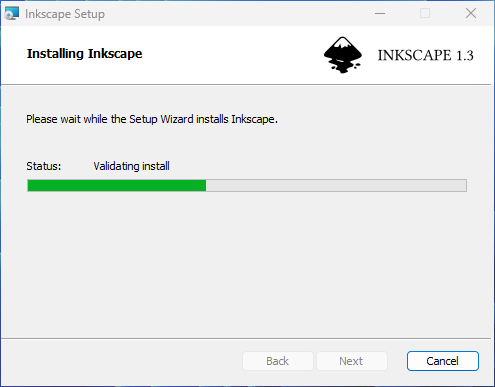
Wait for the program to finish installing.
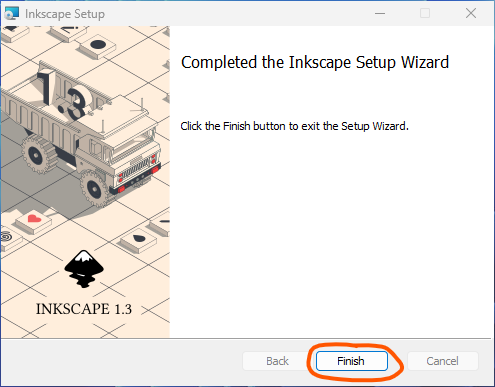
Click “Finish” to close the installation window.
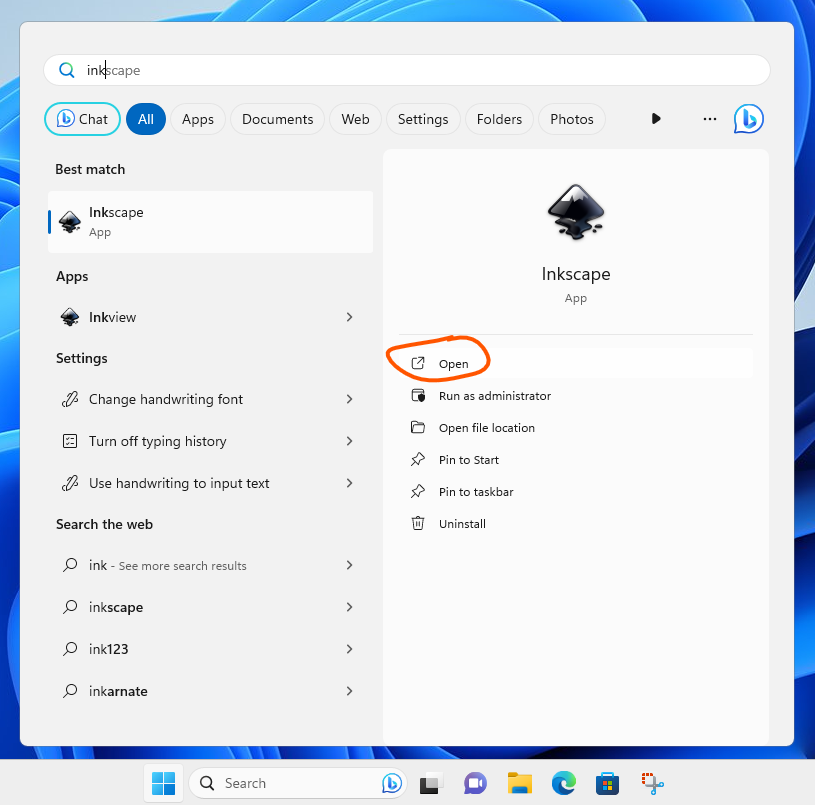
Click on Start Menu, type in ink and click on “Open” under the Inkscape app icon.
Click “Save” when presented with “Quick Setup” screen. This screen will be presented to You once – during the first launch.

Click “Thanks” when presented with “Supported by You” screen. This screen will be presented to You once – during the first launch.

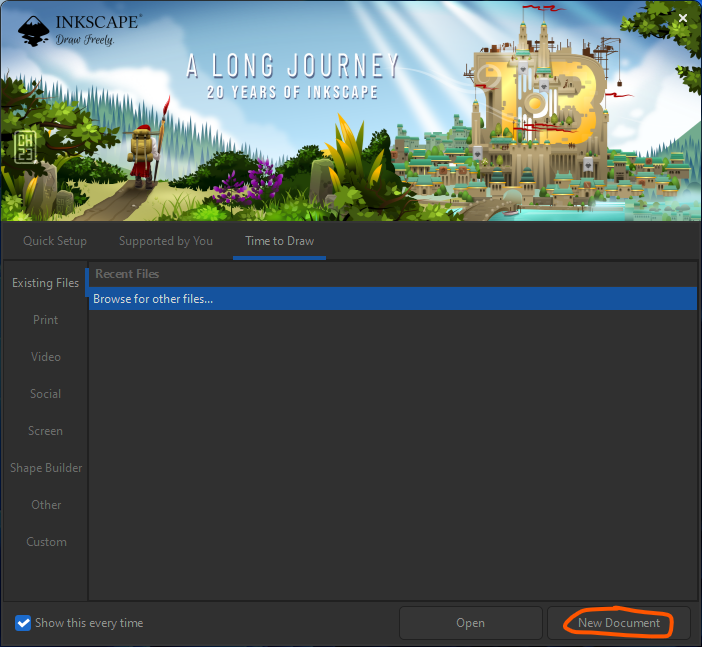
Click on “New Document” to start drawing. Unless You untick the “Show this every time” box – Inscape will always welcome You this way. In this window You can switch to the “Quick Setup” and “Supported by you” tabs in this window, open existing projects or start a new one.
Welcome to Inkscape!
I know I know… It was very simple – it did not warrant a HOWTO at all… You could do all that with Your eyes closed. That’s great. Some people are not computer savvy like You and they sometimes struggle with even basic steps. Also – this HOWTO is a first step that the rest of the steps will be based upon. Its always best to start any project by laying a proper foundation for it. This is what this HOWTO is. A foundation that I will try building upon.
Stay tuned for the Inkscape 101 part 2.
Happy drawing!
Catch you on the flip side,
AndrzejL