
Hello beautiful peoples!

After I have installed WSL 2 Ubuntu 22.04 LTS in Windows 11 I like to do the initial setup and then I am setting it up so that I can run Linux GUI applications on Windows. Here is how I do it.
First You need to download and install Xming. To get it click on the link below.
https://sourceforge.net/projects/xming/
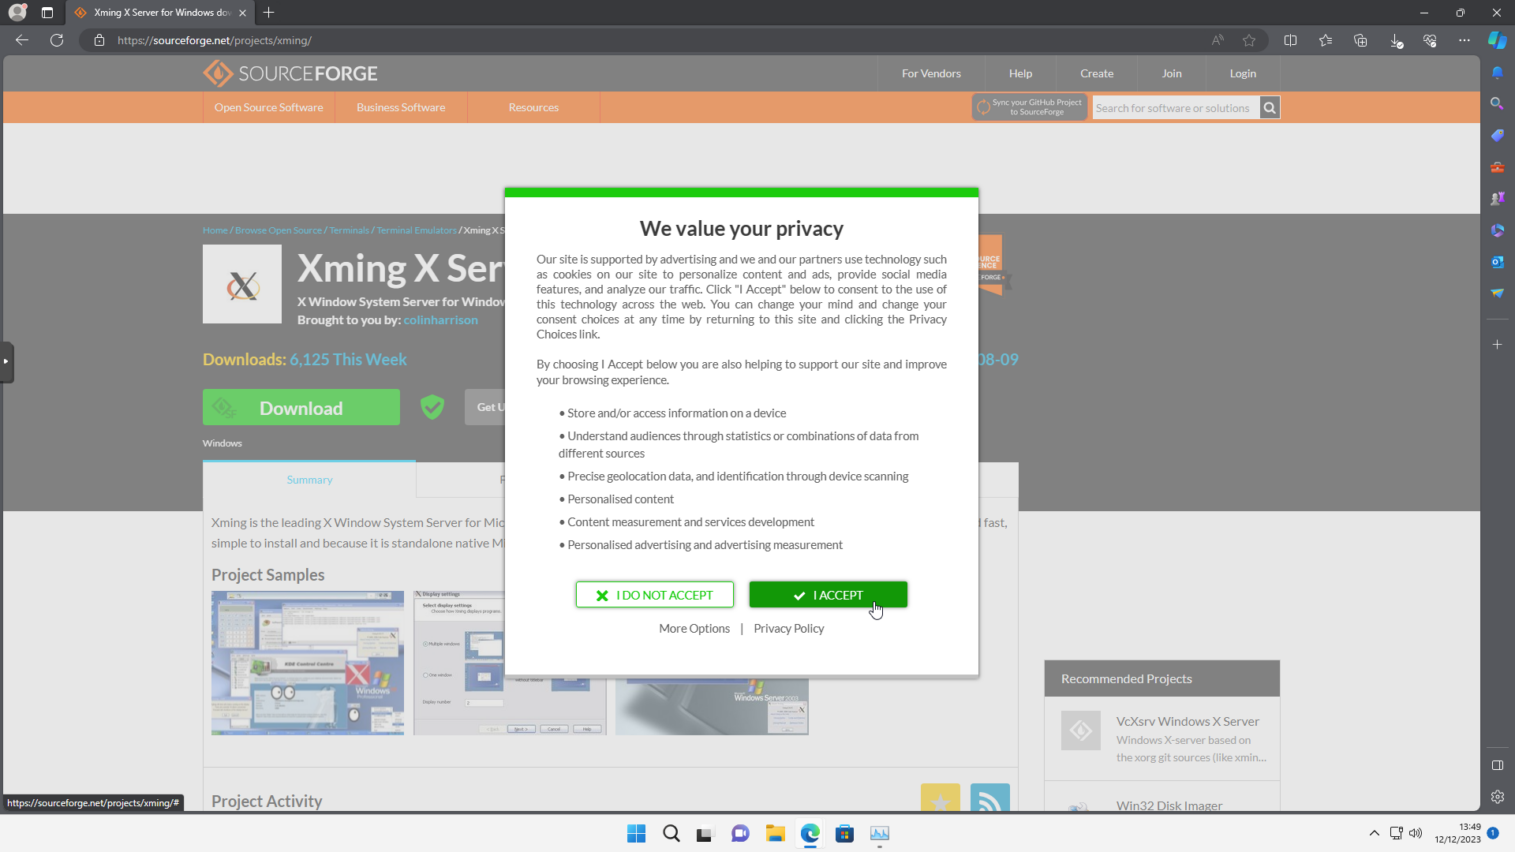
Click “Accept” to agree to the pages cookies.
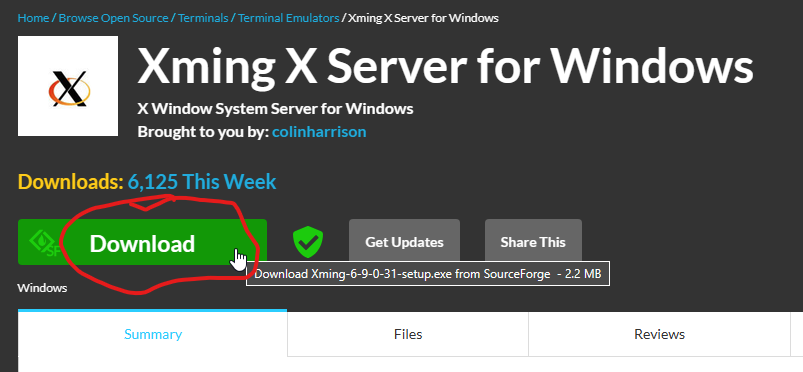
Click on a big green Download button.
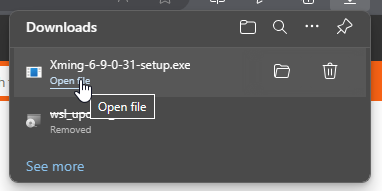
Wait for the file to finish downloading and click “Open file“
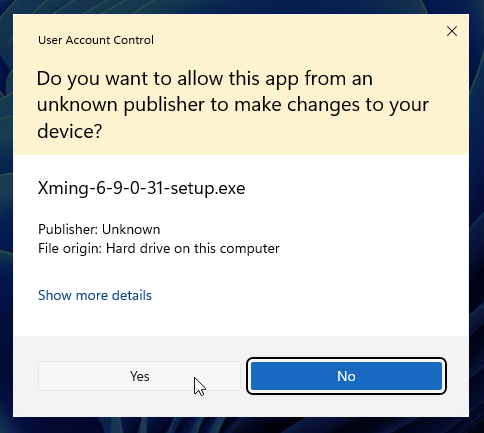
Click “Yes” when asked “Do You want to allow this app from unknown publisher to make changes to your device“
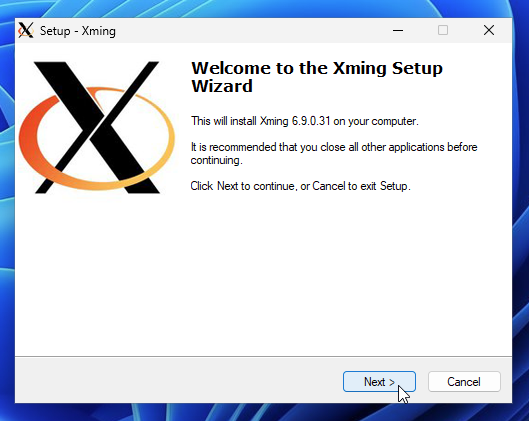
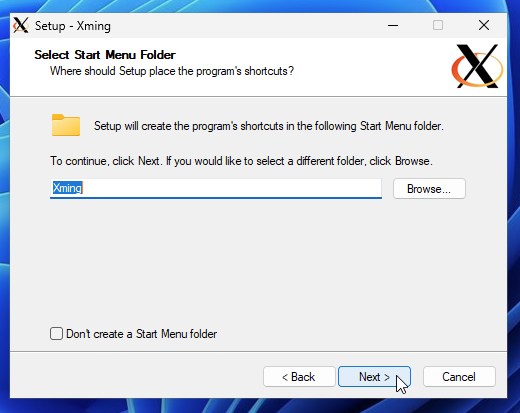
Installation wizard will start. Click “Next” to continue.
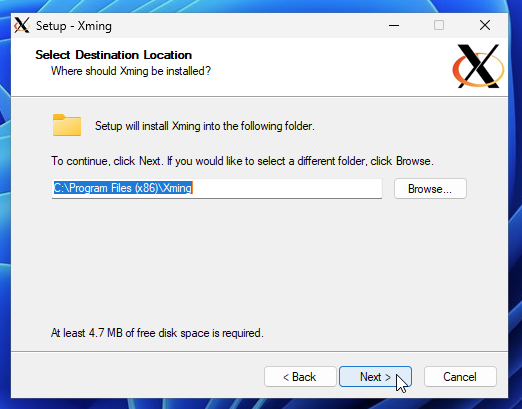
Click “Next” to continue.
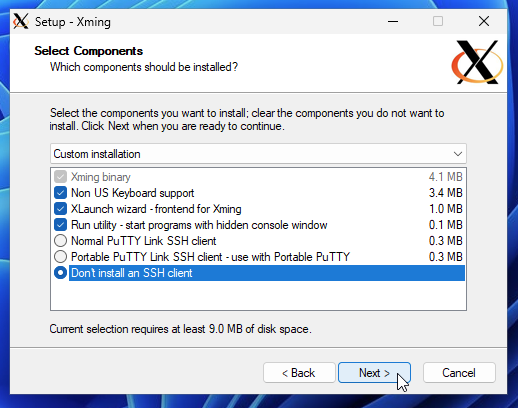
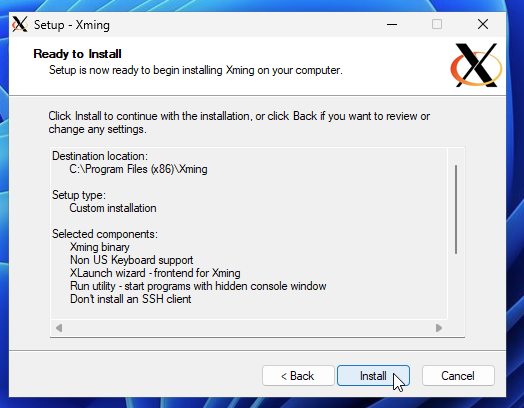
Click on “Don’t install an SSH client“
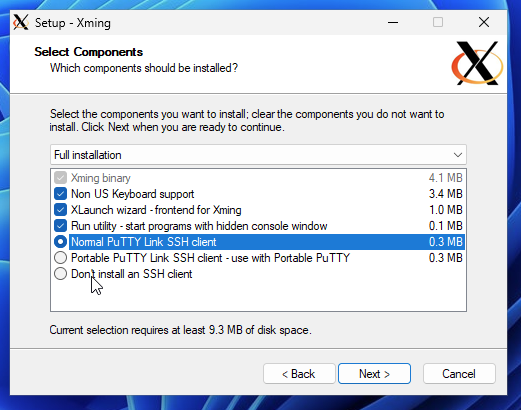
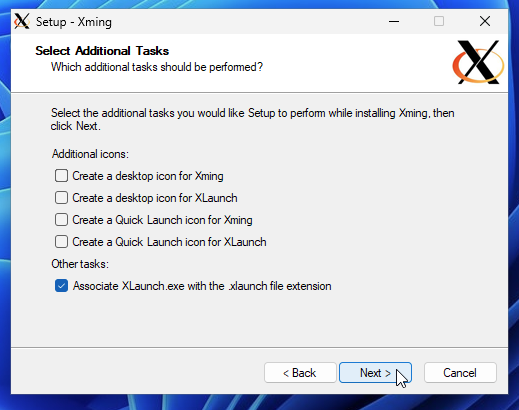
Click “Next” to continue.
Click “Next” to continue.
Click “Next” to continue.
Click “Install“.
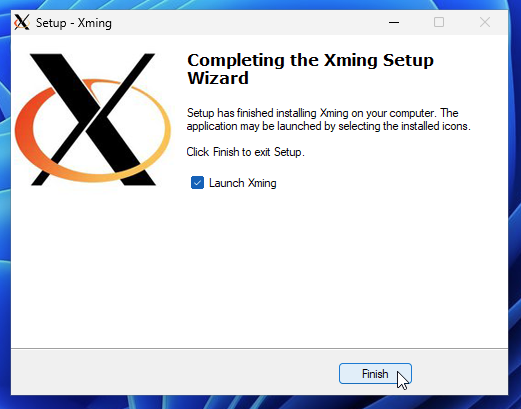
Click “Finish“.
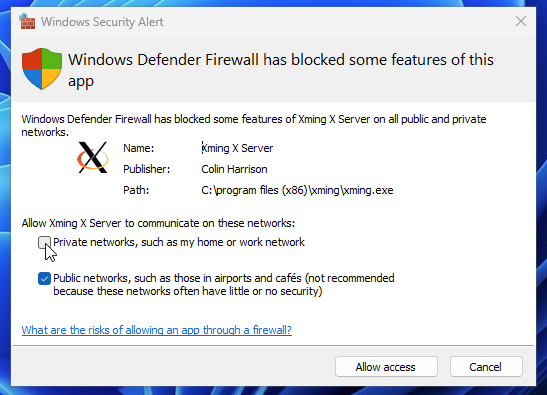
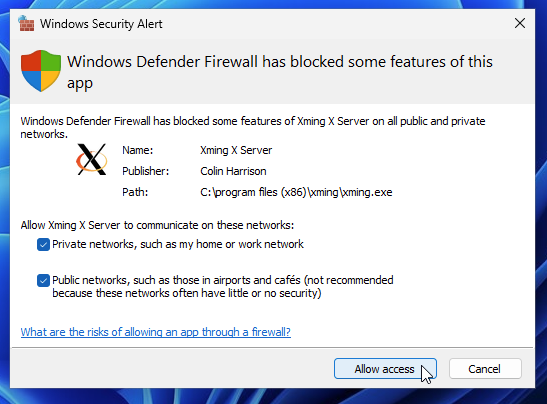
Tick the “Private networks, such as my home or work network“.
Click “Allow access“.
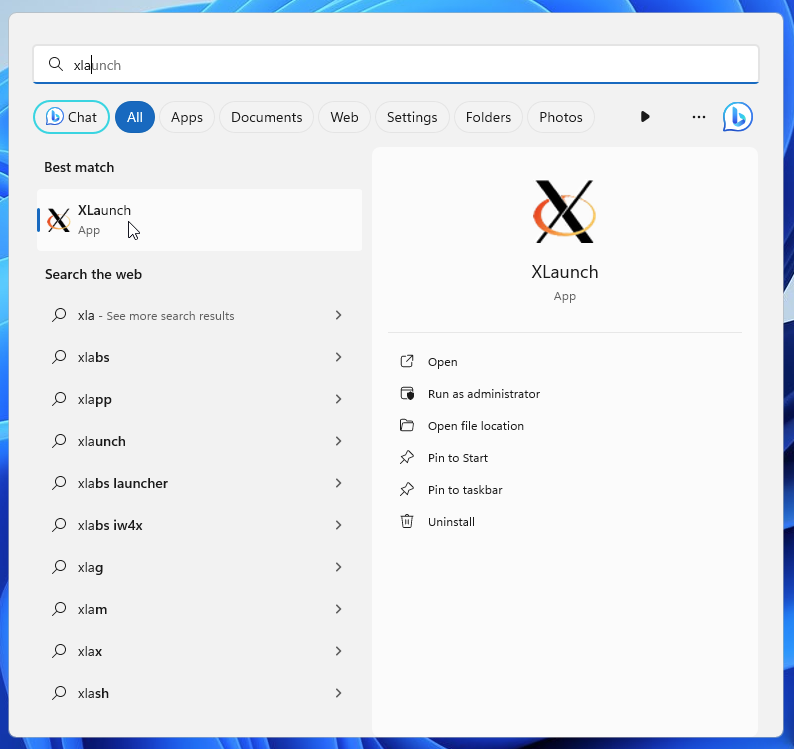
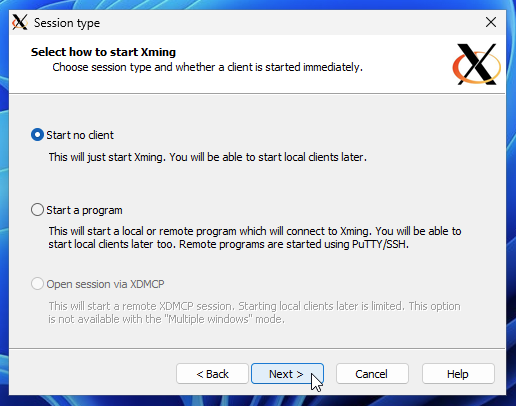
Click on Start Menu and type in xlaunch. Click on the App.
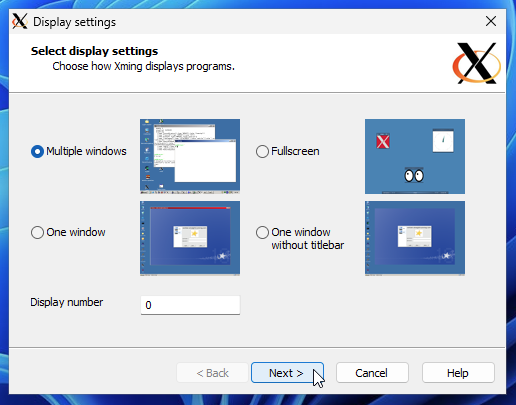
Click “Next” to continue.
Click “Next” to continue.
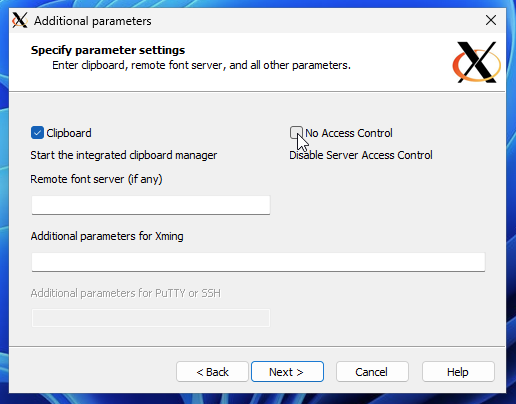
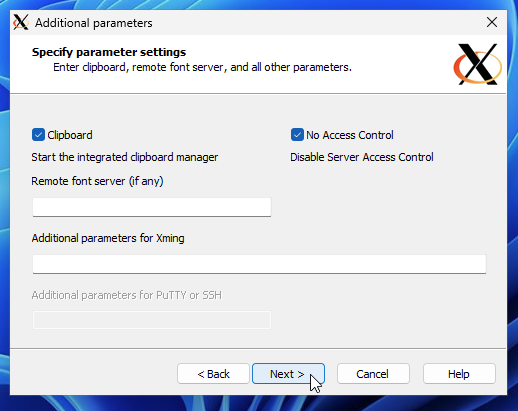
Tick the “No Access Control” box
Click “Next” to continue.
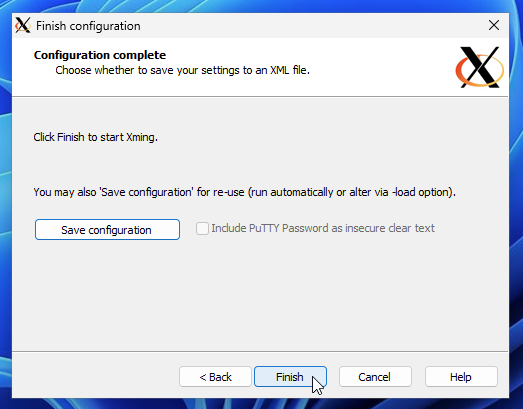
Click on “Save configuration“
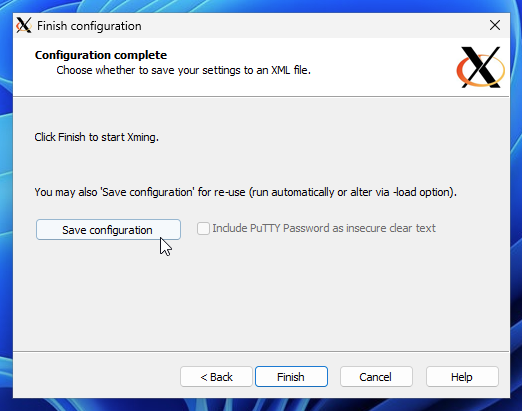
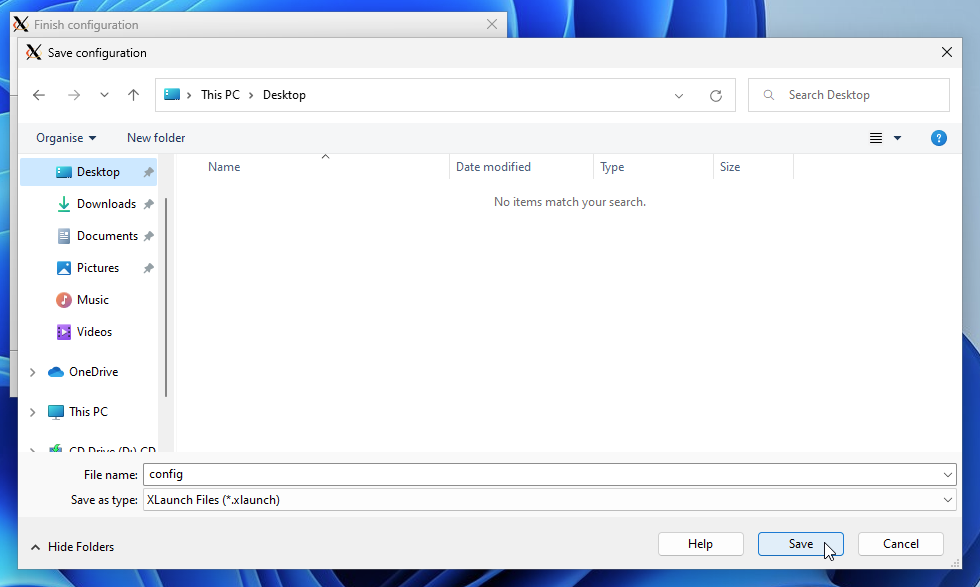
Click on “Desktop” in the pane on the left
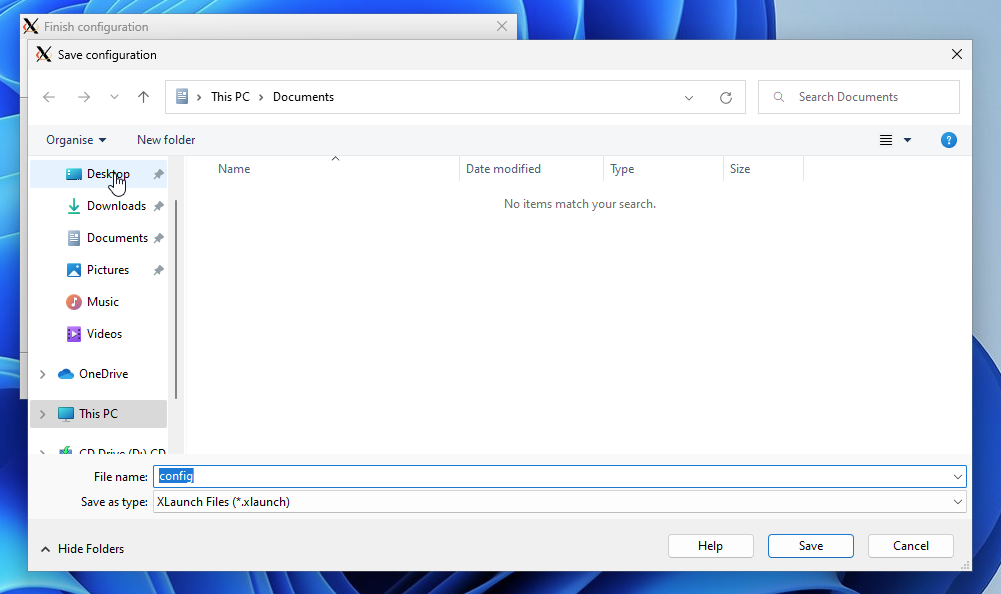
Click on “Save“
Click “Finish“
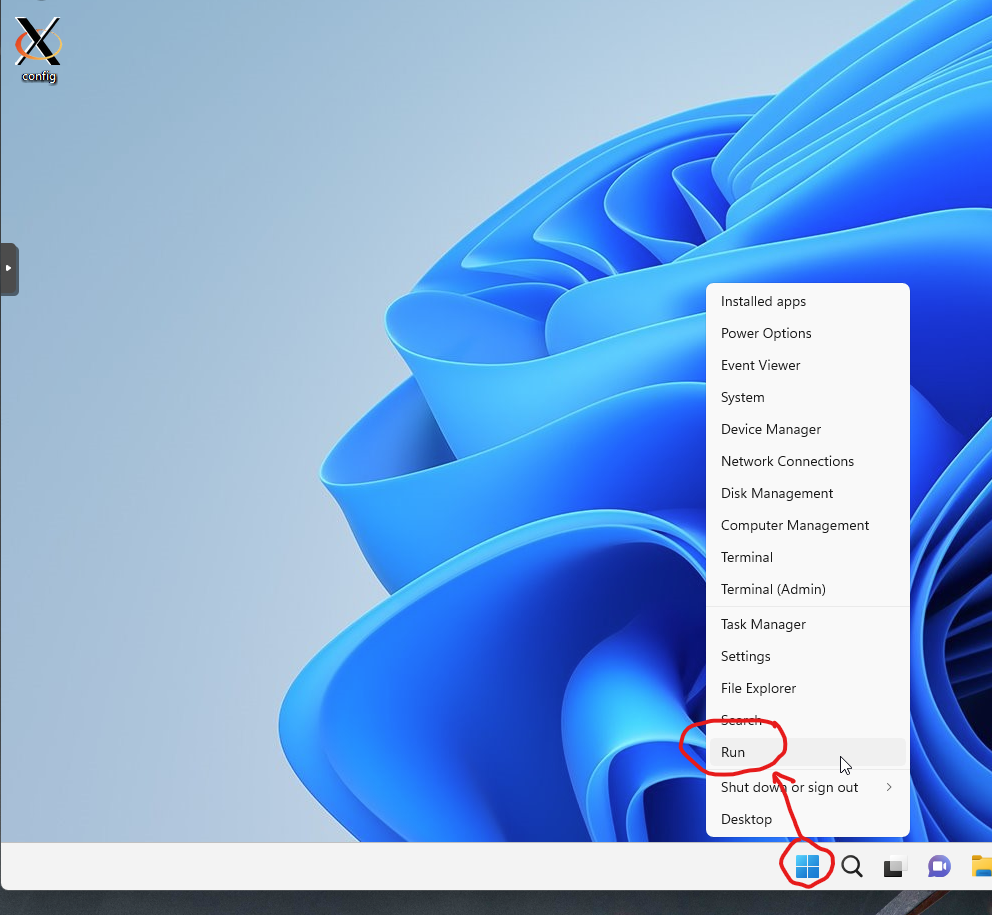
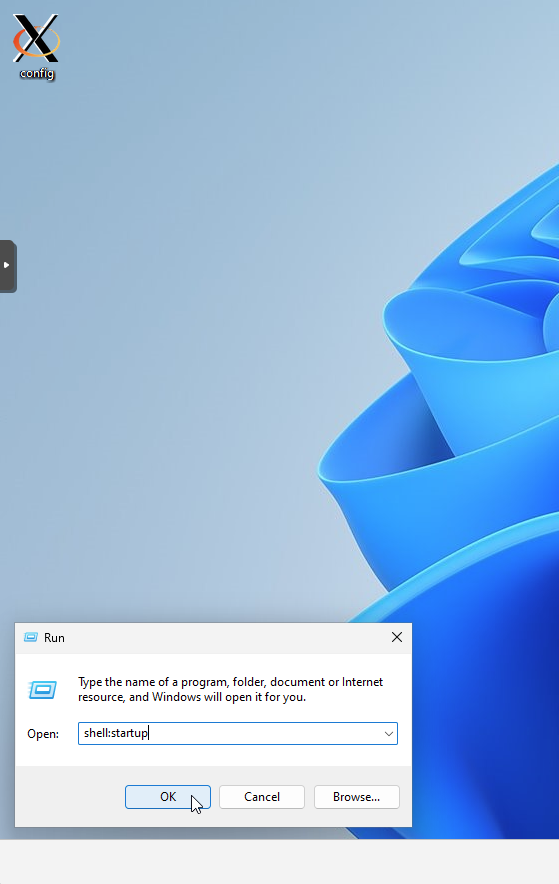
Right click on Start Menu and chose “Run“
Type in shell:startup in the run box and click “OK“
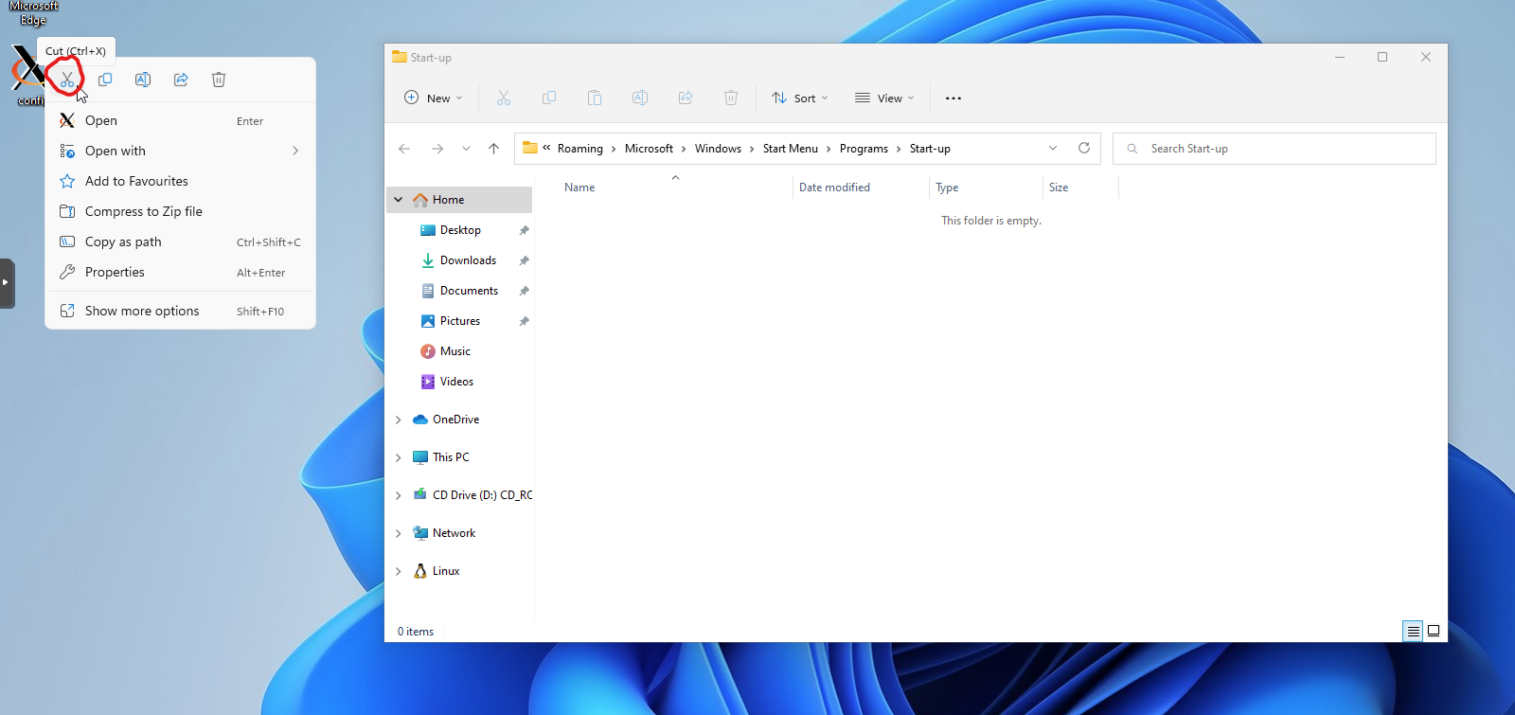
Right click on the config file on your Desktop. The one with a big X for icon. Then left click on the icon with scissors (cut).
Right click on the Start-up window. Chose a little clipboard icon (paste).
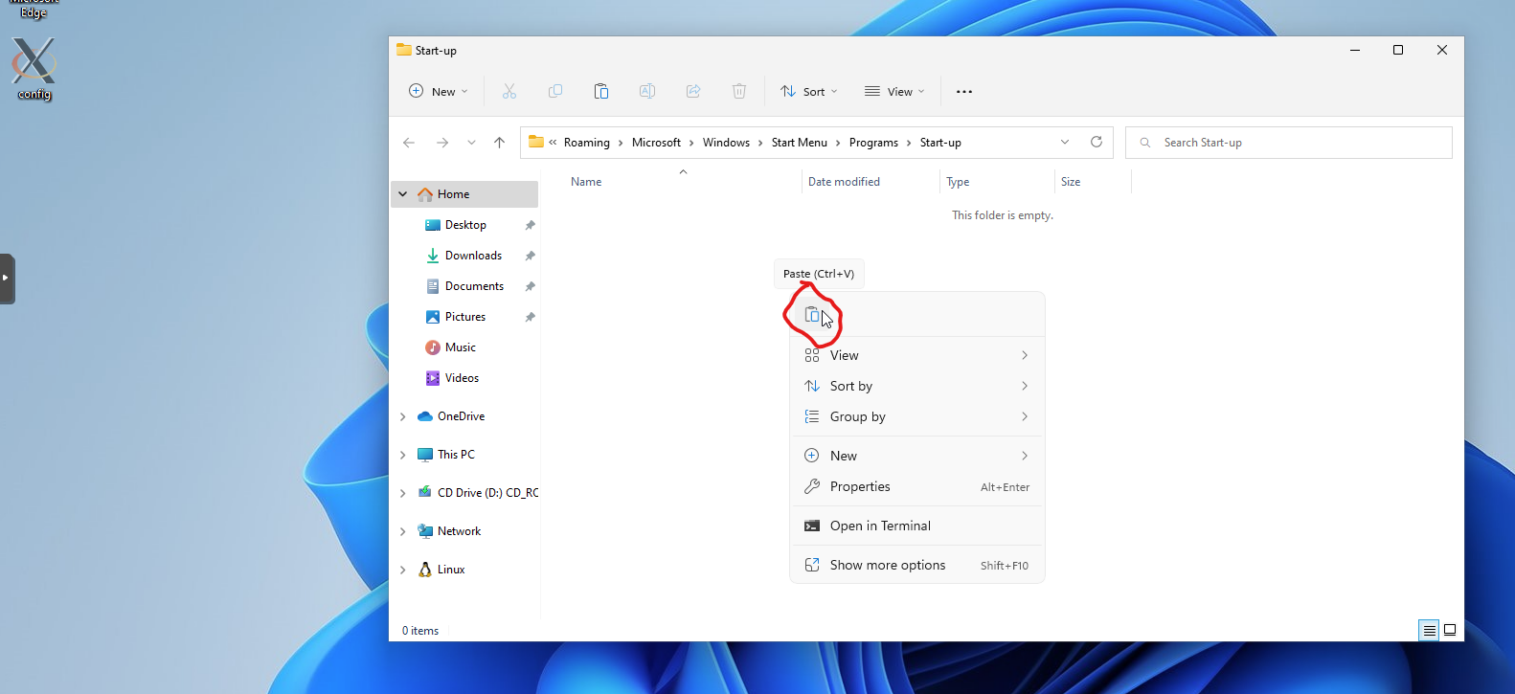
The config file should now be moved to the Start-up folder.

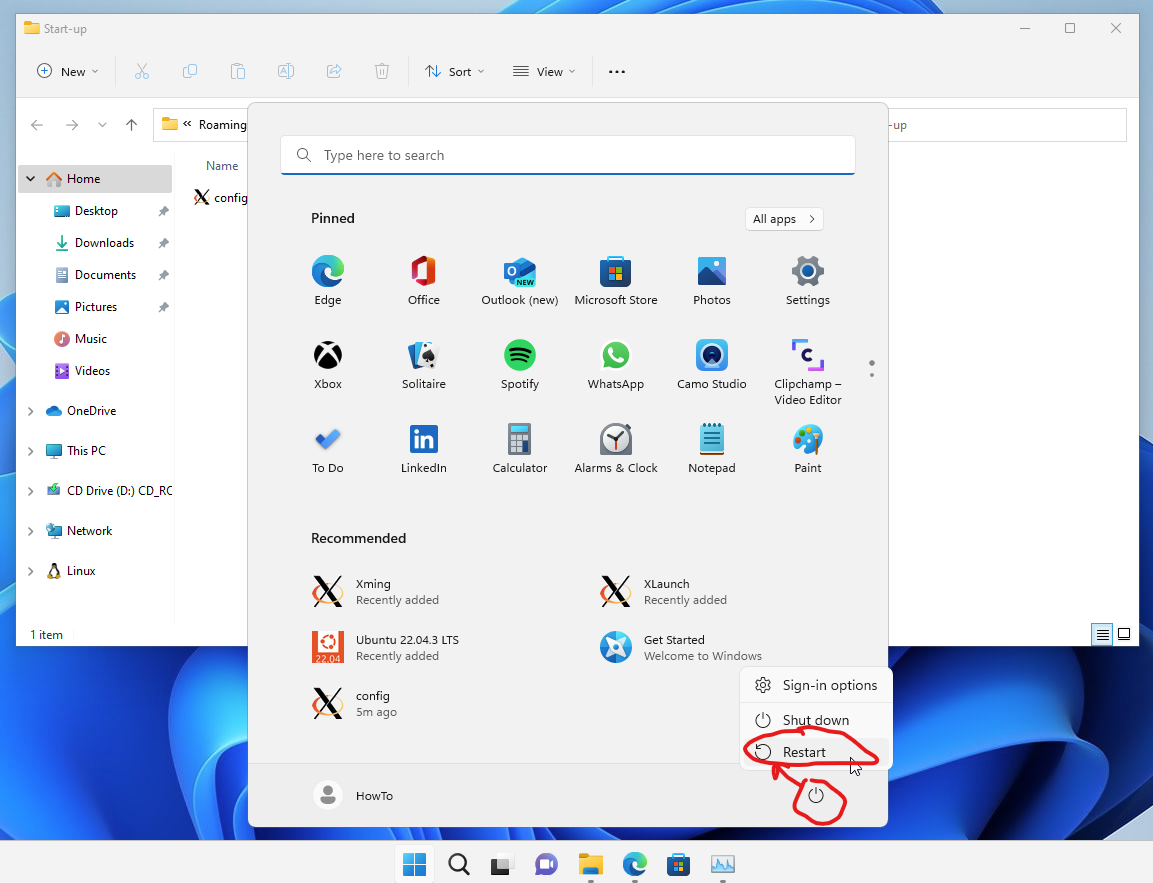
Restart Your machine. Click on Start Menu. Then click on little power icon. Then click on Restart.
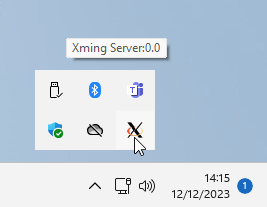
After a reboot You should have new X icon in your system tray. It might be hidden. Click on the ^ (next to the clock) in the tray to show hidden icons.
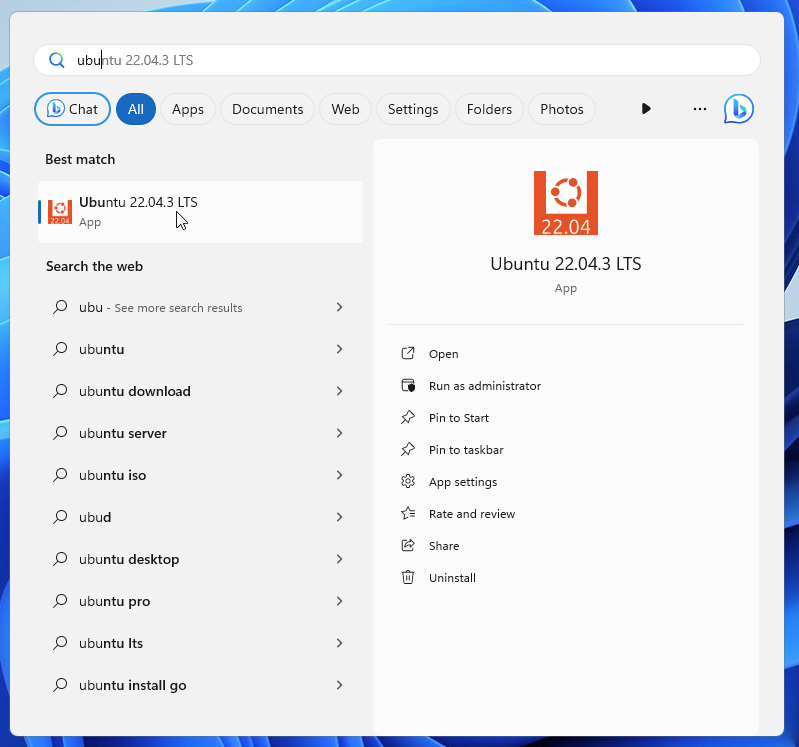
Click on Start Menu, type in ubuntu and click on the Ubuntu 22.04.3 LTS App.

After the Ubuntu window opens. Let’s do the basic “first steps” setup.
Use the commands listed below and press ![]() after each to confirm.
after each to confirm.
sudo supasswdNow type in and the retype the password for the root user and press ![]() after each to confirm.
after each to confirm.
Now copy the command below and right click on Ubuntu window to paste it in:
apt -y update && apt -y upgrade && apt -y dist-upgrade && apt -y full-upgrade && apt -y --purge autoremove && snap refresh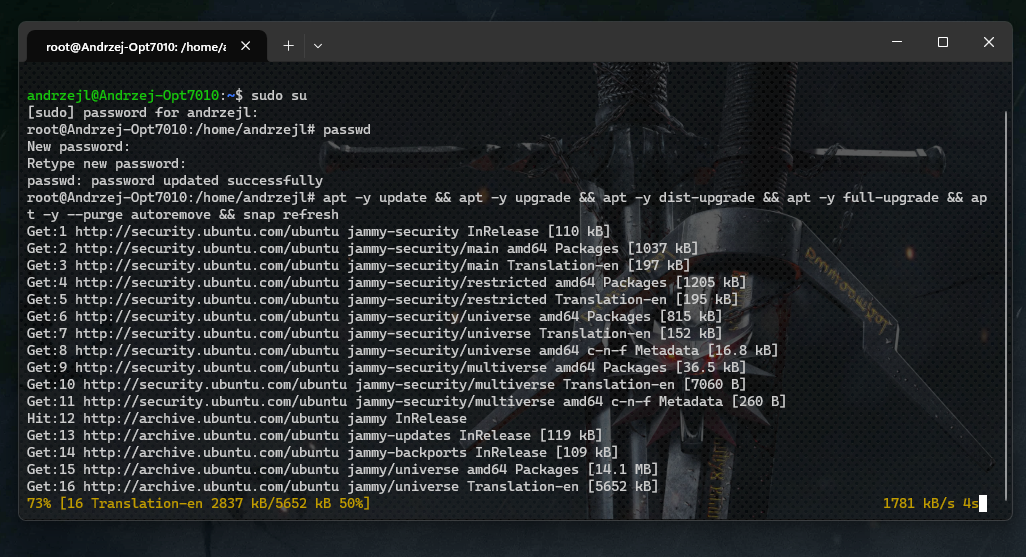
Now check if there were any “kept packages” listed after the installation and install those:
apt -y install python3-update-manager update-manager-core
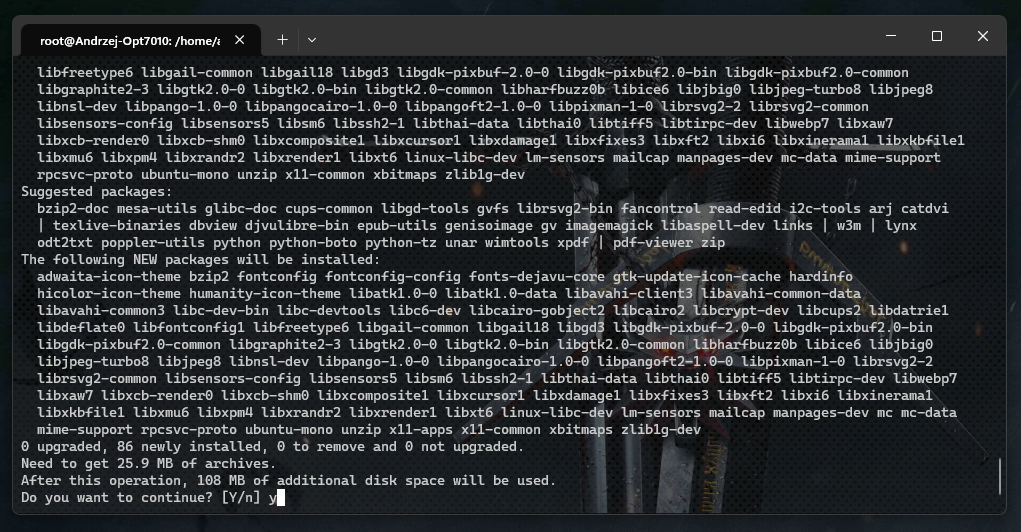
Now install some needed packages:
apt -y install mc htop hardinfo x11-apps
Now type in
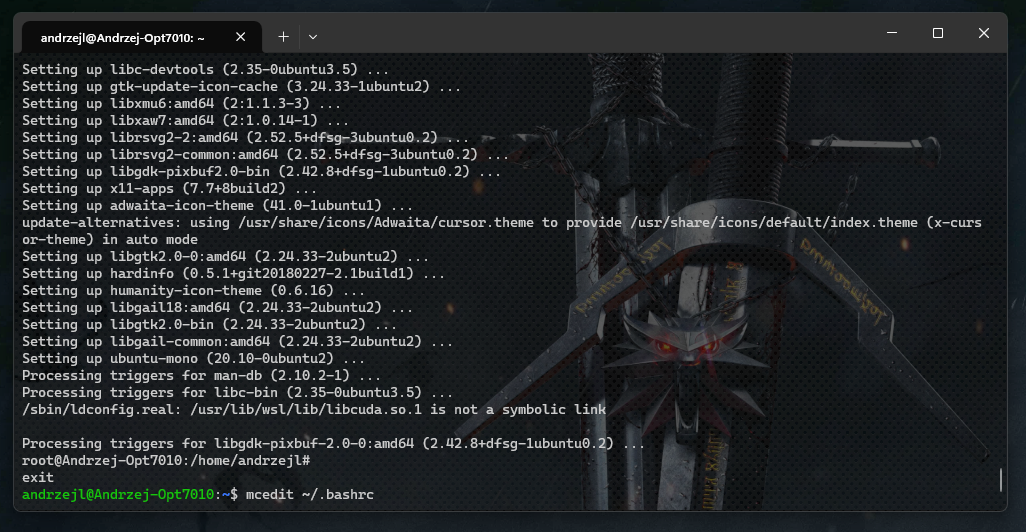
exitand press ![]() to go back to the user account.
to go back to the user account.
Here type in:
mcedit ~/.bashrc
and press ![]()
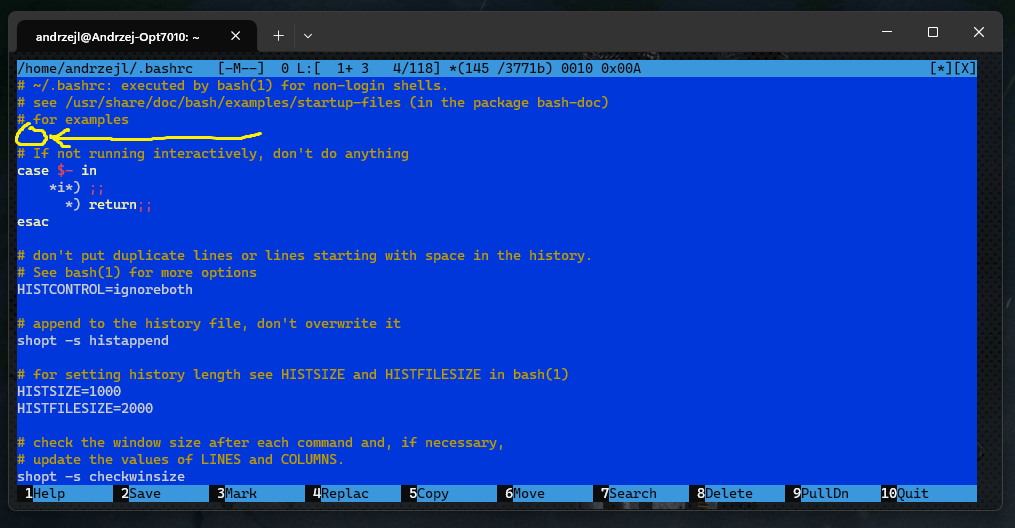
Now when the blue mcedit window shows up copy these 2 lines: (Lines below Updated 1st July 2024)
export DISPLAY=:0
echo $DISPLAY
Then click back into Ubuntu’s mcedit window. Press ![]() on your keyboard 3 times to go to the empty line and then press
on your keyboard 3 times to go to the empty line and then press ![]() on the keyboard and while holding it move the mouse pointer to that empty line (marked with yellow circle in the screenshot below) and right click.
on the keyboard and while holding it move the mouse pointer to that empty line (marked with yellow circle in the screenshot below) and right click.
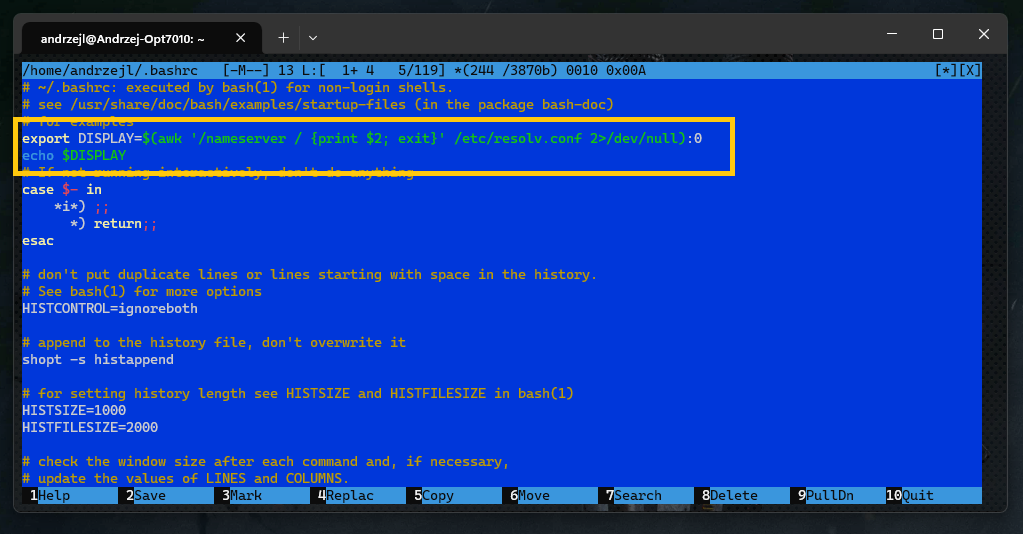
The two lines You copied previously should now be pasted into the file.
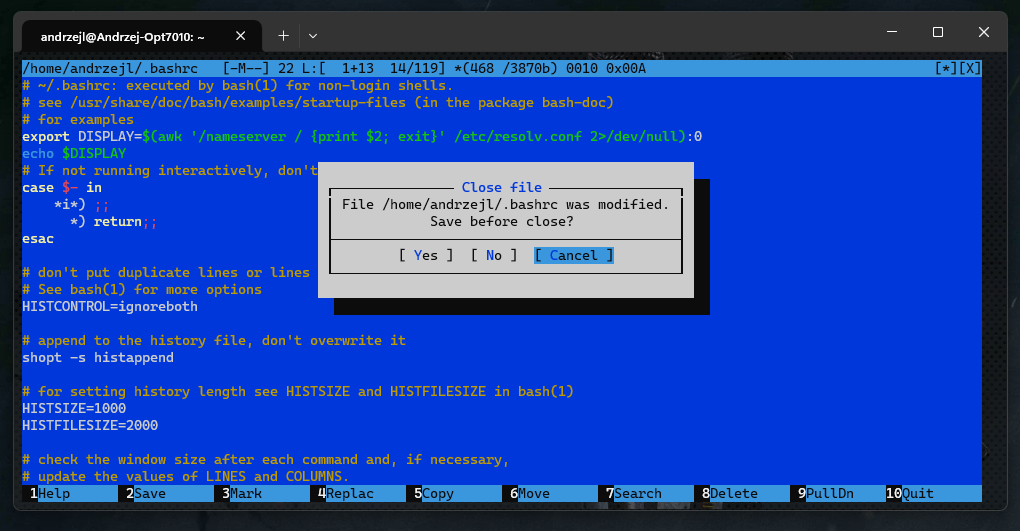
Press ![]() on Your keyboard. A Close file dialog will pop up. It will ask to Save the file before closing.
on Your keyboard. A Close file dialog will pop up. It will ask to Save the file before closing.
Press ![]() twice to move the cursor to
twice to move the cursor to ![]() position and then press
position and then press ![]() to confirm.
to confirm.
You should be back in the command line terminal now. Type in:
exitand press ![]() to confirm.
to confirm.
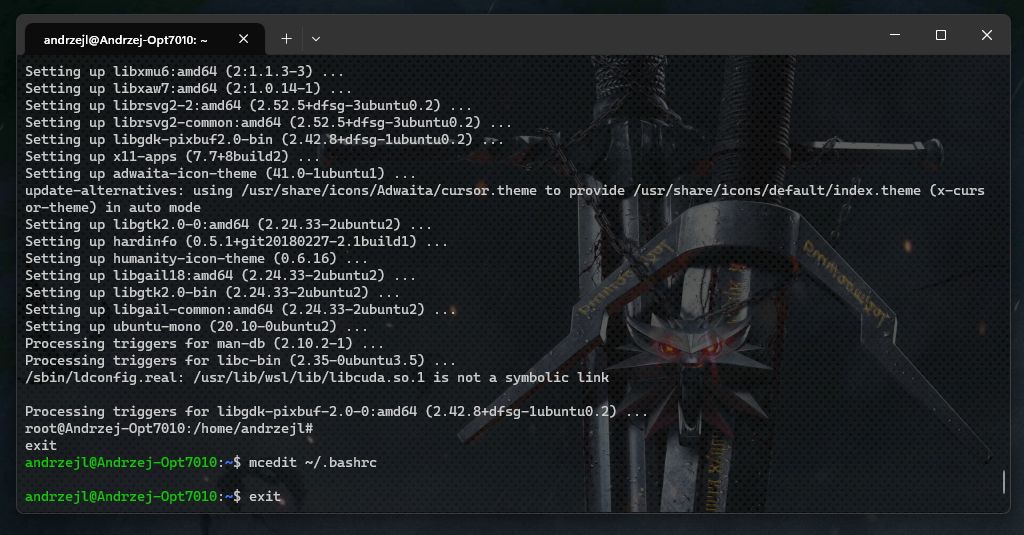
This will close the Ubuntu window. Reopen it again.
and when the window opens type in:
xeyesand press ![]() to confirm.
to confirm.
You should now have a pair of googly eyes following Your pointers every move.
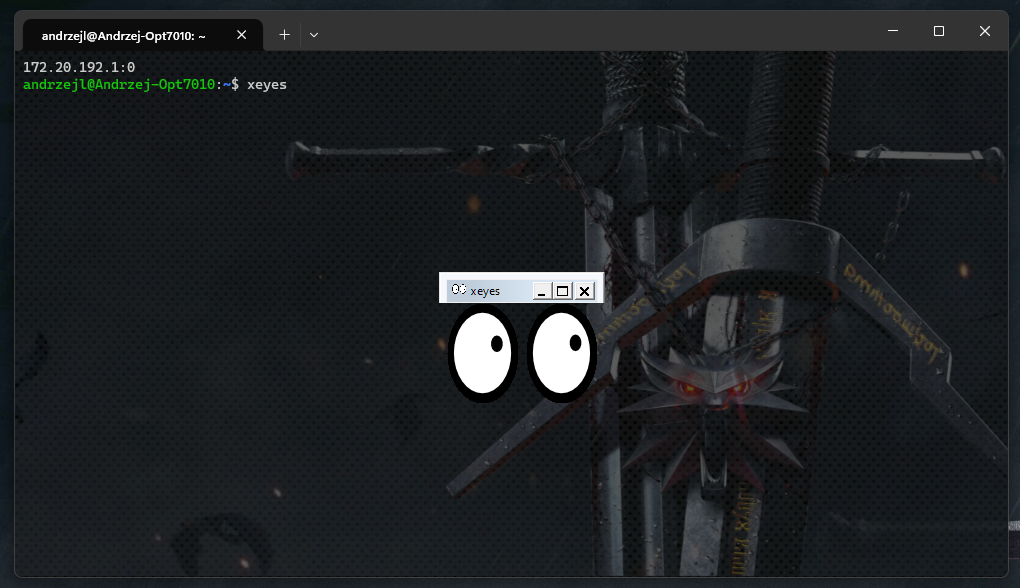
You can now run Linux GUI Apps on Windows.
I hope this helps!
Catch you on the flip side,
AndrzejL


Pingback: [UPDATED (01/07/2024)] How I Run Linux GUI Apps With WSL2 on Windows - Andrzej Langowski