
Hello beautiful peoples!
Welcome to the second part of an exciting GIMP adventure!
Surprisingly today I am not touching GIMP at all. Today I am going to download and install ImageMagick (in the correct $PATH).
What is ImageMagick?
ImageMagick is a free and open-source software for displaying, converting, and editing image files. It can read, convert, and write images in a variety of formats. ImageMagick is often used for batch processing of images, creating animations, and generating thumbnails.
ImageMagick icon is a magic wand:

I already have GIMP. Why would I need ImageMagick?
Installing ImageMagick alongside GIMP can provide several benefits, especially for users who work extensively with images and graphics. Having both ImageMagick and GIMP installed provides users with a versatile toolkit for handling various image-related tasks efficiently, whether it’s through a graphical interface (GIMP) or command-line automation (ImageMagick). Users can choose the tool that best fits their specific requirements and workflow.
What am I using it for? For me its mostly about combining multiple image files into a PDF booklet document. I will add more on this subject in Gimp 101 part 3.
First things first, let’s grab ImageMagick from its digital home:
Download Link: ImageMagick Official Website
https://imagemagick.org/script/download.php
https://web.archive.org/web/20231022051320/https://imagemagick.org/script/download.php
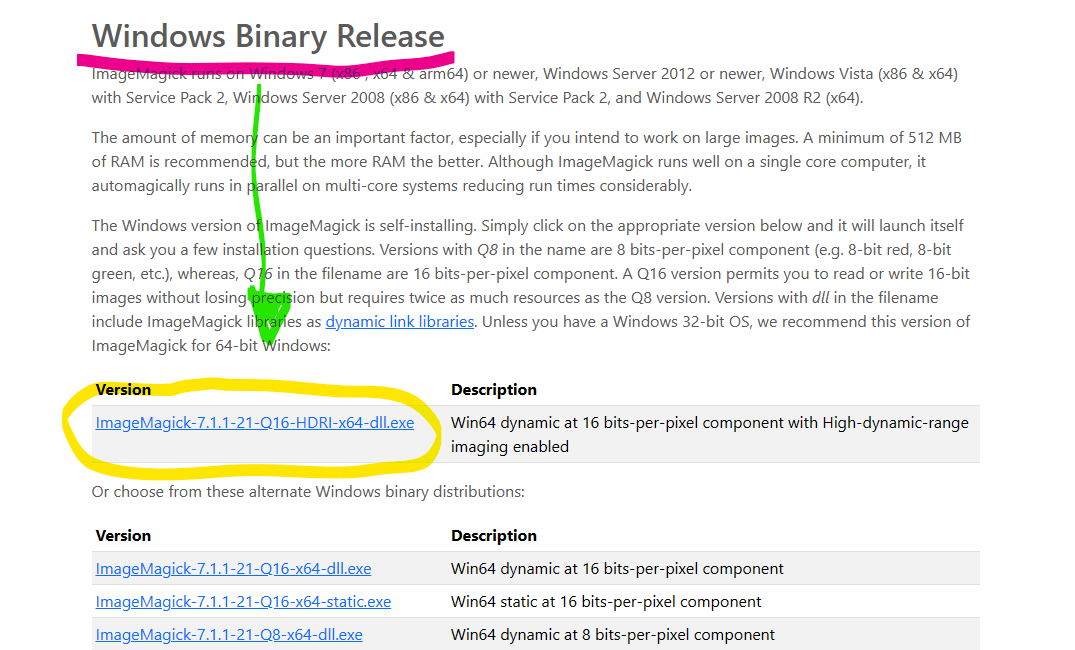
Click on the link and scroll down to the “Windows Binary Release” section and click on the first download link in there. In my case its “ImageMagick-7.1.1-21-Q16-HDRI-x64-dll.exe” file.
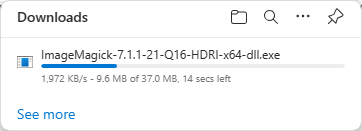
Your download should begin momentarily.
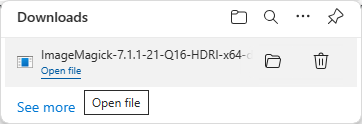
Once your download is complete, double-click the file to start the installation.
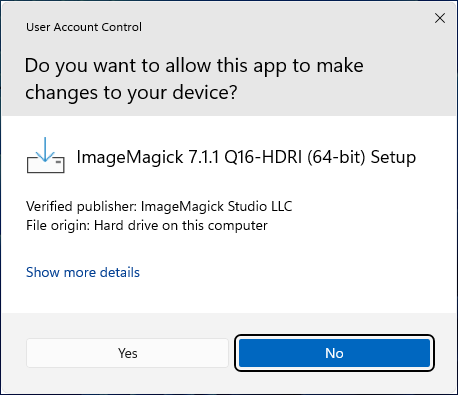
Next click “Yes” when asked “Do You want to allow this app to make changes to your device?”.
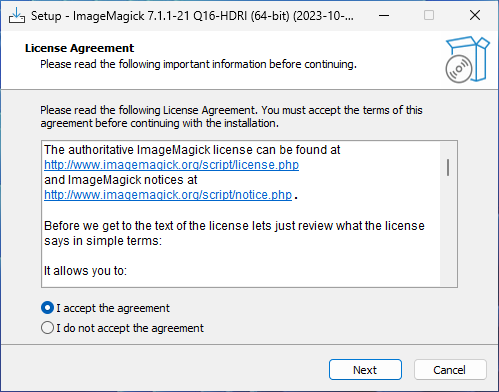
Click on the radial button next to “I accept the agreement” and then click “Next”
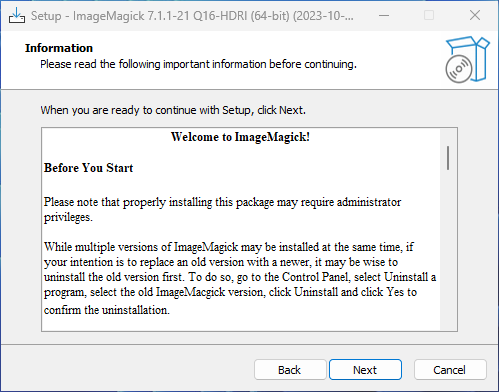
Click “Next” on “Welcome to ImageMagick!” screen
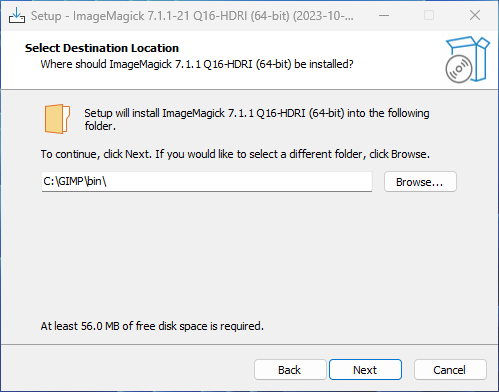
When asked to “Select Destination Location” click into the path field and change it so it reads “C:\GIMP\bin\” and then click “Next”. This is a minor change, however its important to remove all the spaces from the path. I ran into problems with that in the past. It also puts binaries for Gimp and ImageMagick in the same $PATH. Makes it easier for GIMP to find ImageMagick without to much hassle.
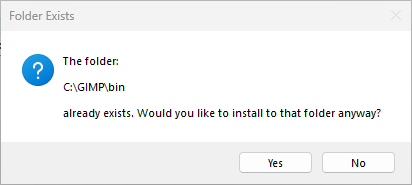
When presented with “Folder Exists” warning just click “Yes”
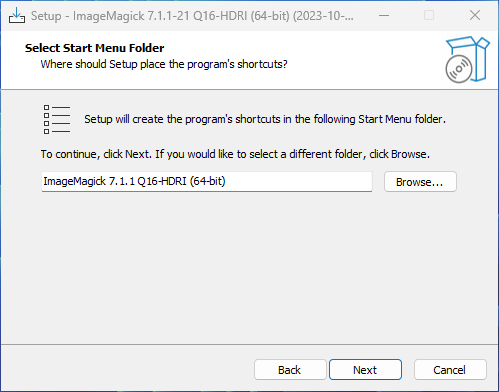
Click “Next” on “Select Start Menu Folder” screen
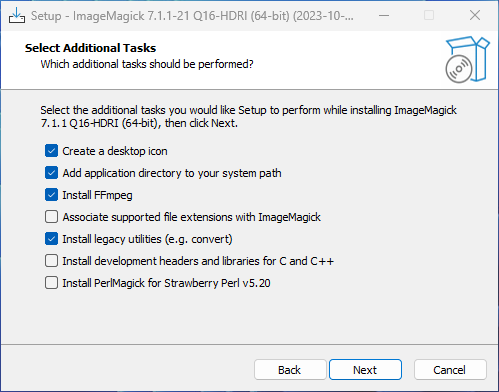
On “Select Additional Tasks” make sure that You ticked the box next to “Install legacy utilities (e.g. convert)” and then click “Next”
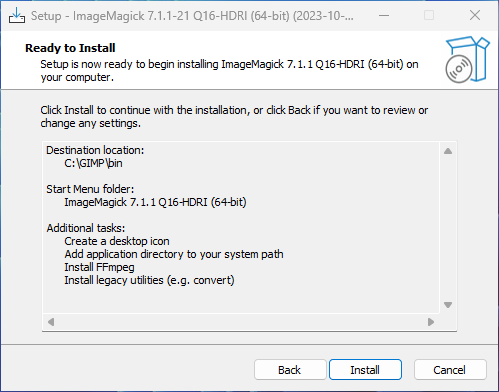
Click “Install” when presented with “Ready to Install” step
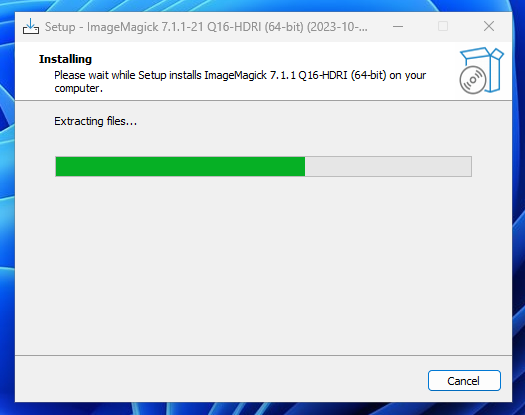
Wait for the program to finish installing.
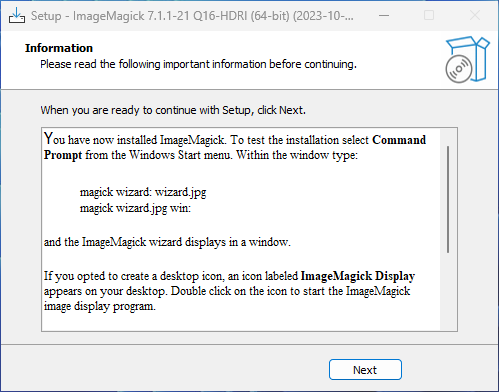
Click “Next” when presented with “Information” page
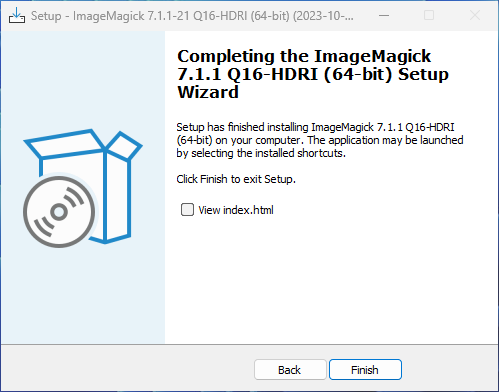
Untick the “View index.html” box and click “Finish”.
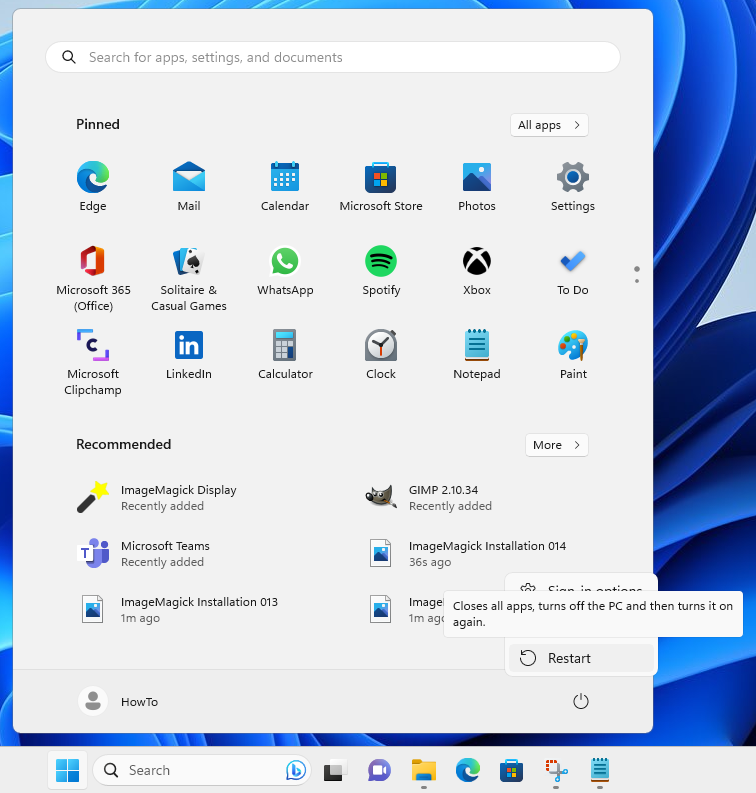
Restart your PC.
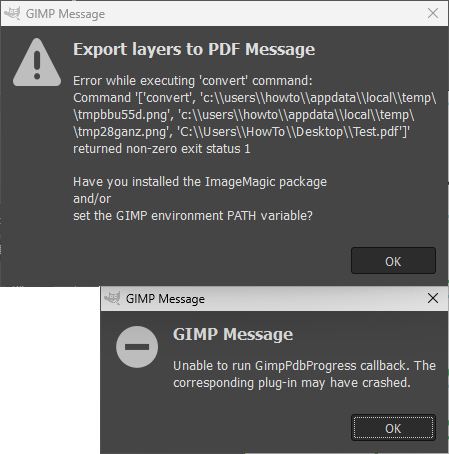
After a reboot you should have a great combo of GIMP and ImageMagick working in tandem. You can use plug-ins for GIMP that use ImageMagick executables without running into $PATH errors like this one:
Stay tuned for the GIMP 101 part 3.
Happy photo retouching!
Catch you on the flip side,
AndrzejL


Pingback: Gimp 101 part 3 – Add export-layers-to-pdf.py to Your plug-ins Folder – Andrzej Langowski