
Hello beautiful peoples!
Welcome to the first part of an exciting GIMP adventure!
What is GIMP?
No, its not that weird gagged Dude stuffed in the chest in the “Pulp Fiction” movie. Its an application. GIMP stands for GNU Image Manipulation Program. It is a popular and powerful open-source graphics editor used for tasks such as photo retouching etc. GIMP is often considered a free alternative to Adobe Photoshop, offering a wide range of features and tools for editing and manipulating images. It is available for various operating systems, including Windows, macOS, and Linux, making it accessible to a wide range of users across different platforms.
GIMP has a mascot. Wilber was created in GIMP by Tuomas Kuosmanen, known as tigert, on 25 September 1997. Wilber, the cartoon character, is commonly used as the icon for the GIMP.

Today, we’re kicking things off with a very basic task: downloading and installing GIMP under Windows.
First things first, let’s grab GIMP from its digital home:
Download Link: GIMP Official Website
https://www.gimp.org/downloads/
https://mirrors.ukfast.co.uk/sites/gimp.org/pub/gimp/v2.10/windows/gimp-2.10.38-setup.exe
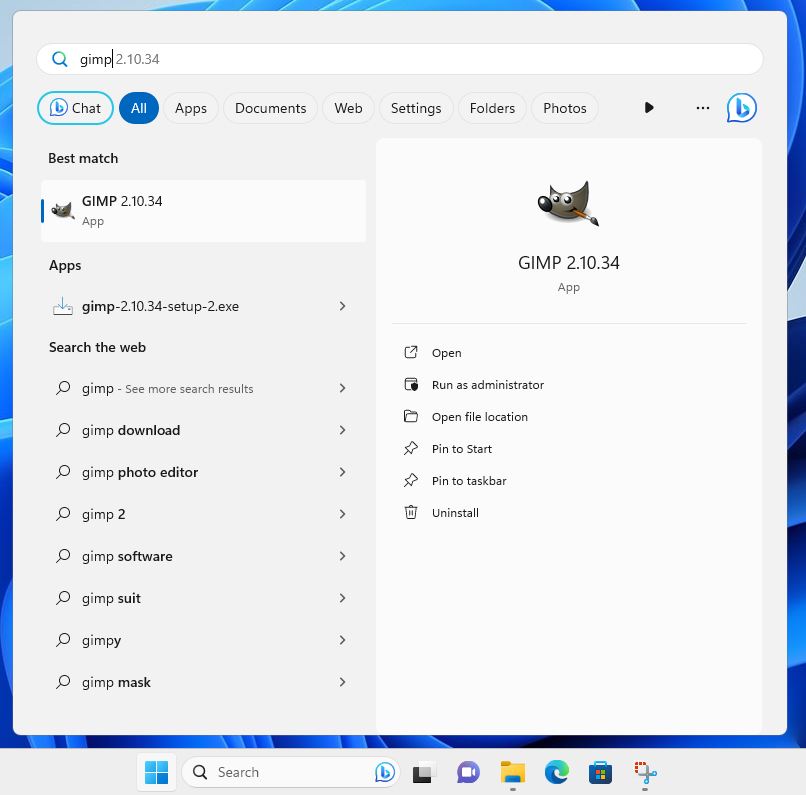
Click on “Download GIMP 2.10.34 directly” (the version number might change)

Your download should begin momentarily.
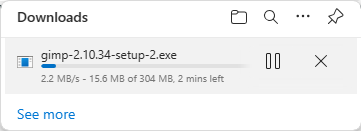
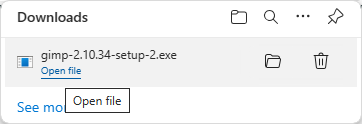
Once your download is complete, double-click the file to start the installation.
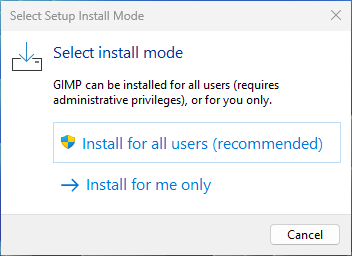
When asked to “Select install mode” click on “Install for all users (recommended)”.
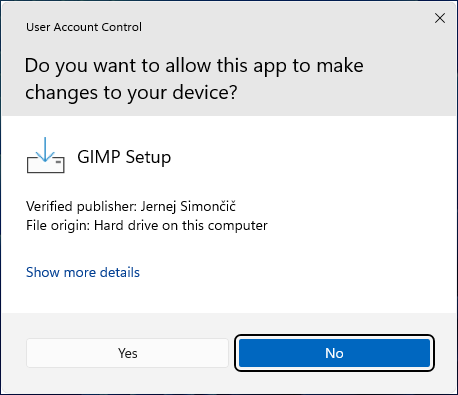
Next click “Yes” when asked “Do You want to allow this app to make changes to your device?”.
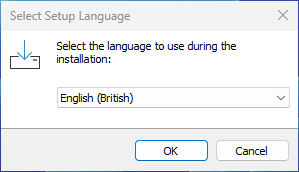
Select Your preferred language and click “OK”
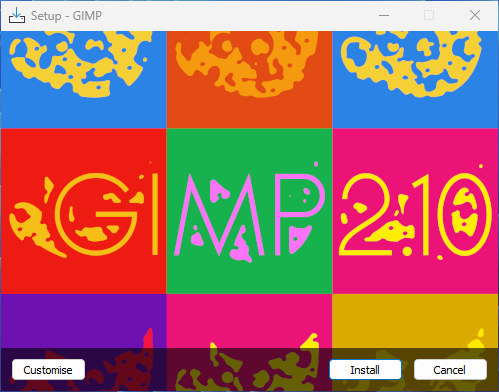
Click “Customise”
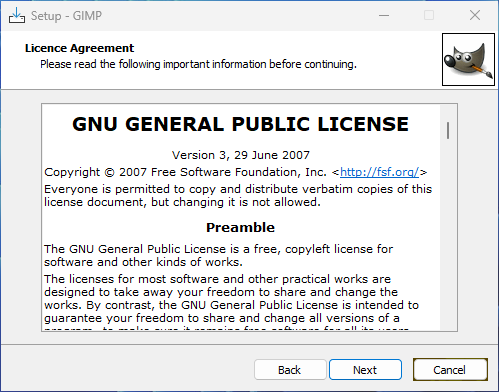
Click “Next” when presented with “GNU GENERAL PUBLIC LICENSE”
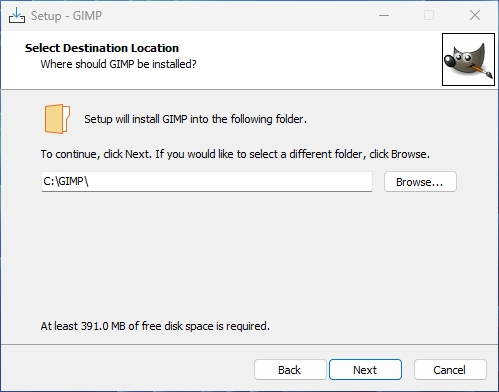
When asked to “Select Destination Location” click into the path field and change it so it reads “C:\GIMP\” and then click “Next”. This is a minor change, however its important to remove all the spaces from the path. I ran into problems with that in the past.
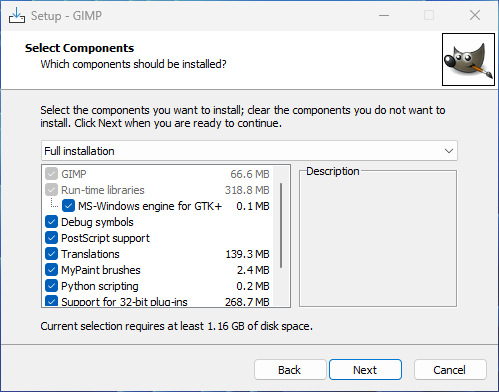
Click “Next” when asked to “Select Components”
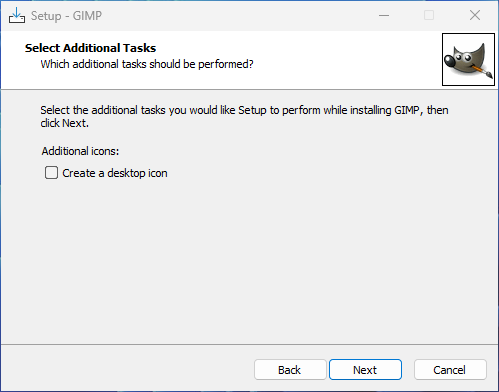
Click “Next” when asked to “Select Additional Tasks”
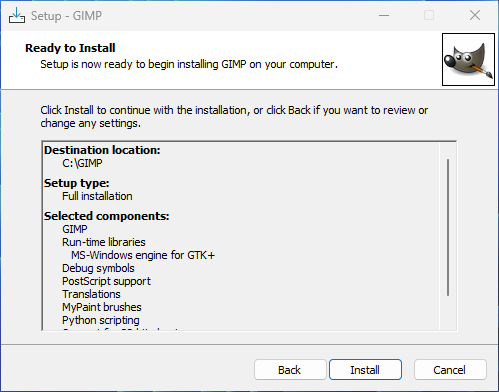
Click “Install” when presented with “Ready to Install” step
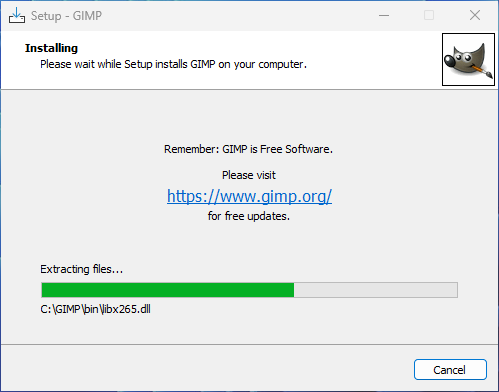
Wait for the program to finish installing.
Click “Finish” to close the installation window.

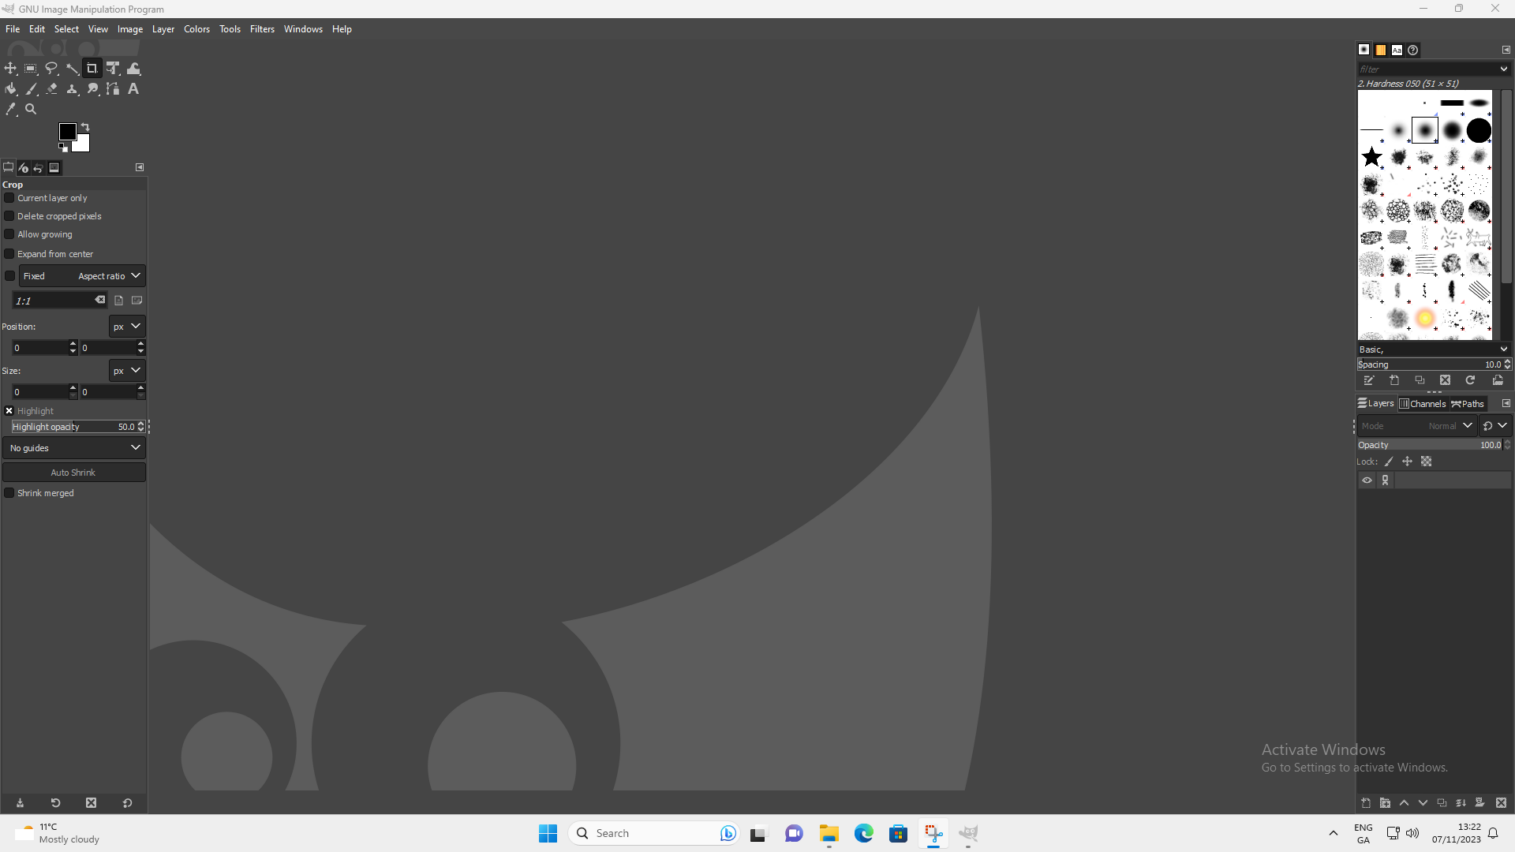
Click on Start Menu, type in gimp and click on “GIMP 2.10.34” app icon.
Voila. Gimp is installed and ready.
I know I know… It was very simple – it did not warrant a HOWTO at all… You could do all that with Your eyes closed. That’s great. Some people are not computer savvy like You and they sometimes struggle with even basic steps. Also – this HOWTO is a first step that the rest of the steps will be based upon. Its always best to start any project by laying a proper foundation for it. This is what this HOWTO is. A foundation that I will try building upon.
Stay tuned for the GIMP 101 part 2.
Happy photo retouching!
Catch you on the flip side,
AndrzejL


Pingback: Gimp 101 part 3 – Add export-layers-to-pdf.py to Your plug-ins Folder – Andrzej Langowski