Hello beautiful peoples!
Welcome to the forth part of an exciting GIMP adventure!
Today I am going to download and install GIMP-GAP.
What is GIMP-GAP?
GIMP-GAP, short for GIMP Animation Package, is a set of plugins for GIMP. GIMP-GAP was designed to help users create animations and videos using GIMP. It provided additional tools and features specifically tailored for animators and video creators.
In simpler terms, imagine you have a bunch of pictures, and you want to morph them or turn them into a moving animation, like a flipbook or a short video clip. GIMP-GAP would allow you to do that within the GIMP software. You could sequence your images, add effects, and create a smooth animation, all using this plugin.
One of the common uses of GAP is blending two images together, a technique known as photo morphing. Photo morphing is like digitally mixing two pictures to create a smooth transition between them, making it seem as if the images are changing or transforming into each other.
YouTube search for “gimp morph” – You can find some good tutorials there.
It’s important to note that the GIMP-GAP package is dated, which means it might not be as up-to-date or compatible with the latest versions of GIMP.
First things first, let’s grab GIMP-GAP from its digital home:
Download Link: GIMP-GAP
https://mahvin.bplaced.net/gimpscripts/Gimp_GAP%20Win_64bit.zip
Click on the link. Your download should start momentarily.
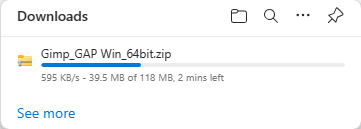
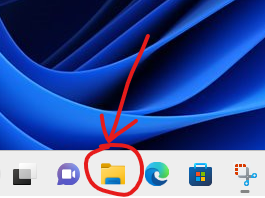
While the file is downloading open File Explorer window
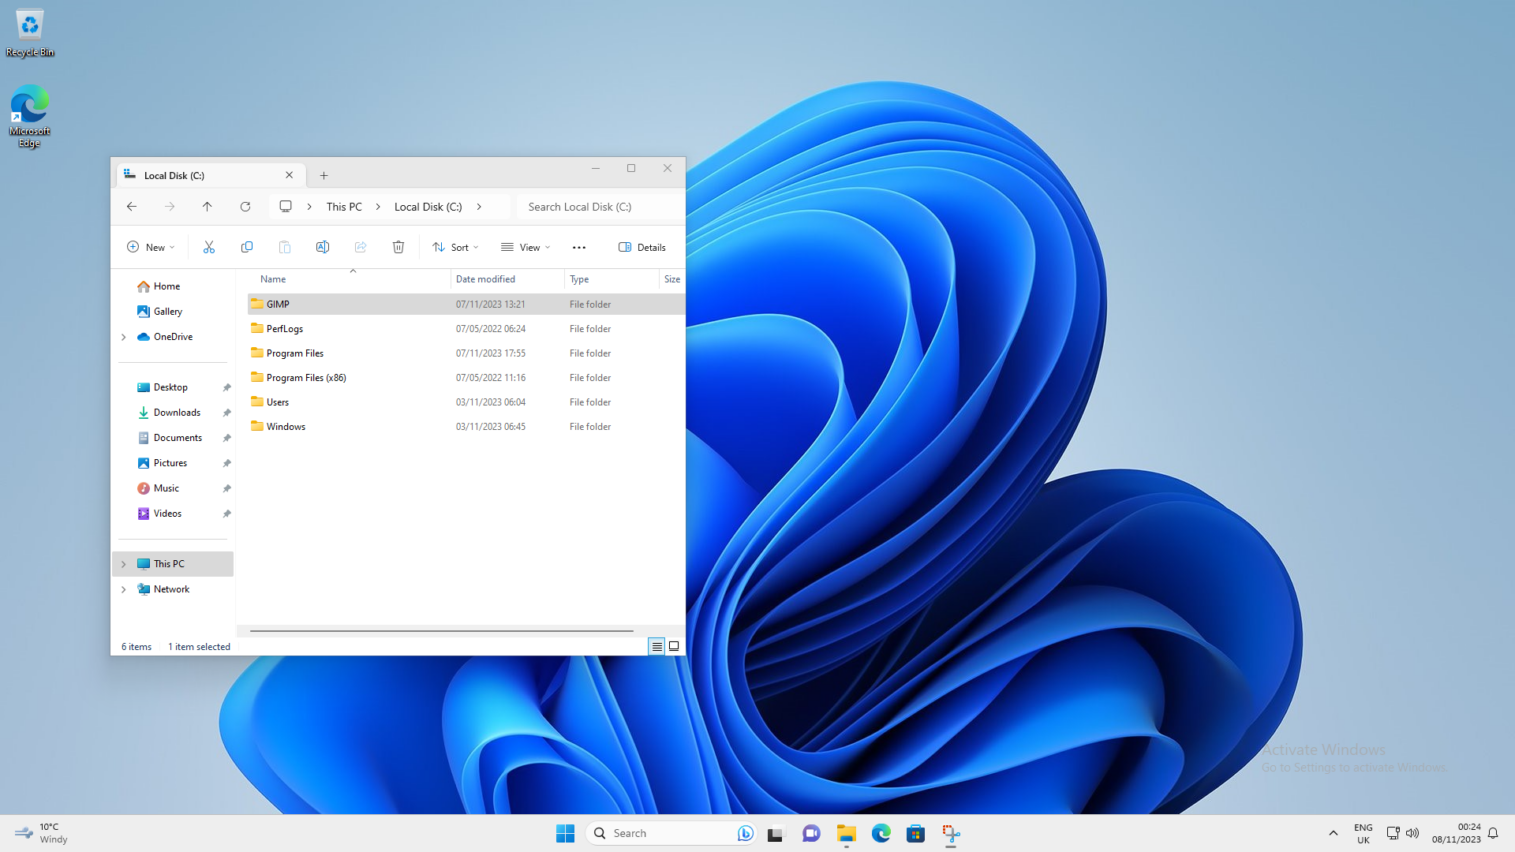
Click on “This PC” in the pane on the left side of the window and then double click on “Local Disk (C:)” in the pane on the right side of the window.
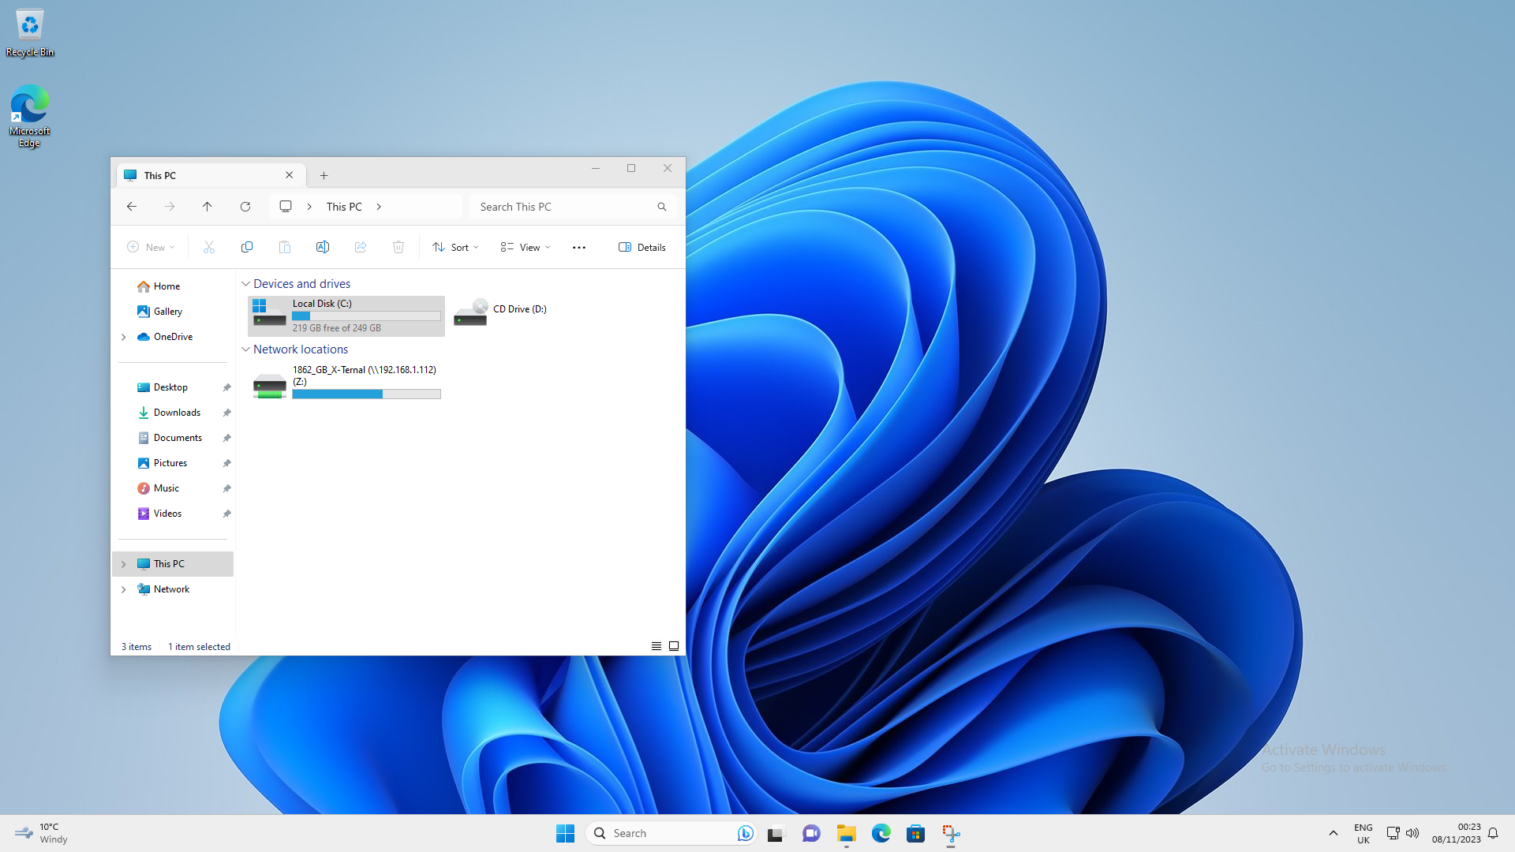
Double click on “GIMP”.
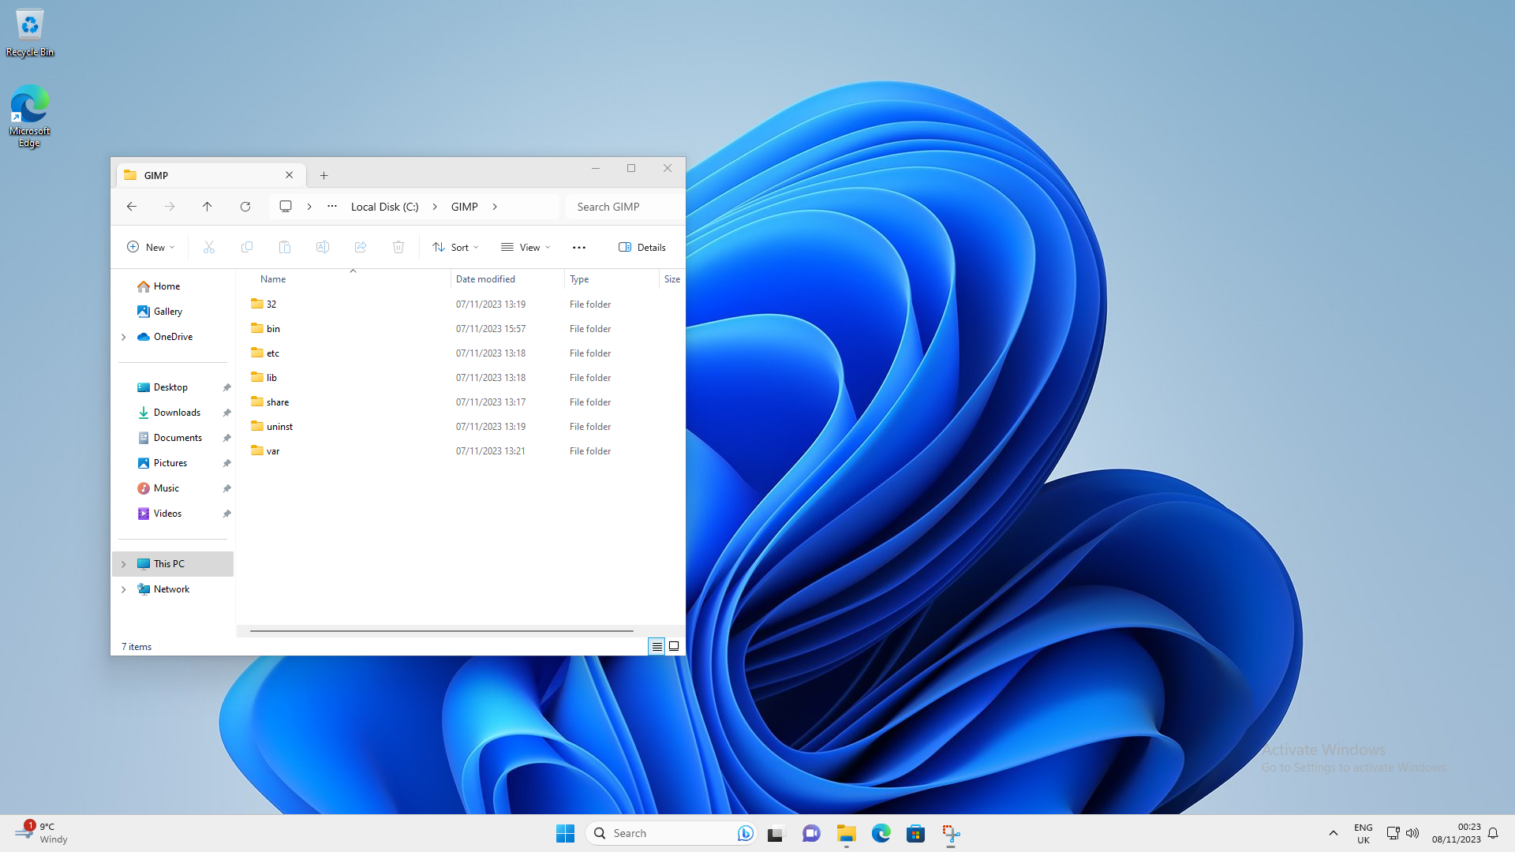
Now You’re inside a folder with Your current GIMP installation. Leave this window open on the left side of the screen.
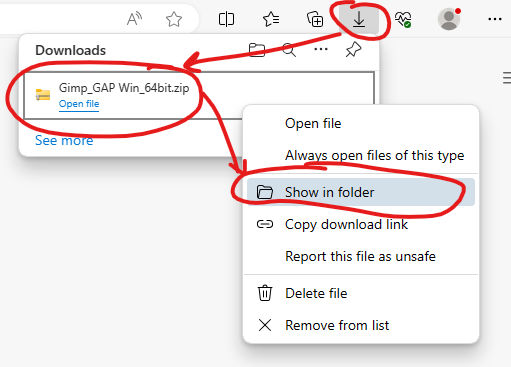
When the file has finished downloading right click on the file in the “Downloads” window and choose “Show in folder”.
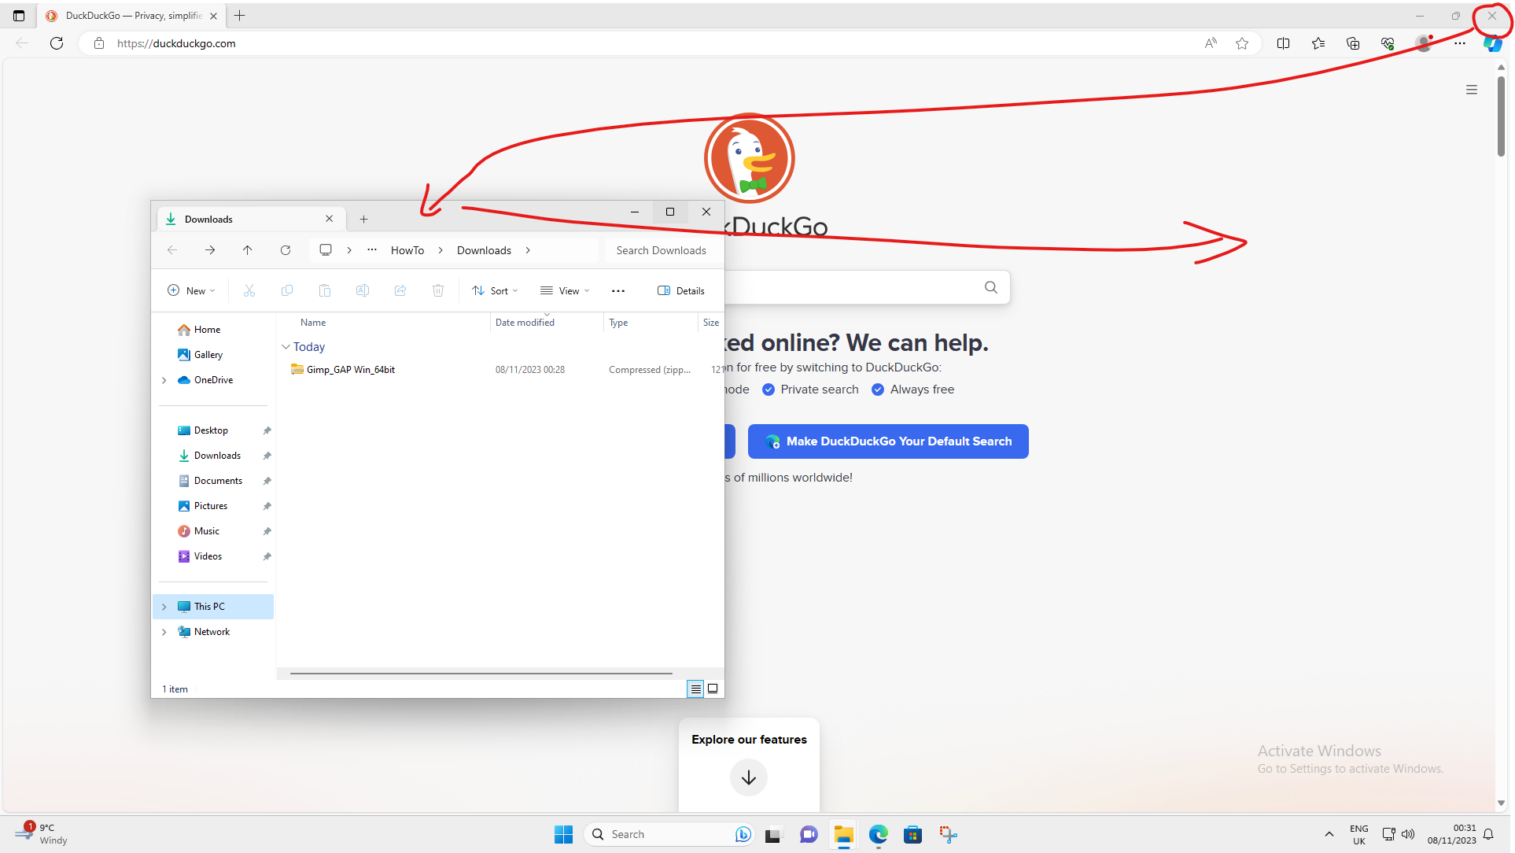
Close the browser window, click on the title bar of the “Downloads” window and drag it to the right side of the screen.
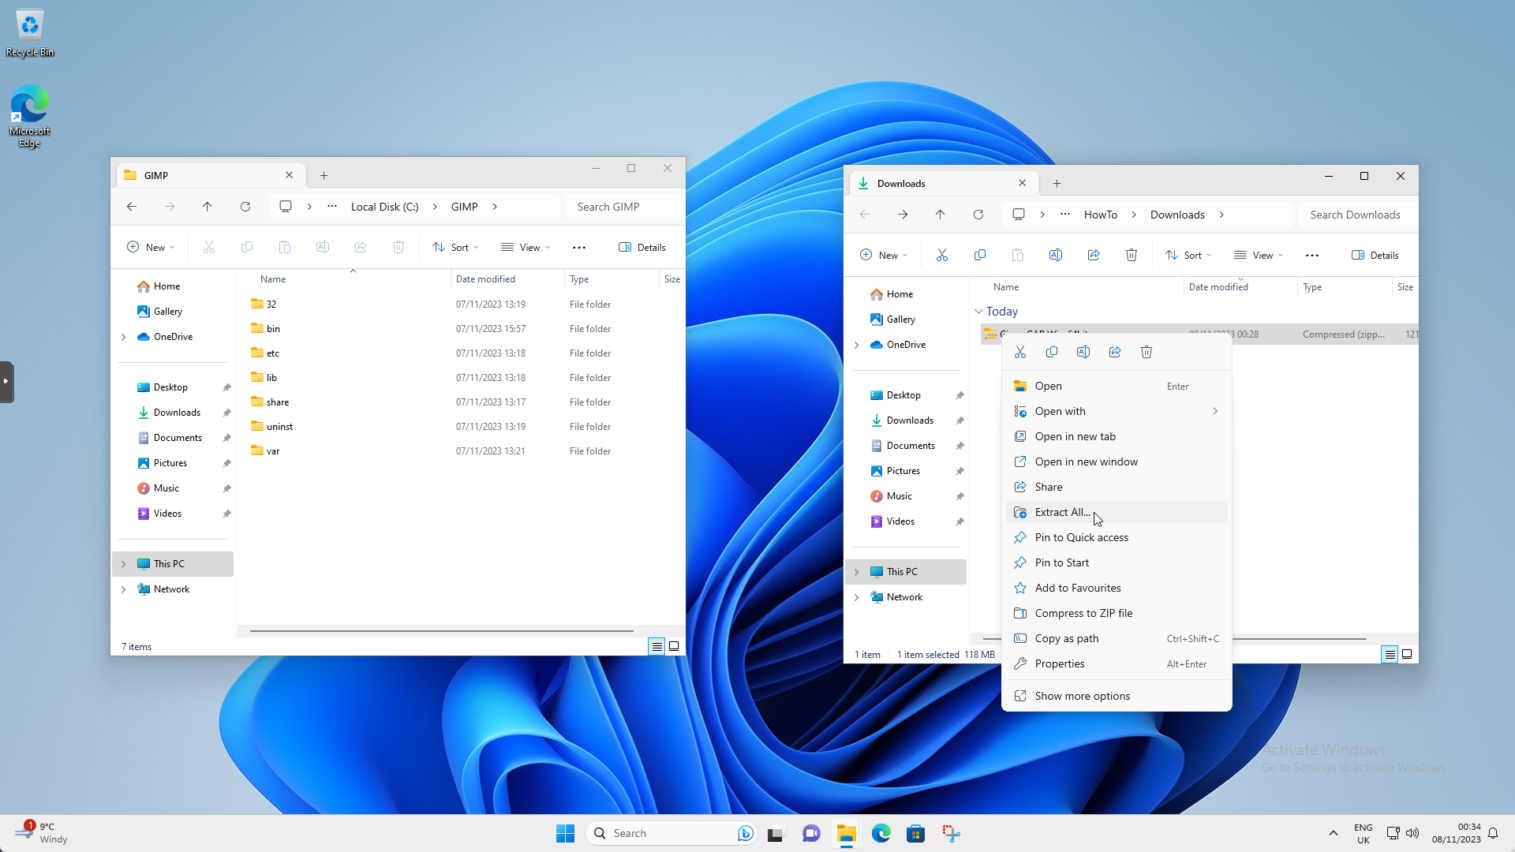
You now have 2 windows on the screen. First one on the left is the current GIMP installation. Second one on the right is a Downloads folder where You’ve just downloaded GIMP-GAP. Right click on the “Gimp_GAP Win_64bit.zip” and choose “Extract All…”
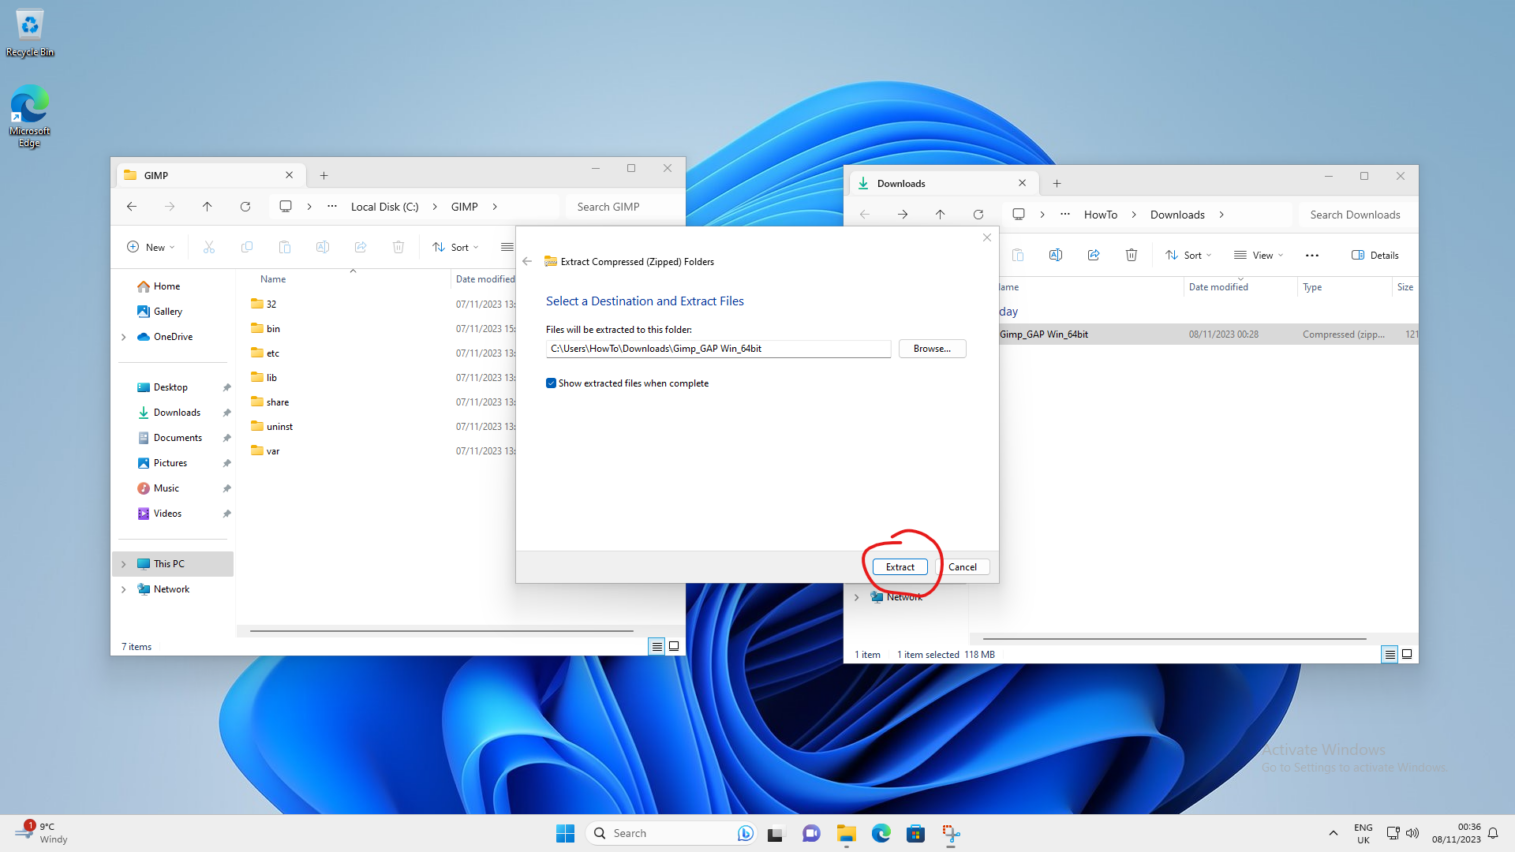
Click “Extract” in the “Extract Compressed (Zipped) Folders” window
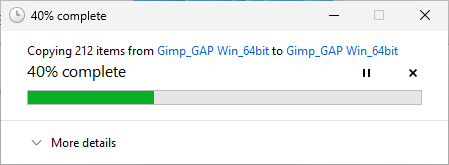
Wait for the files to finish extracting.
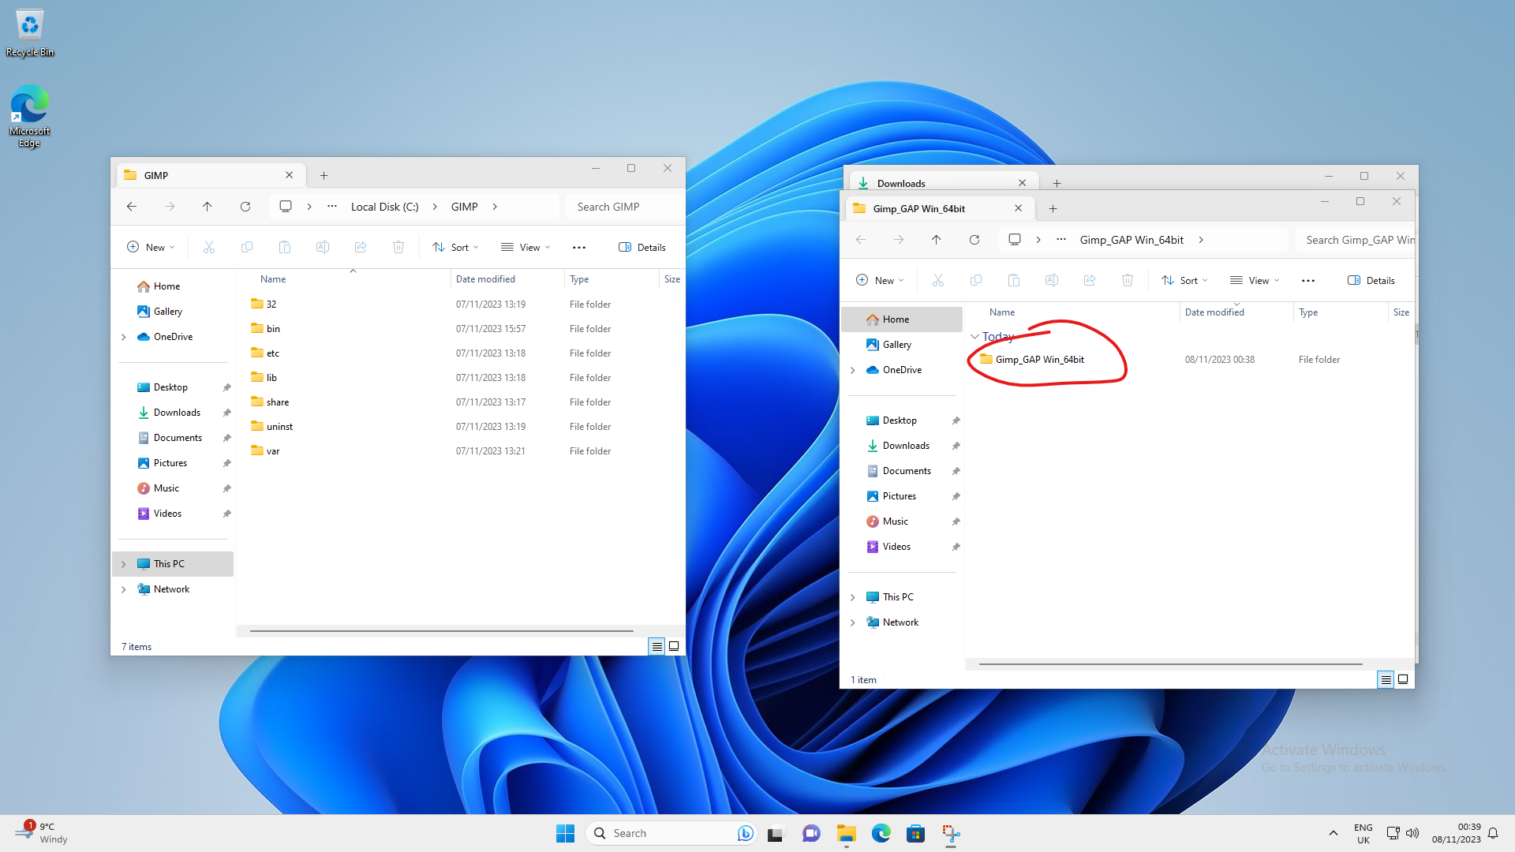
Second window will open on the right side of the screen. Double click on the “Gimp_GAP Win_64bit”
Highlight folders “share” and “bin”
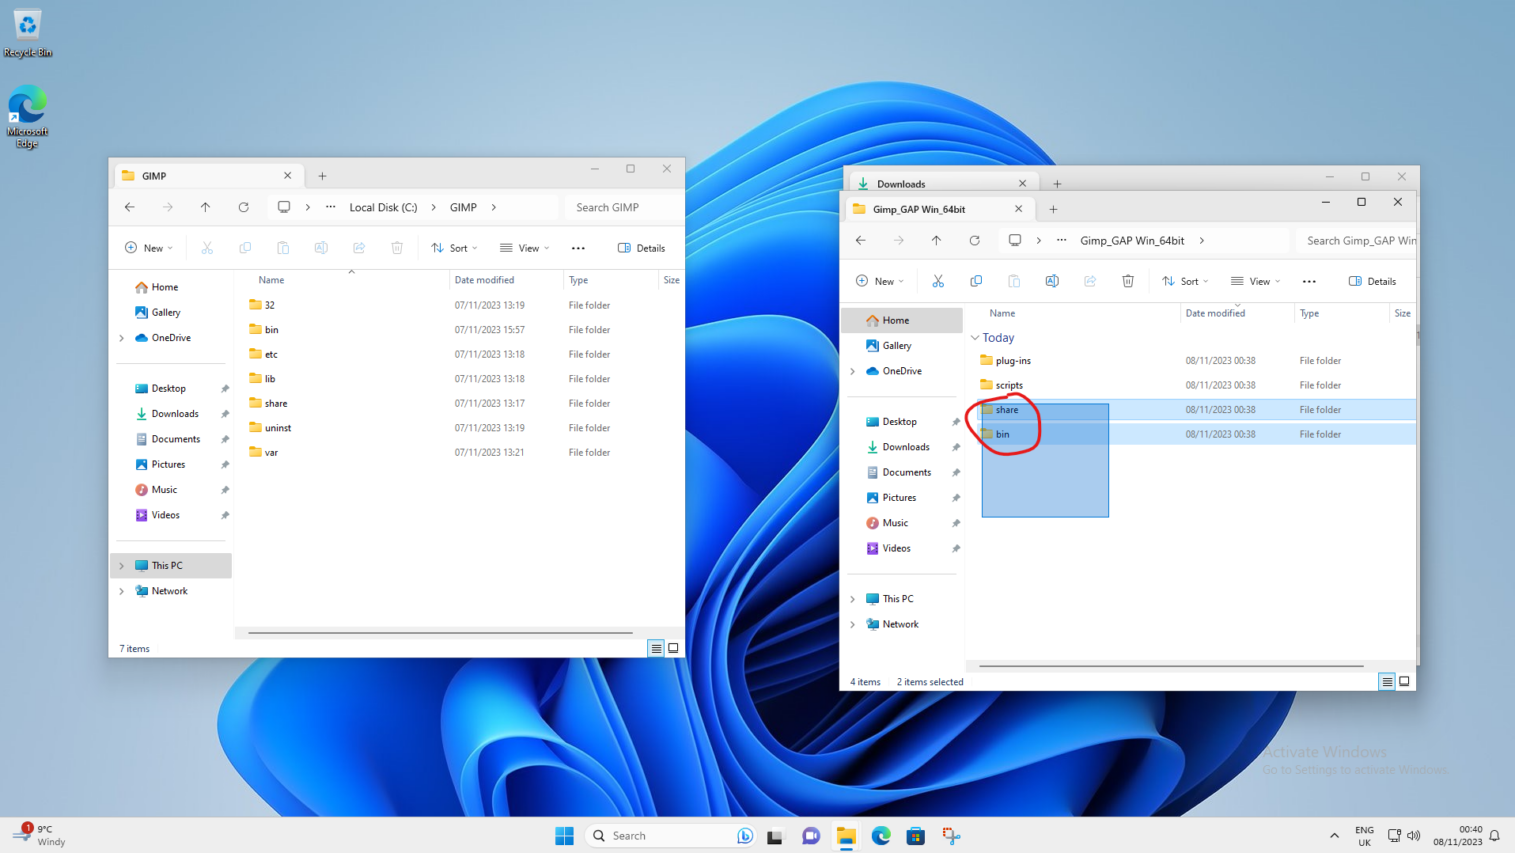
Right click on the highlighted folders and choose the scissors icon (cut).
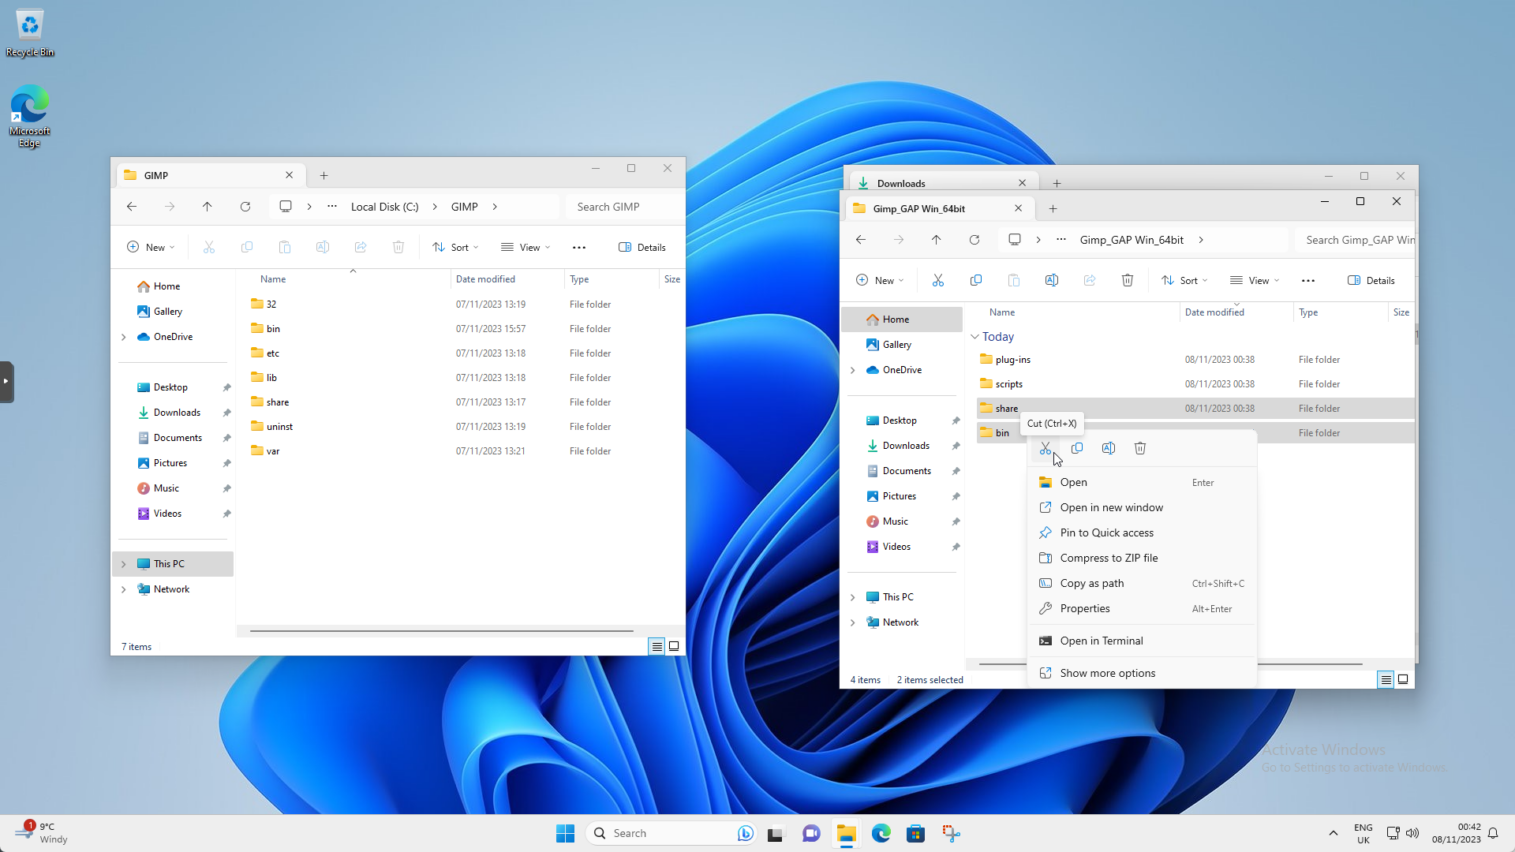
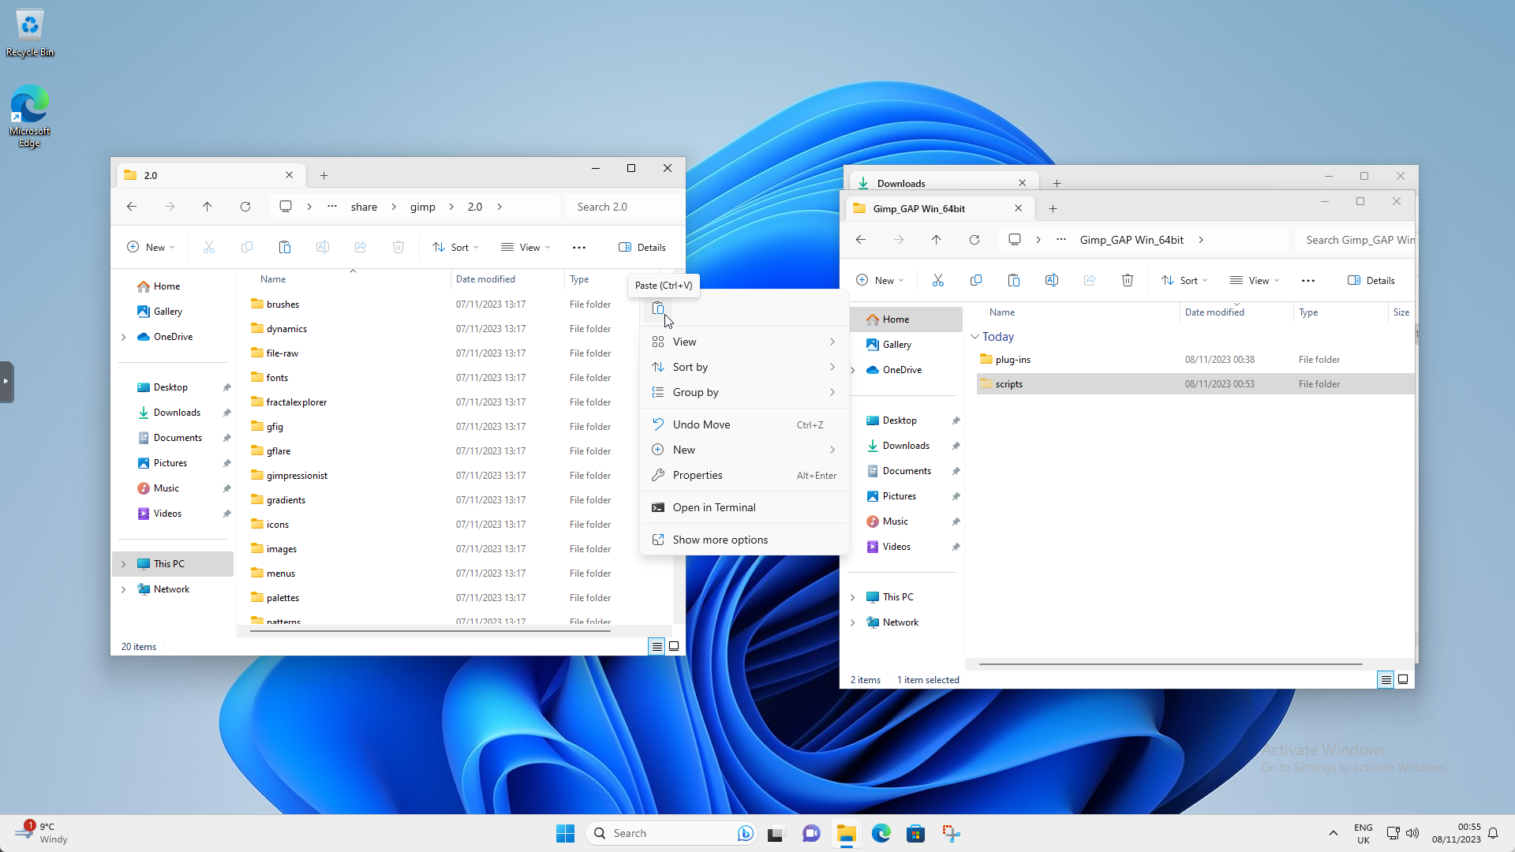
Right click in the window on the left side of the screen and choose little clipboard icon (paste)
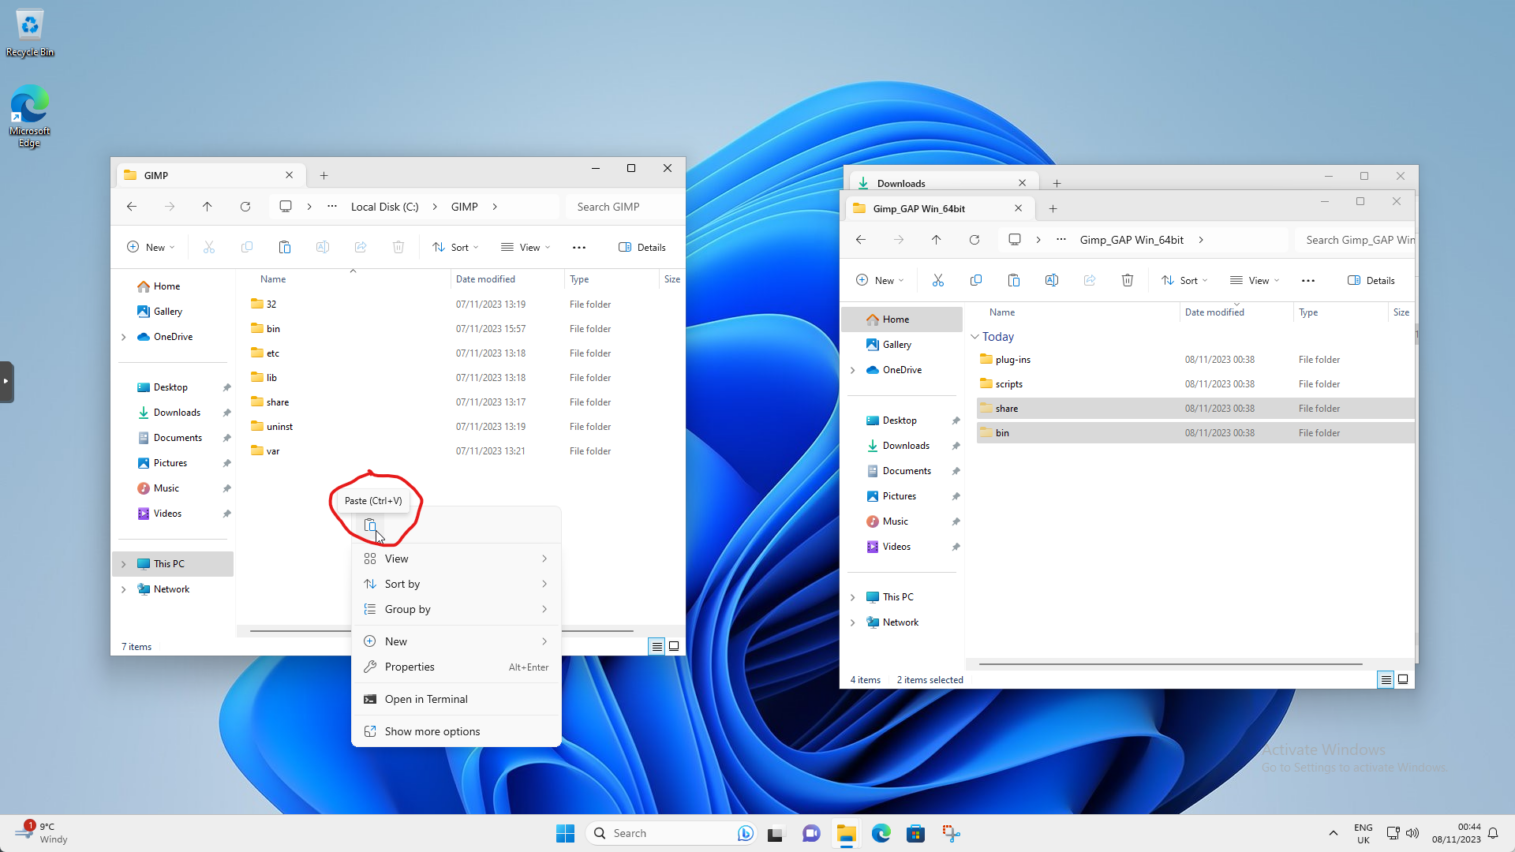
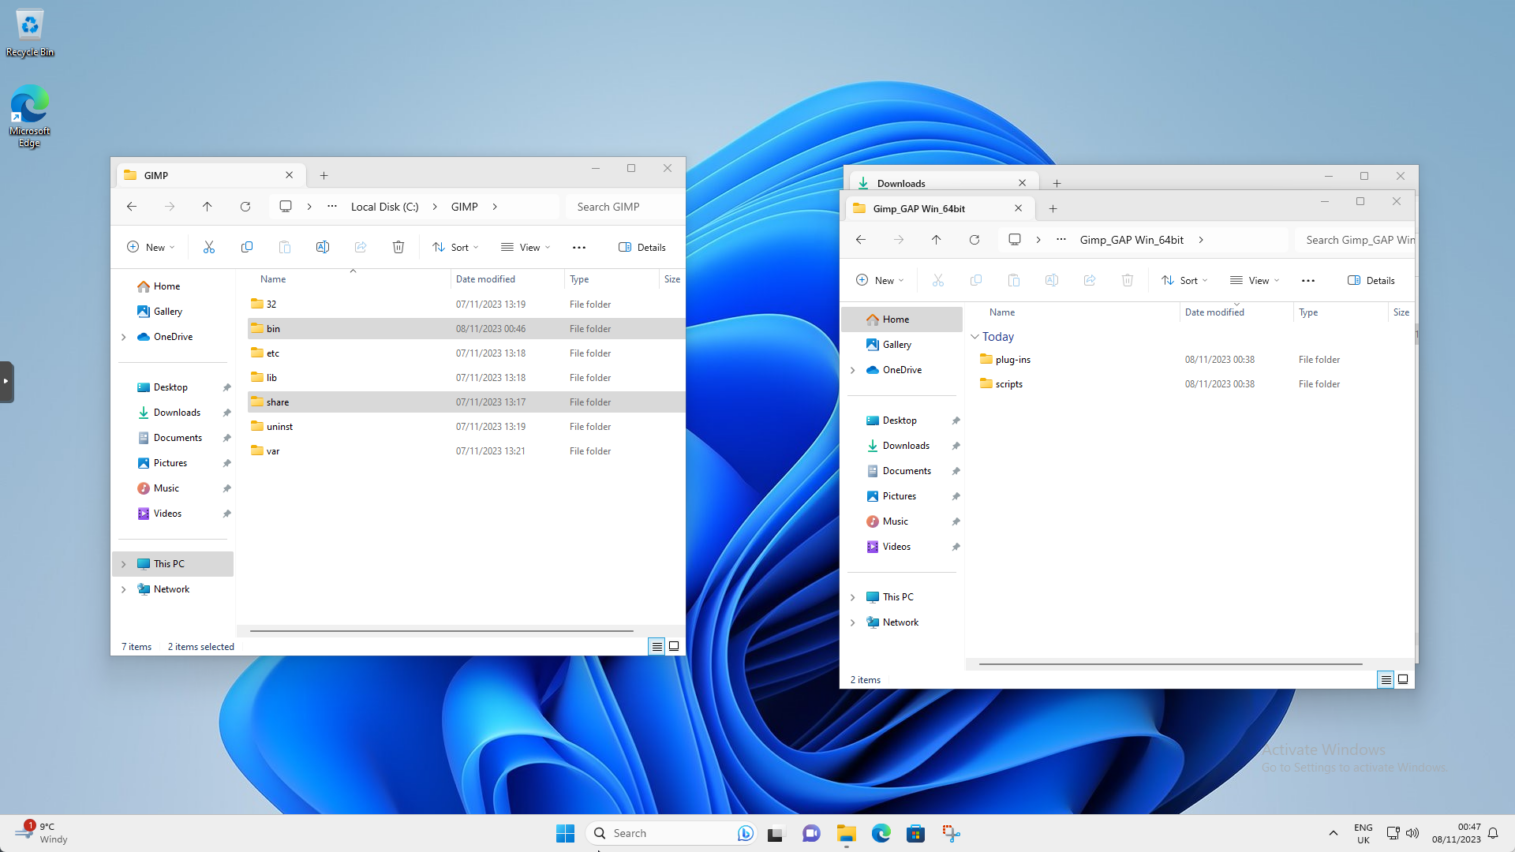
Folders are now moved from the window on the right to the window on the left.
In the window on the left find and double click on the “share” folder
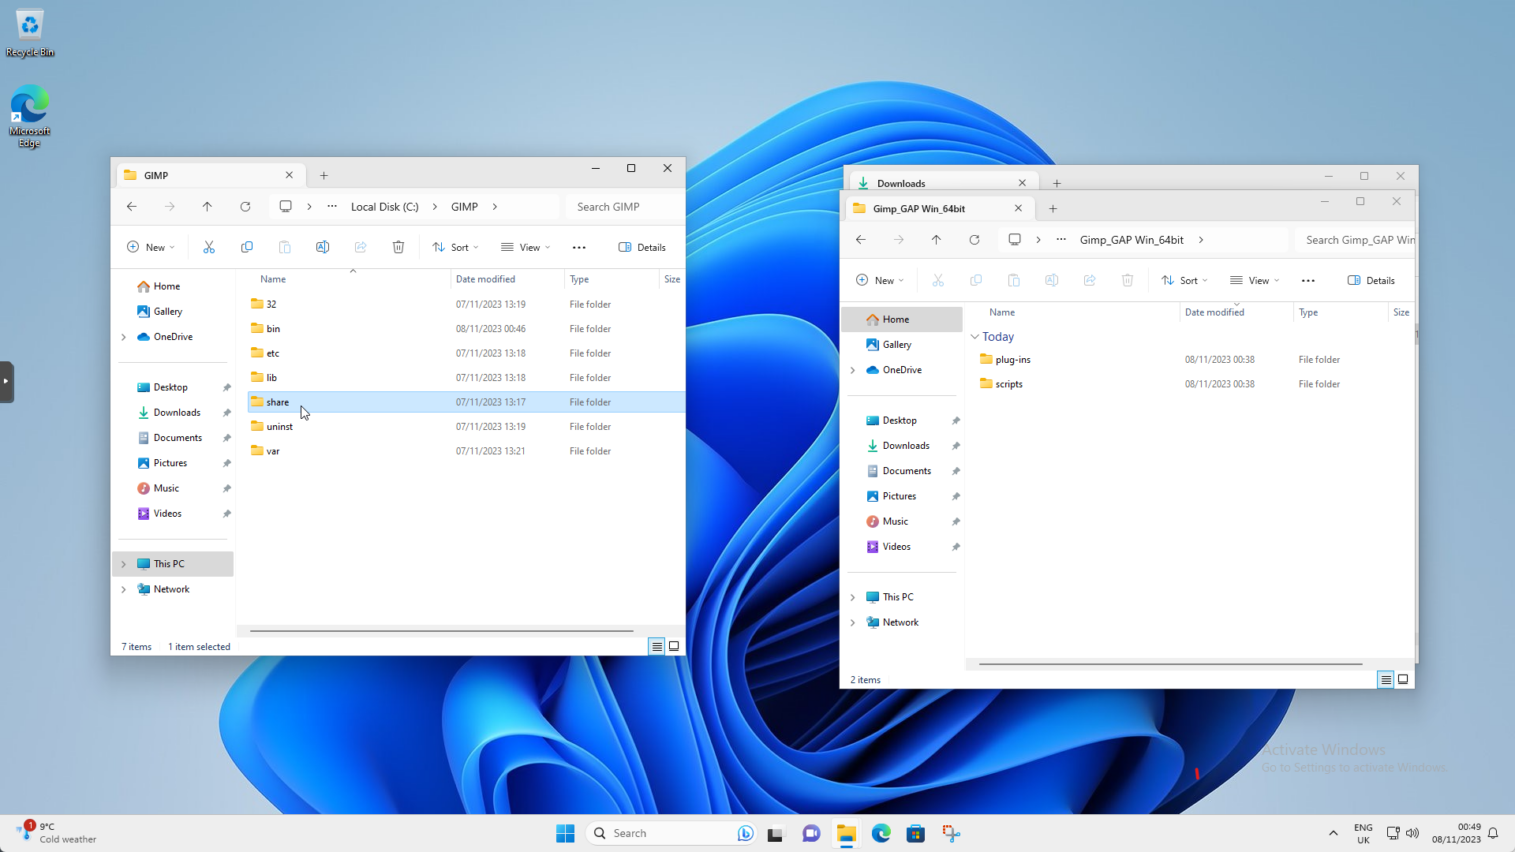
Now in the same window find and click on “gimp” folder
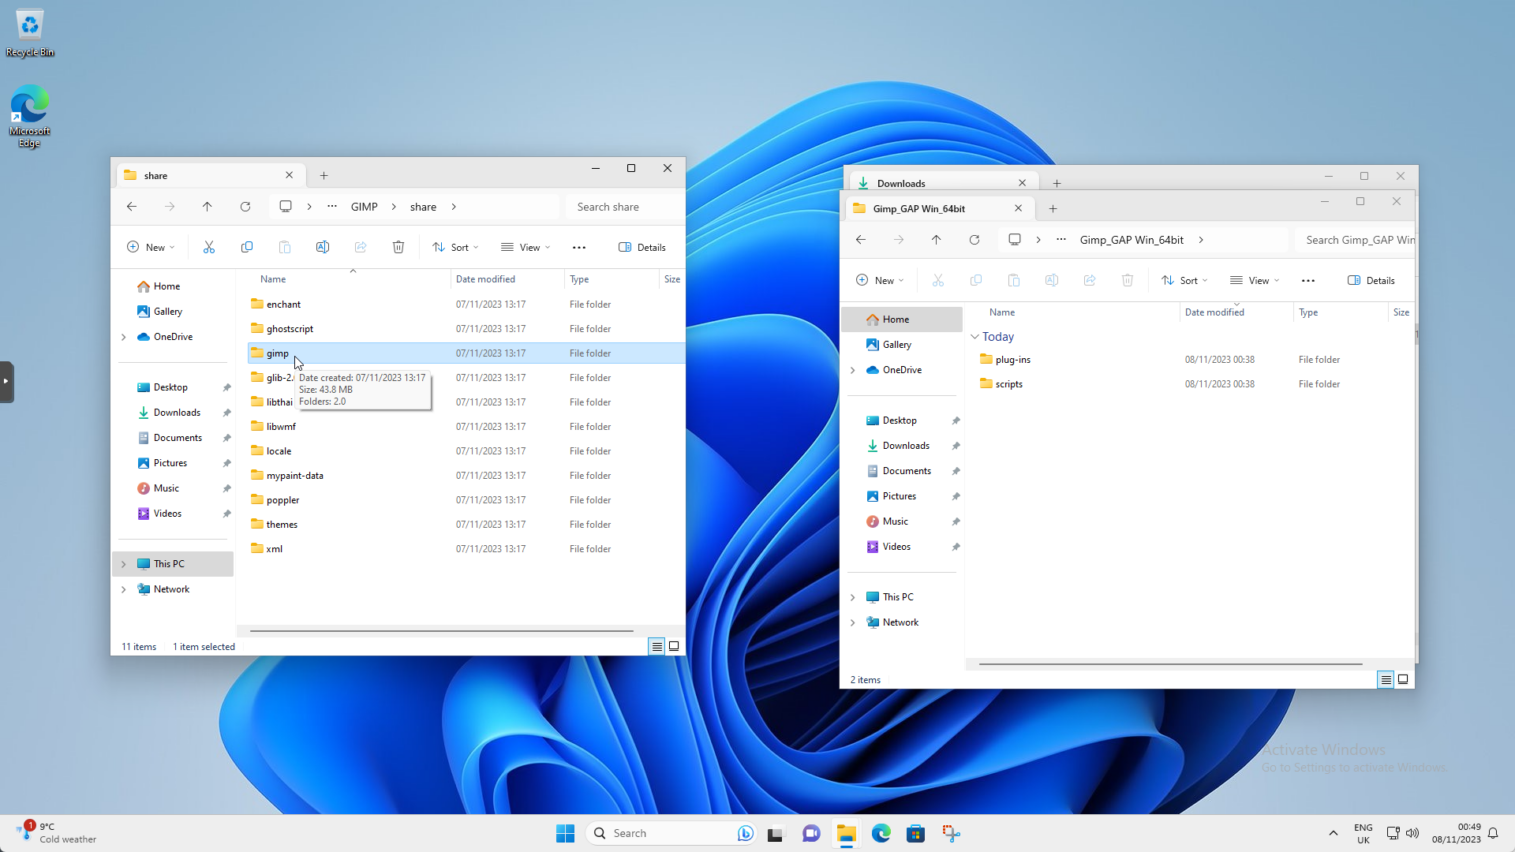
Now double click on the “2.0” folder
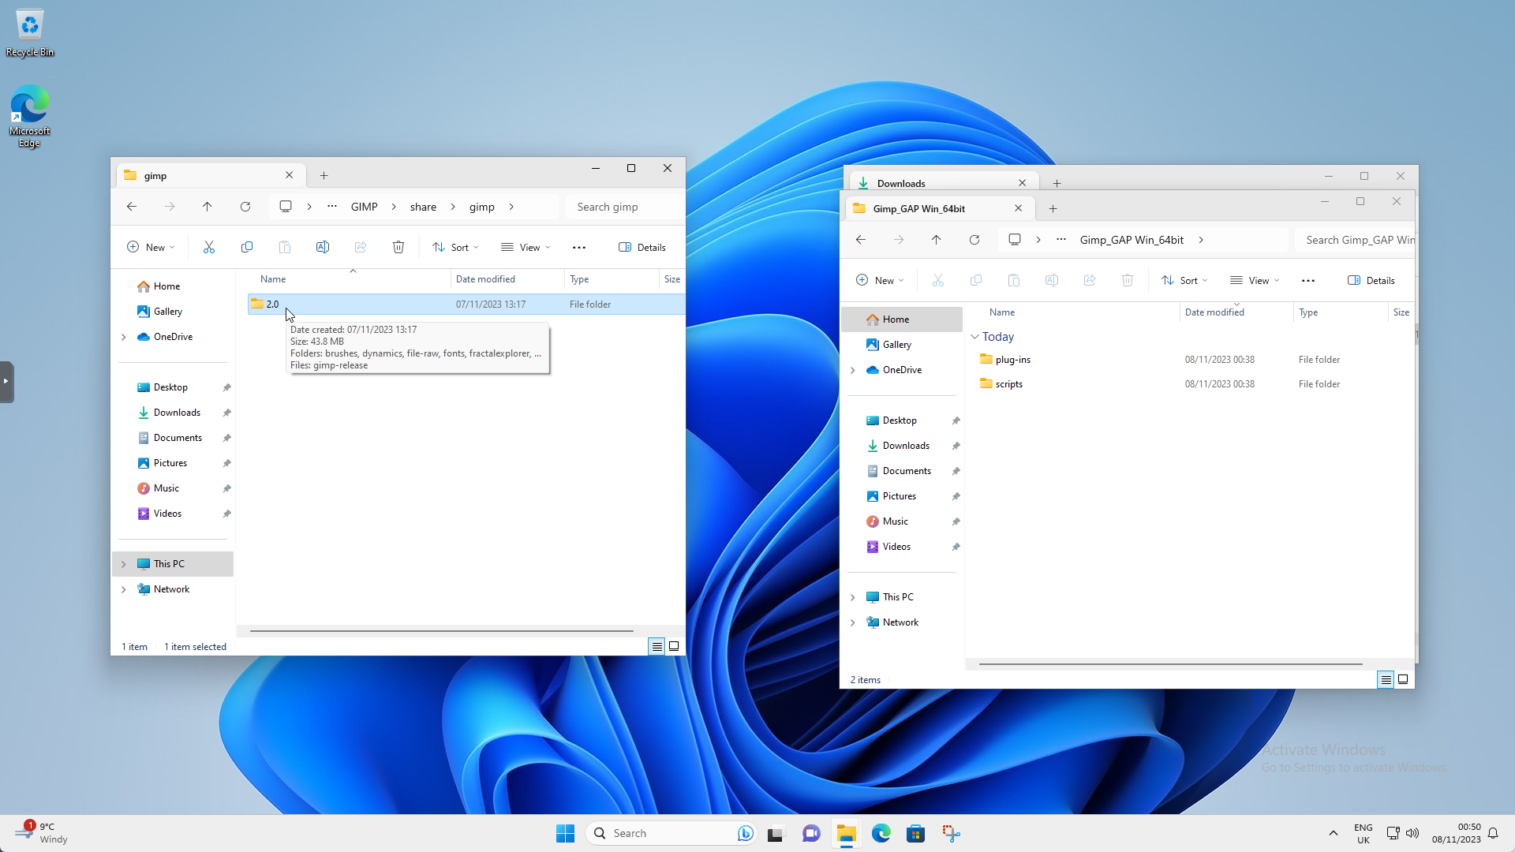
Now in the window on the right side right click on the “scripts” folder and choose little scissors icon (cut) again.
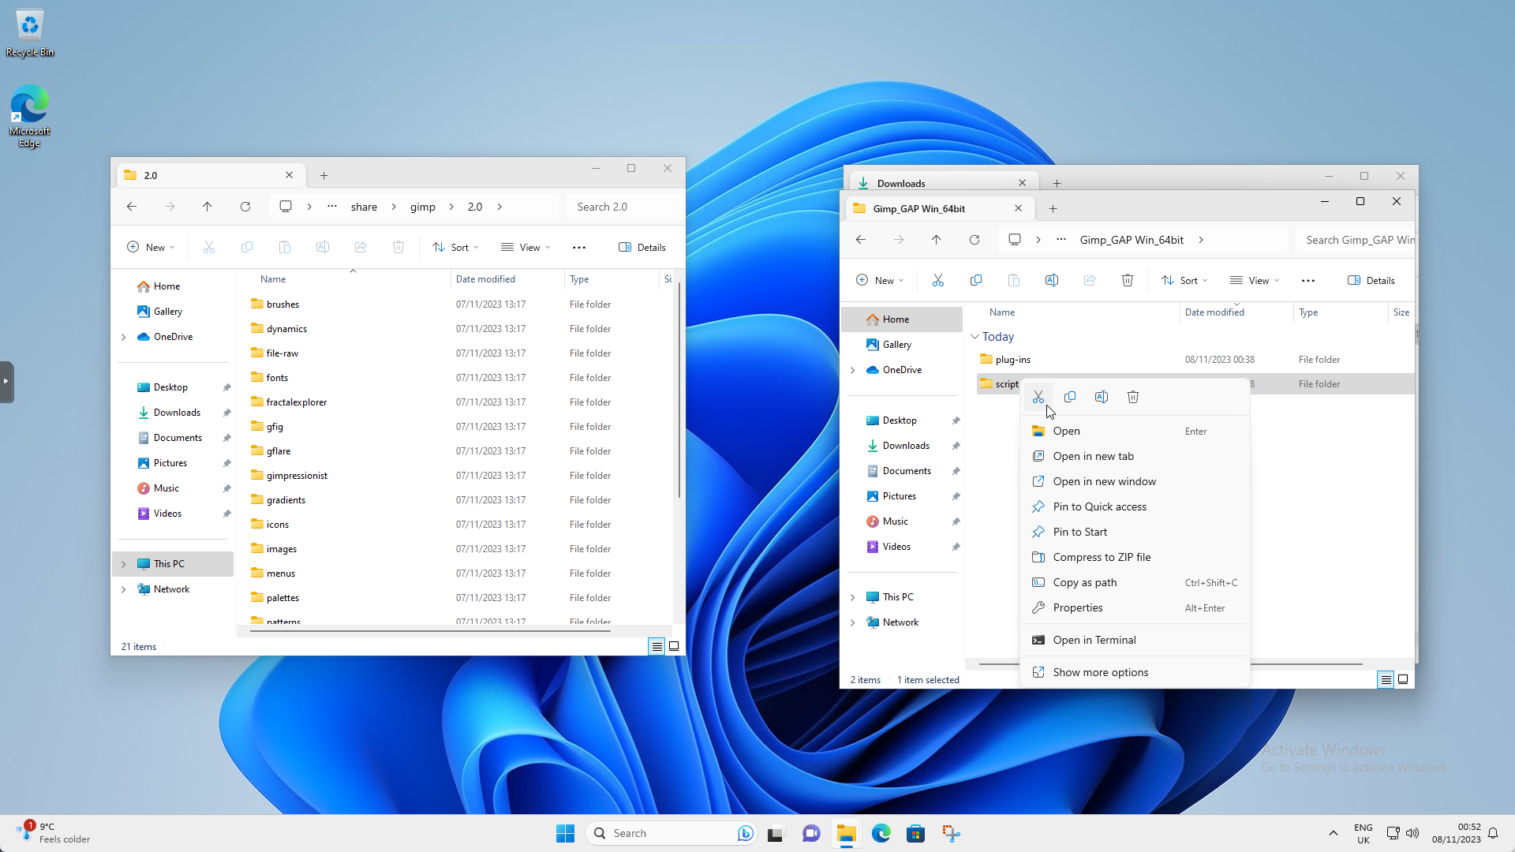
Right click in the window on the left side of the screen and choose the little clipboard (paste) again.
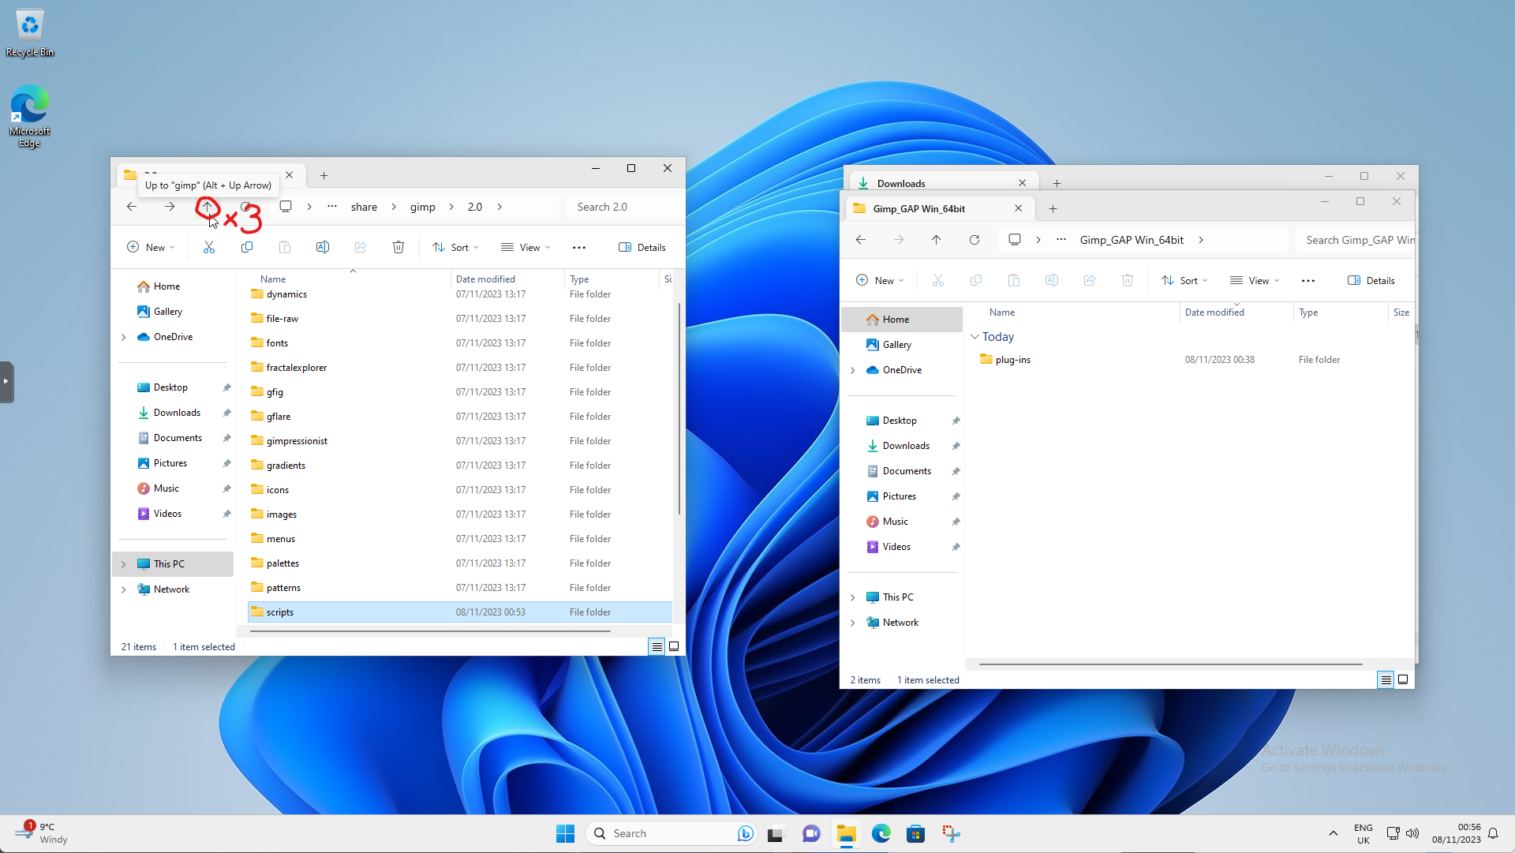
In the window on the left click the up arrow three times
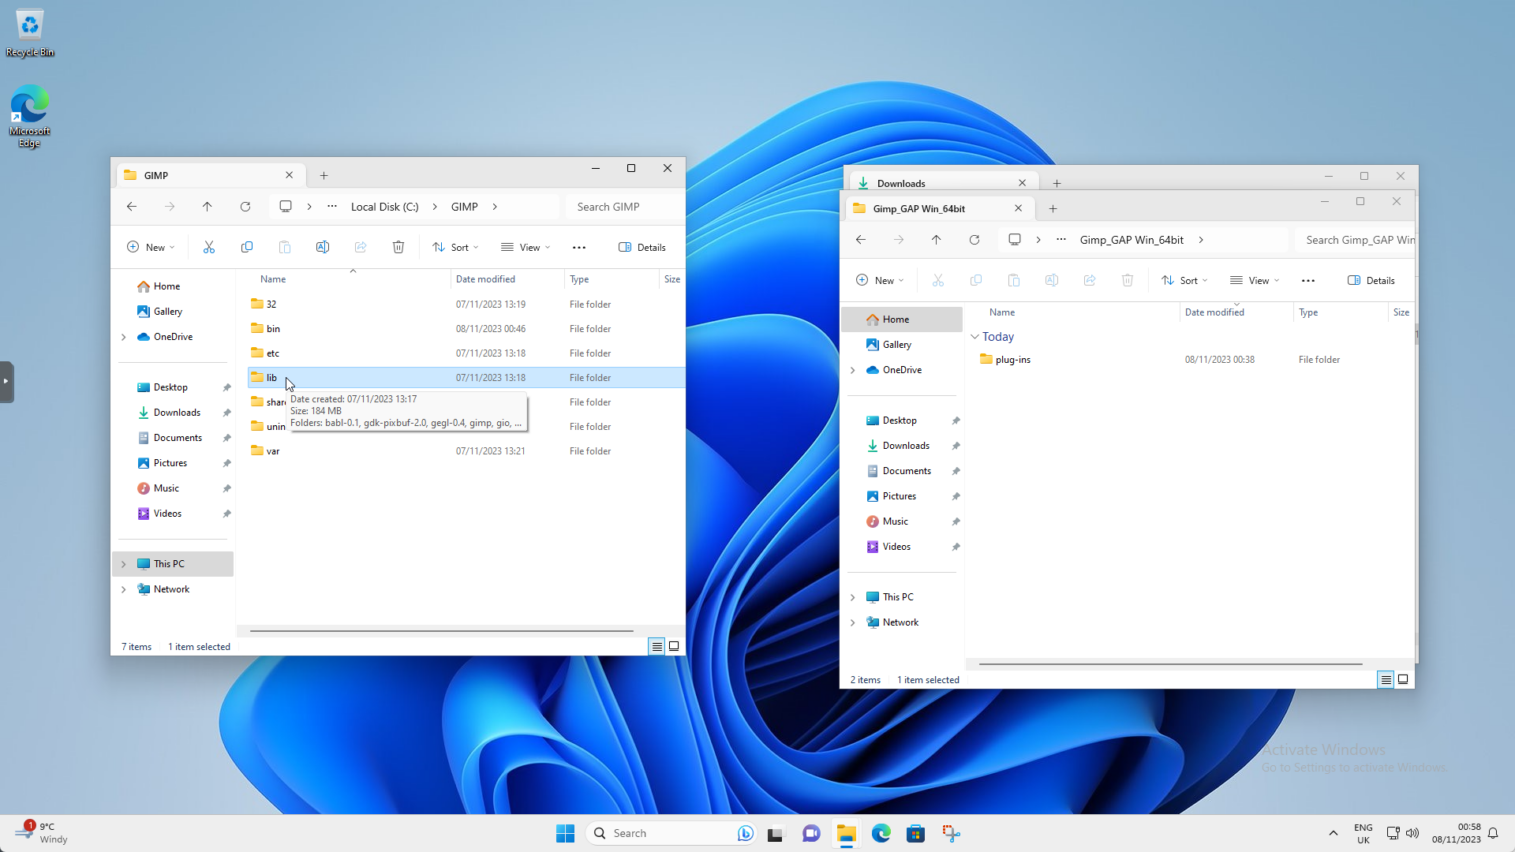
In the window on the left side find and double click on the “lib” folder
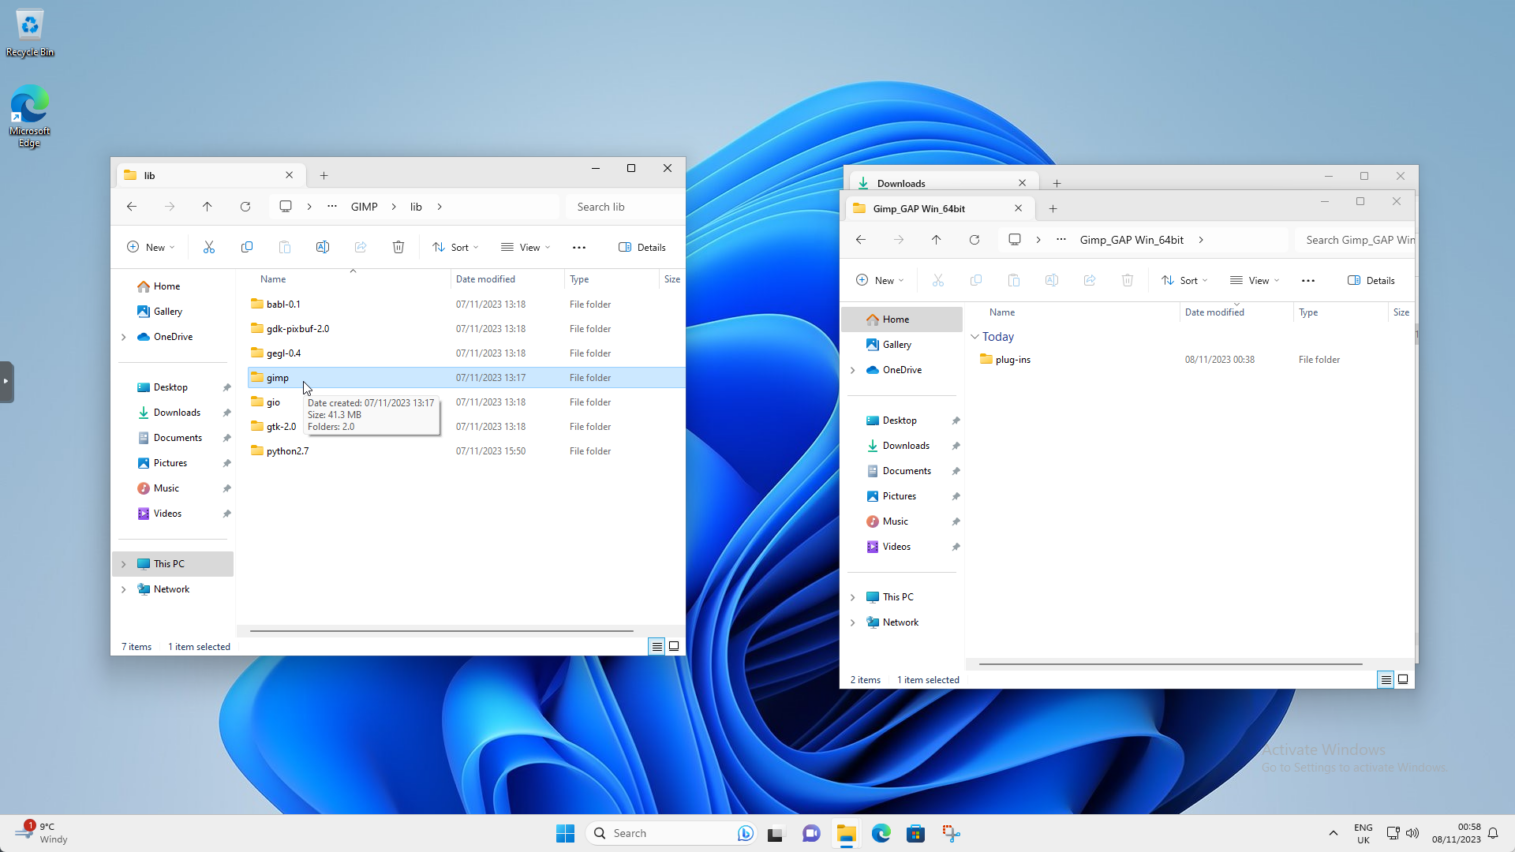
In the window on the left side find and double click on the “gimp” folder
In the window on the left side find and double click on the “2.0” folder
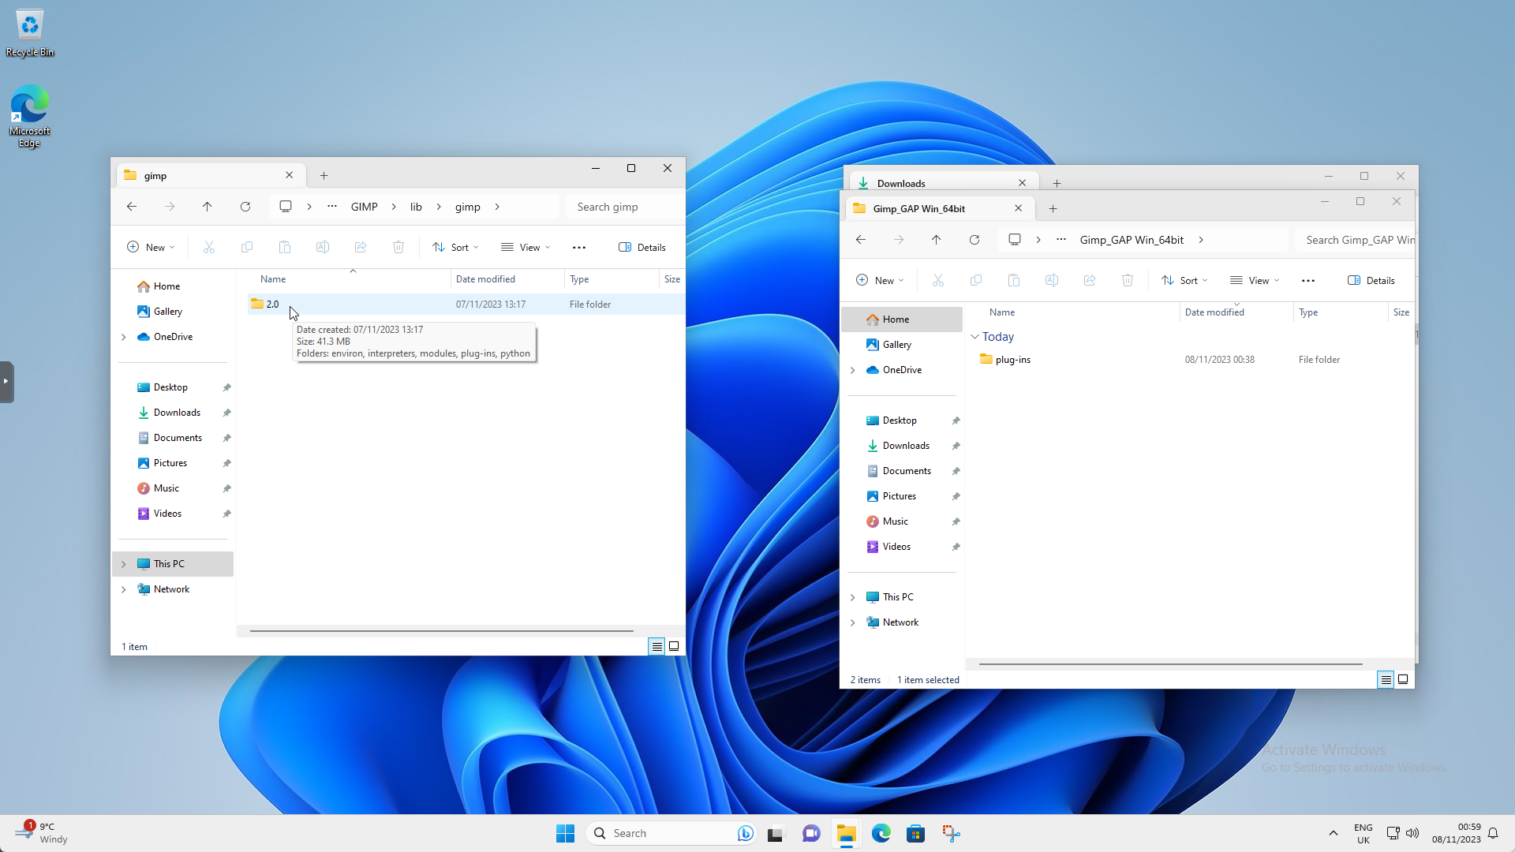
In the window on the right, right click on the “plug-ins” folder and choose the little scissors (cut) icon
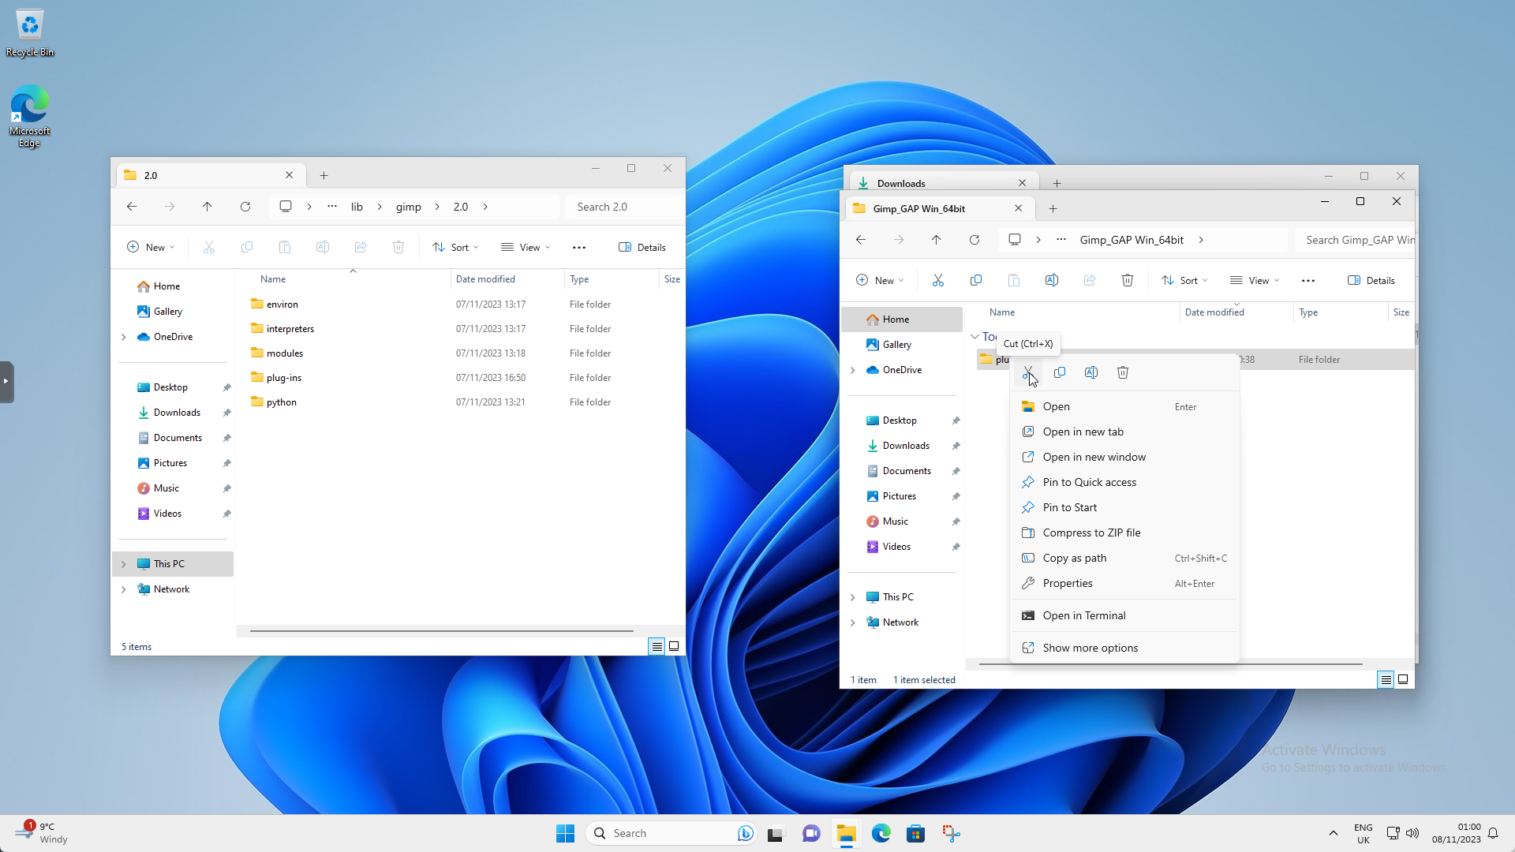
Right click in the window on the left and choose the little clipboard (paste) icon
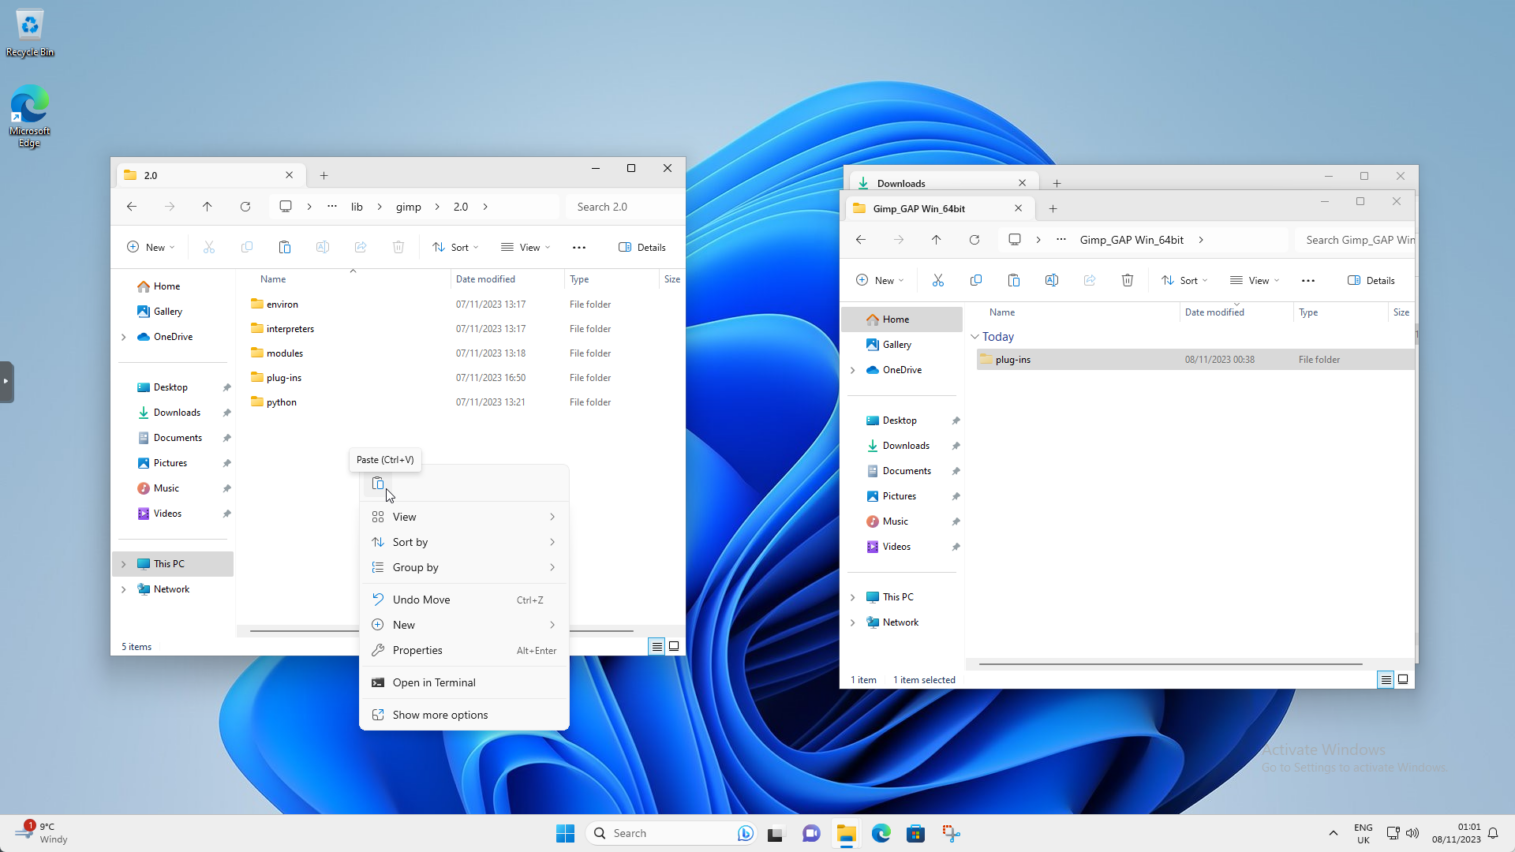
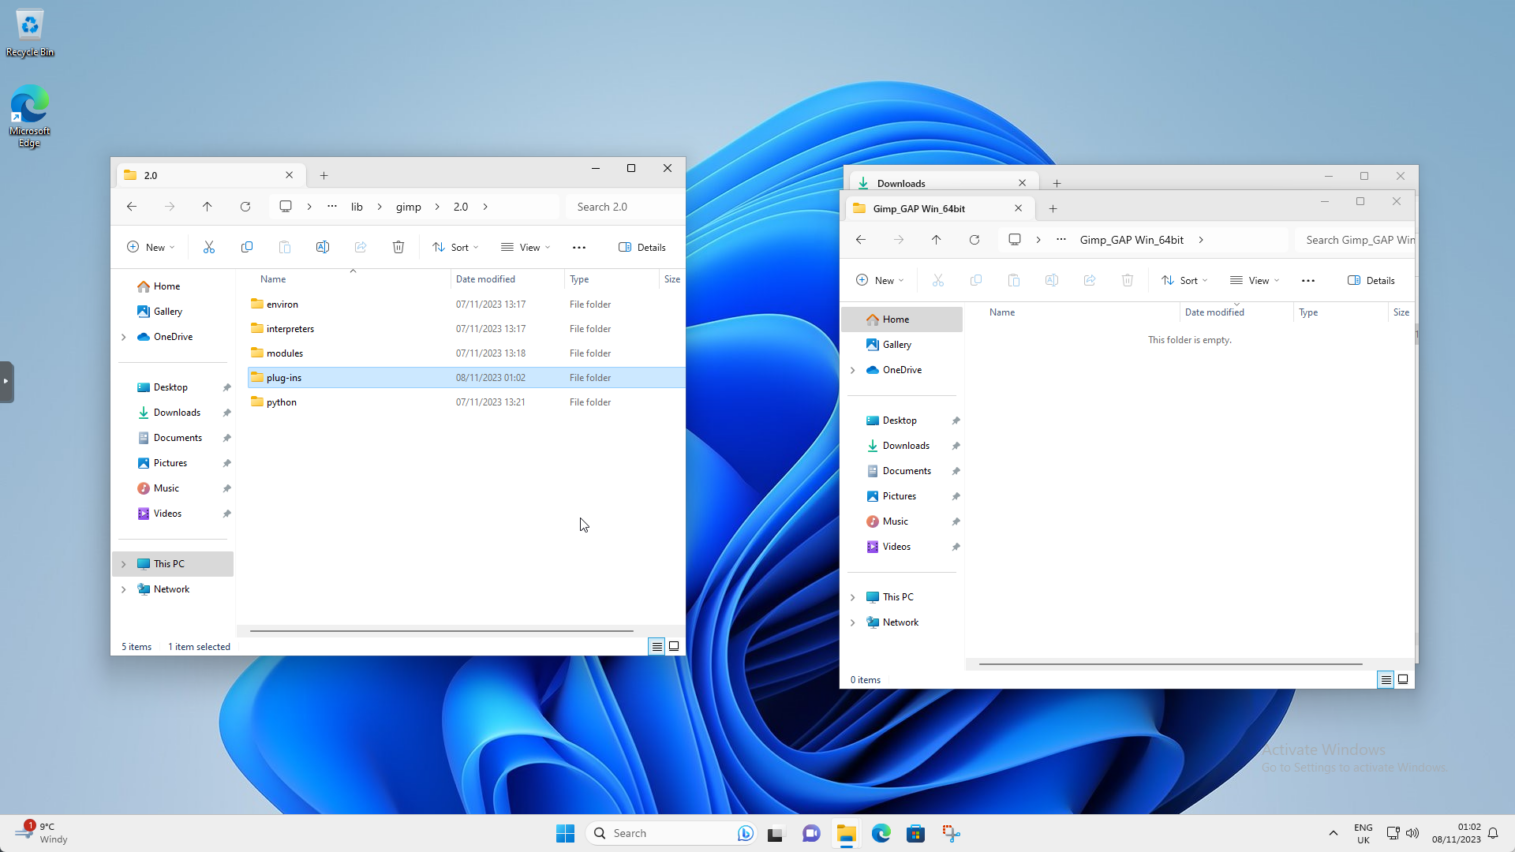
As You can see the folder in the window on the right side is empty. Close all the File Explorer windows. Open GIMP.
Notice that GIMP is querying new plug-ins during start. It will take a moment this time.
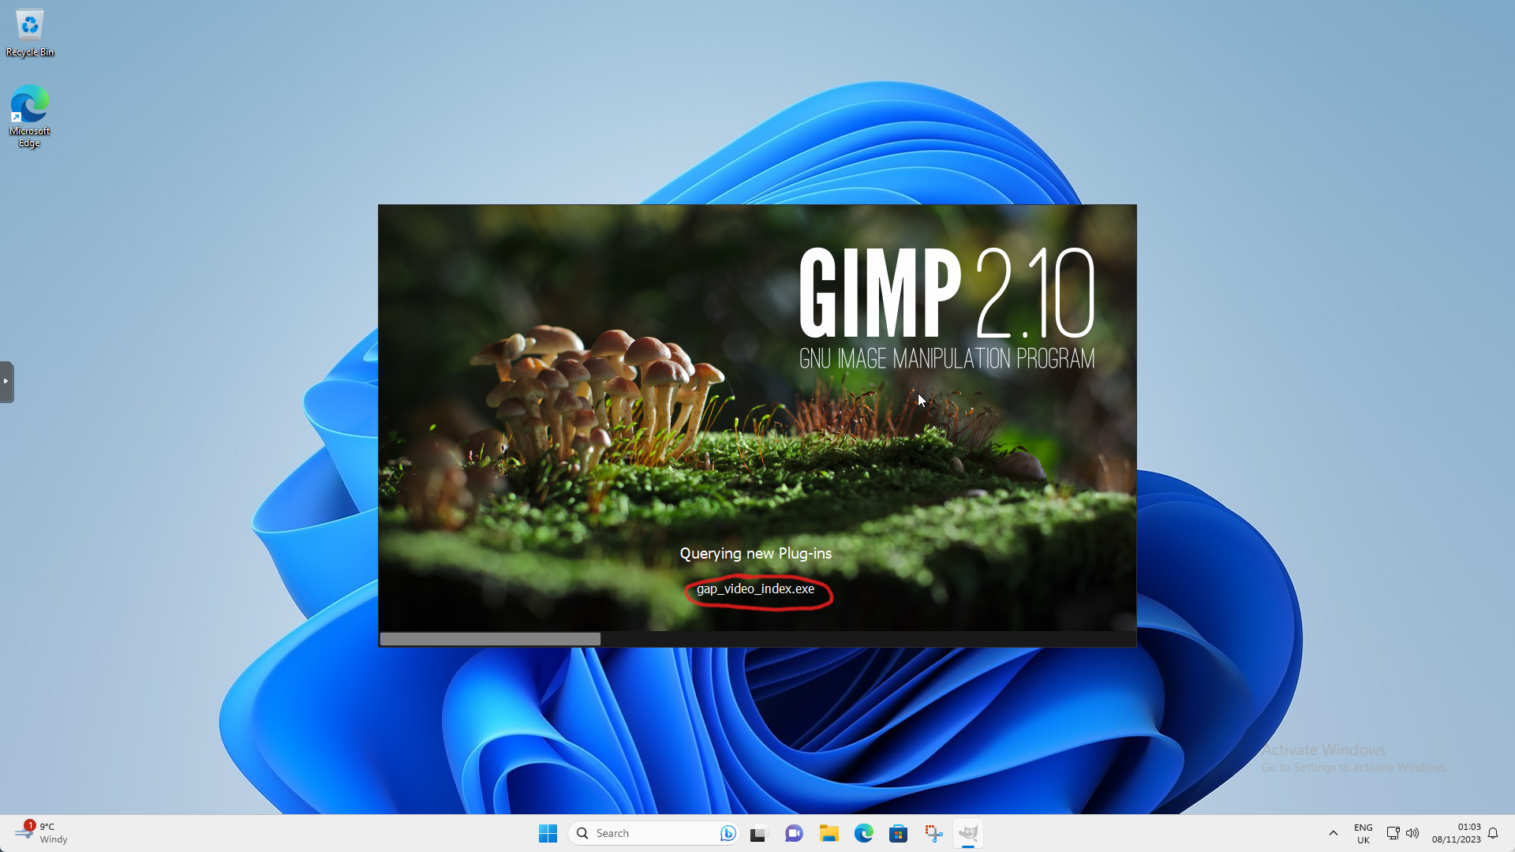
In the GIMP You should now have new item in the menu. It’s called “Video”
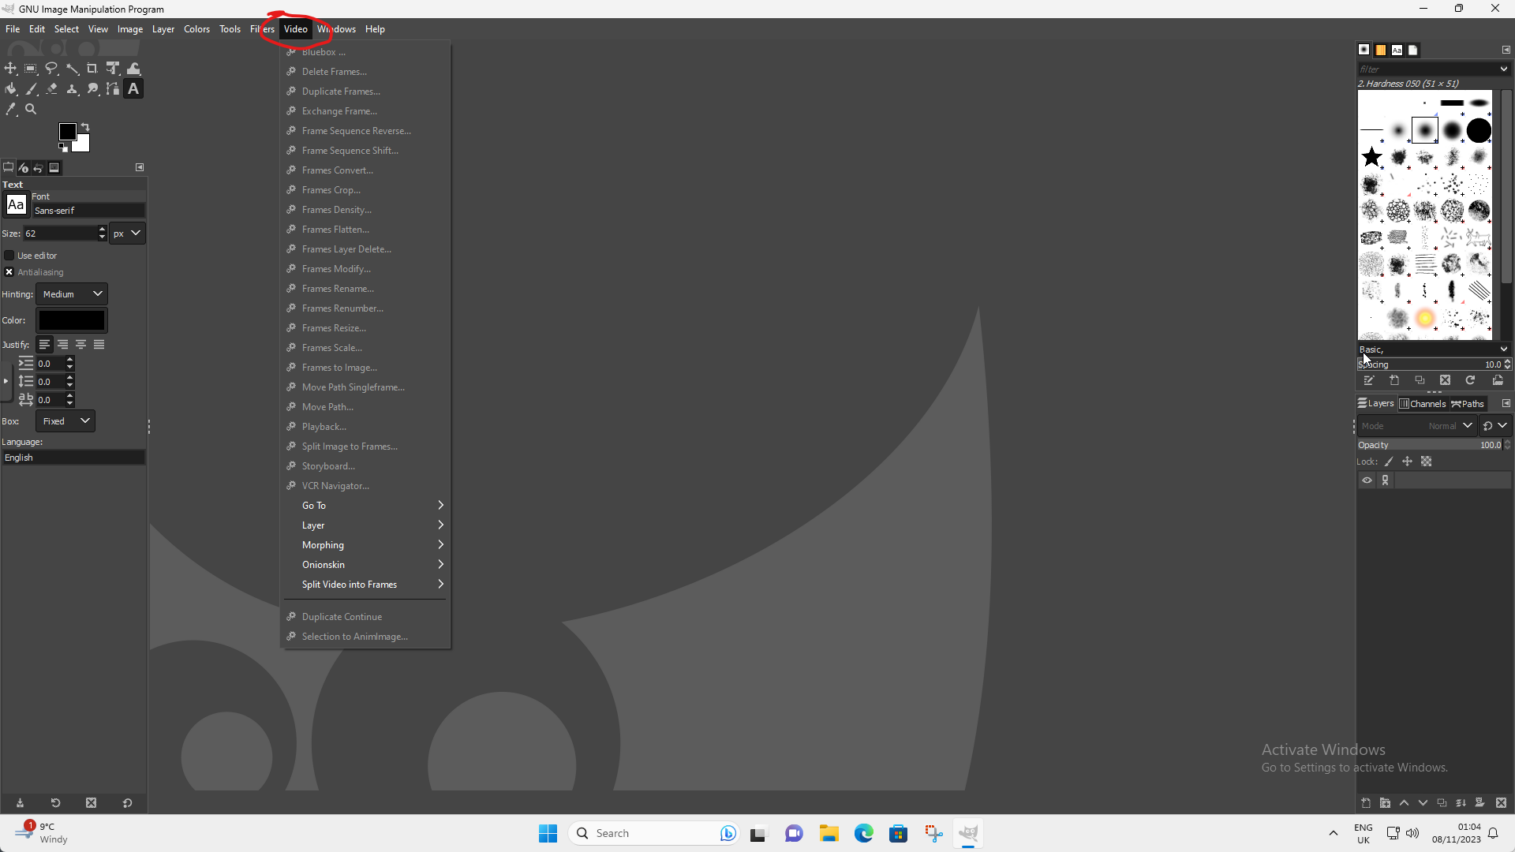
Voila! You have just installed GIMP-GAP in Windows.

Stay tuned for the GIMP 101 part 5.
Happy photo retouching!
Catch you on the flip side,
AndrzejL


